
Attempting to replace the often repeated peanut butter and jelly sandwiches in the lunch boxes, I have reached for hummus with carrot sticks, bell peppers, and little triangle shaped pieces of homemade pita bread. My kids and I love it — and so will you!
The plan was working quite well until we ran out of pita bread. Rather than rushing to the store I pulled out this recipe and was reminded not just of the ease but also of the great joy in watching your own pita bread puff in the oven right before your eyes.
How does it do it? I’m not so sure and truth be told mine don’t puff perfectly every time. But the thrill is enough to leave me lingering in front of the stove watching the magic of the puff.
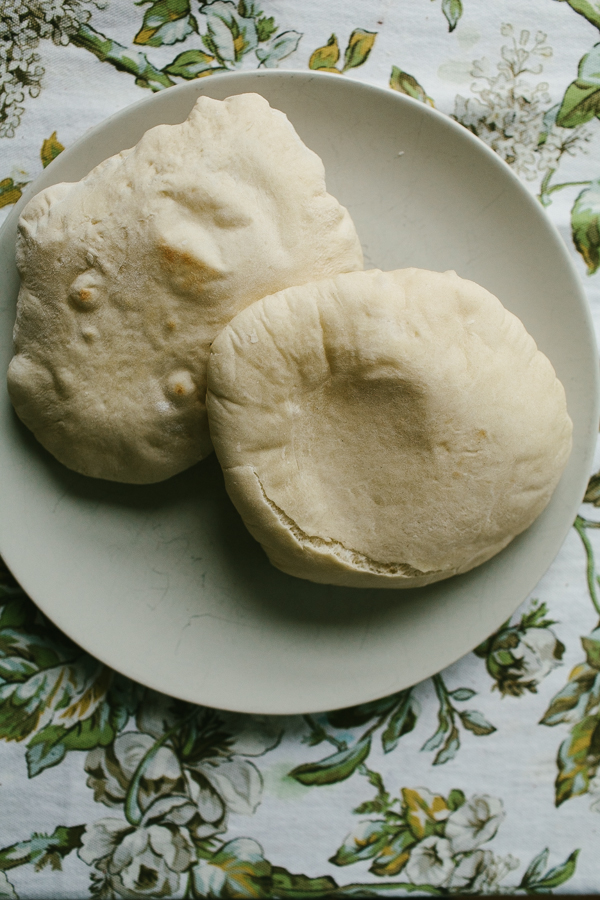
You know what else is magic? The flavor of a warm homemade piece of pita. Enjoy warm with creamy hummus then the next day tuck into the pocket a simple lentil salad and some spicy greens for a nutritious lunch.
If all else fails you can still use the pita to make one mean pb & j.
Make focaccia & flatbreads from scratch!

Get the techniques you need to bring fresh Indian naan, fluffy pita, homemade tortillas & more to your table.Enroll Here Now »
Homemade Pita Bread
Makes 8 pitas
Ingredients:
- 2 teaspoons active dry yeast
- ½ teaspoon sugar
- 2 3/4 cups unbleached all-purpose flour
- 1 teaspoon kosher salt
- 2 tablespoons olive oil
- 1 cup lukewarm water
Step 1:
Combine the yeast, sugar, flour, salt, olive oil and water. Mix until a sticky dough forms.
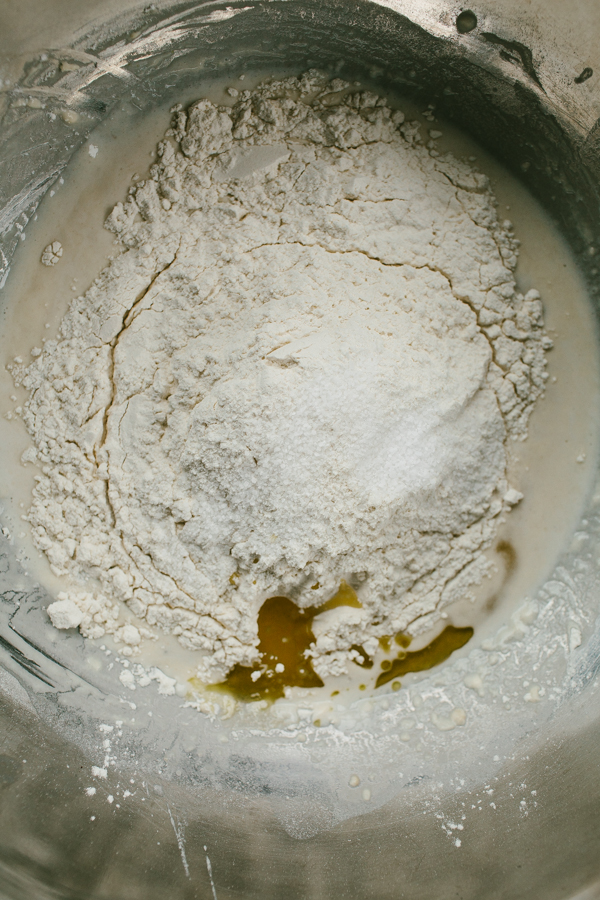
Combine all the ingredients in one bowl.
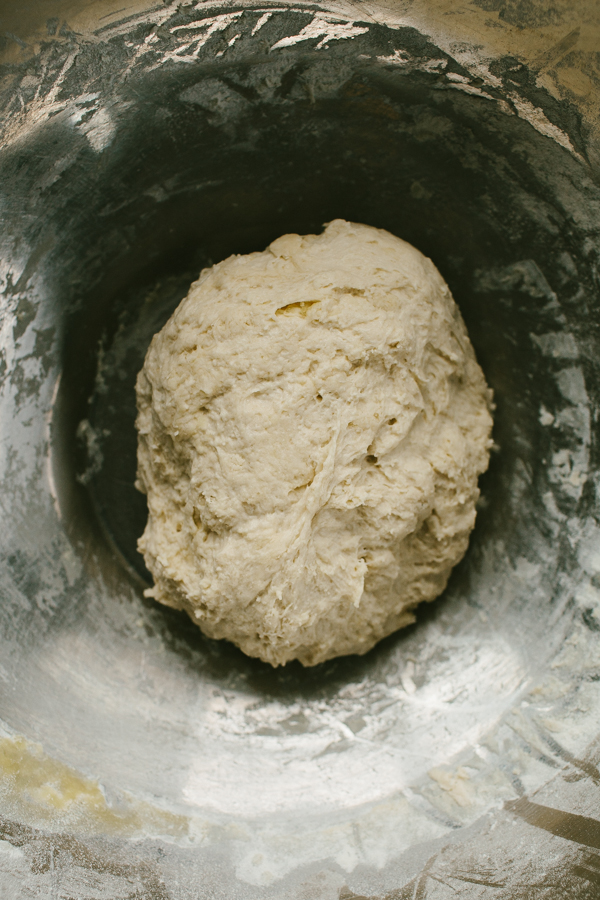
The dough will be quite sticky – this is good! The softness of the dough helps if to PUFF!
It’s alive!
Step 2:
On a clean surface, lightly dusted with flour if needed, knead the dough for 2 minutes. Cover the dough with a clean kitchen towel and let rest for 10 minutes.
Step 3:
After resting continue to knead the dough for 5 minutes or until very soft. Don’t add too much flour while kneading. You want the dough to be soft and just tacky.
At this point you can refrigerate the dough and let it slowly rise and age for up to three days.
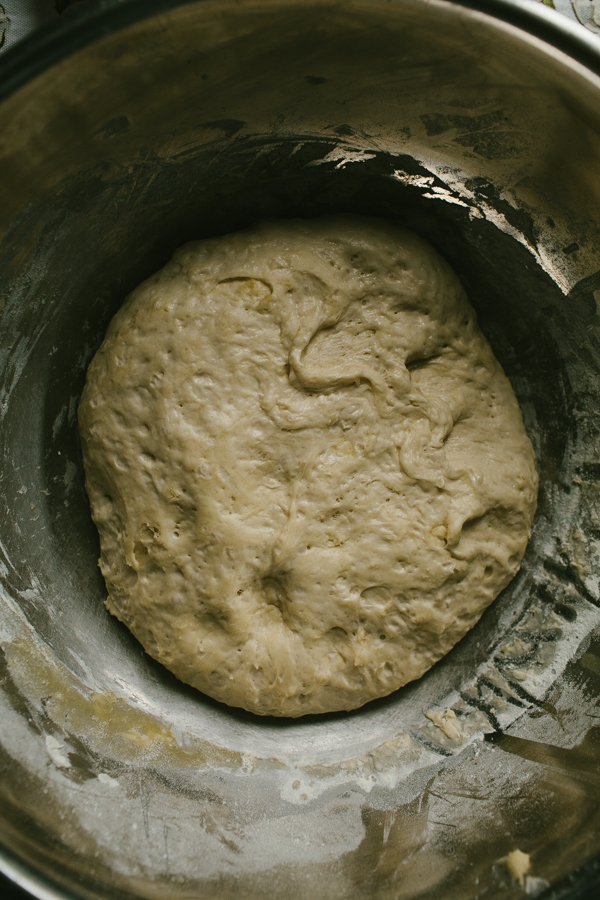
Step 4:
Place the dough back into the bowl and cover with plastic wrap or a kitchen towel. Set the bowl in a warm spot and let rise until doubled in bulk, about 1 hour.
Step 5:
Preheat your oven to 450 F and set a pizza stone, a cast iron pan or an inverted baking sheet on the middle rack.
Step 6:
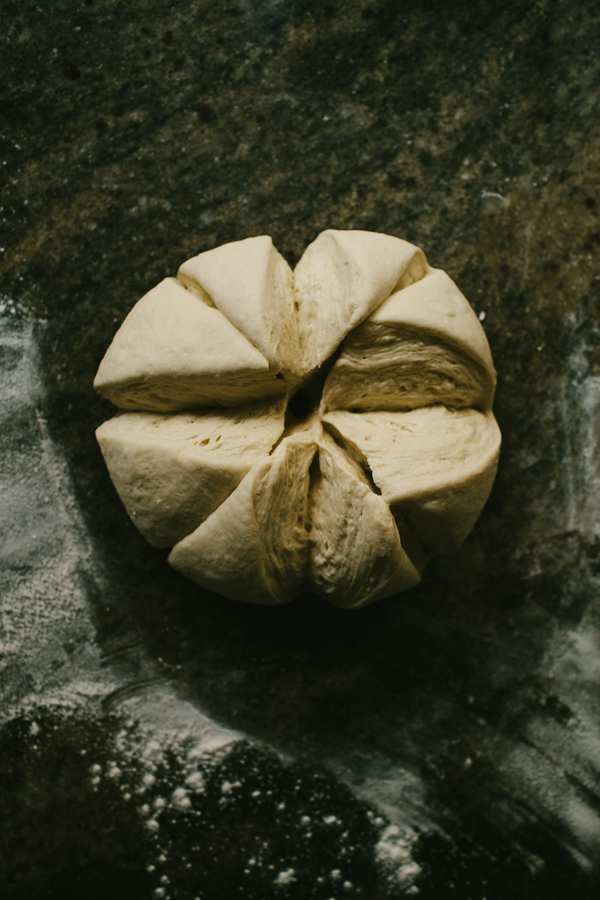
Gently punch down the dough and place on a clean surface. Divide the dough into 8 equal portions.
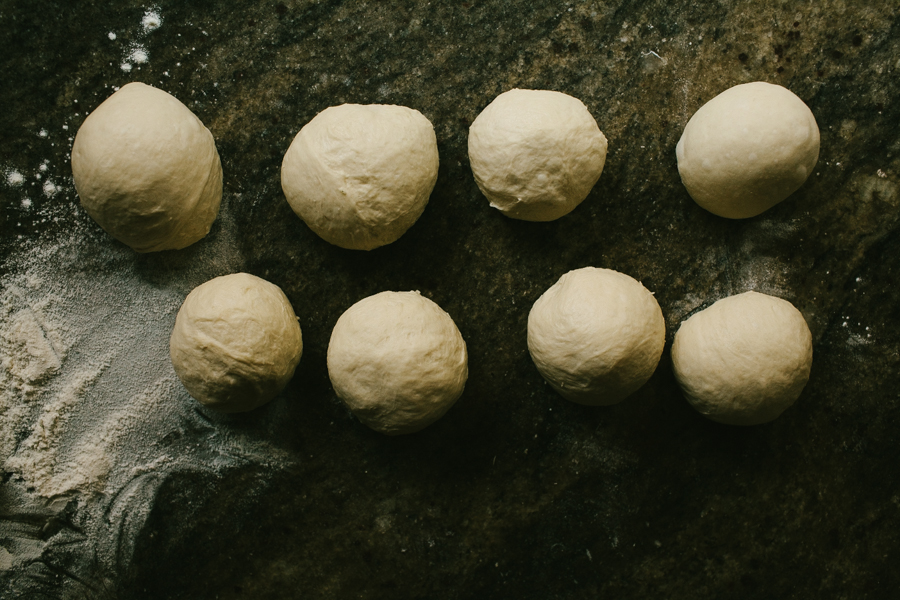
Step 7:
Roll each portion into a ball. Work with one piece of dough at a time and keep the others covered with the towel while they wait.
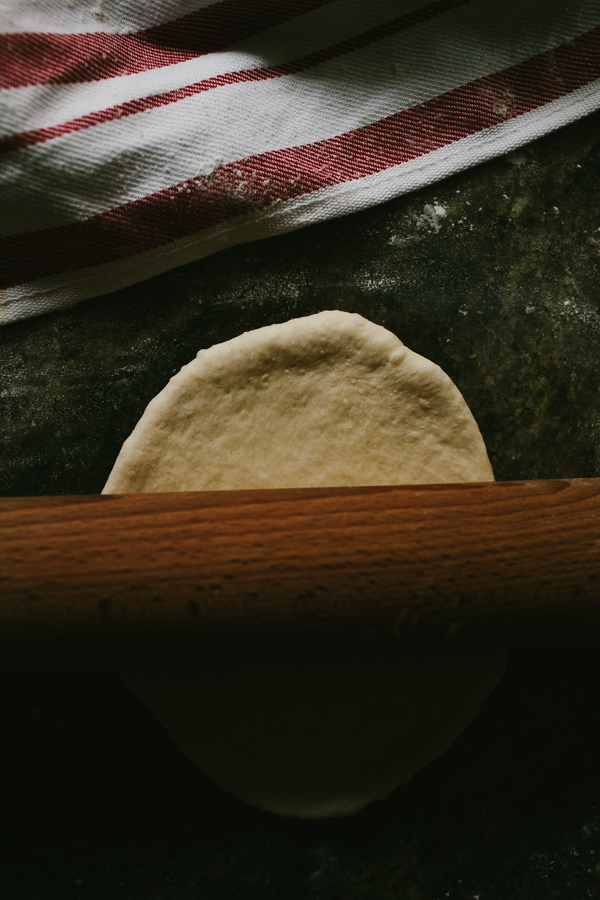
Step 8:
Roll out each ball into an 8 inch round. If it feels tough to roll, let it rest for a couple of minutes so that the gluten relaxes and then roll again.
Step 9:
Place the round onto the preheated surface in the oven.
Bake for 2 – 3 minutes, until puffed, then flip over with tongs and bake for 1 minute more.

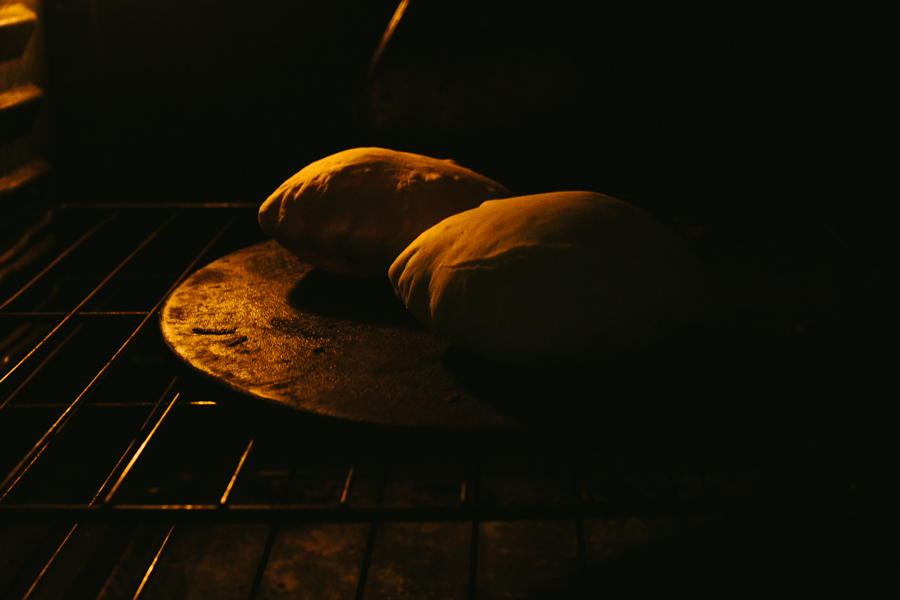
It puffed!
Step 10:
Remove the pita from the oven and place on a plate or basket lined with a clean kitchen towel.
Repeat the process until all of the pitas have been baked.
Want to learn how to make even more bread? Check out Focaccia and Flat Bread from Around the World. In it you’ll master Focaccia, crackers, naan, tortillas and yes, PITA’S!
Make focaccia & flatbreads from scratch!
Get the techniques you need to bring fresh Indian naan, fluffy pita, homemade tortillas & more to your table.Enroll Here Now »
Share tips, start a discussion or ask one of our experts or other students a question.
No Responses to “Bakery 101: Homemade Pita Bread in Just 10 Easy Steps!”