
Find the key to creating vibrant flora using glaze with matte medium.
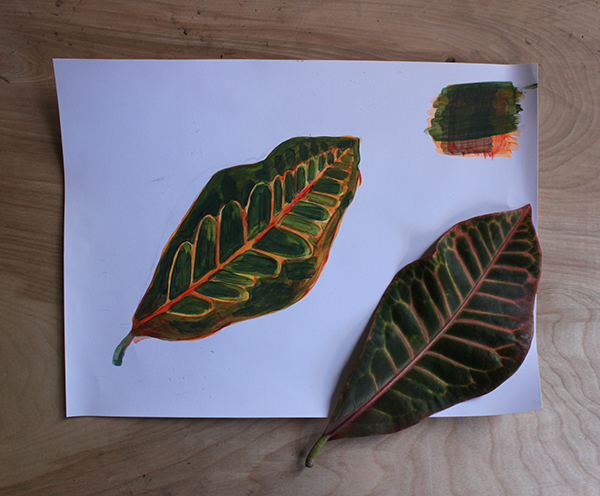 Plants are beautiful and have a myriad of colors in their leaves and blooms. I’m going to draw and paint a large leaf using glazing that will capture the different hues I see.
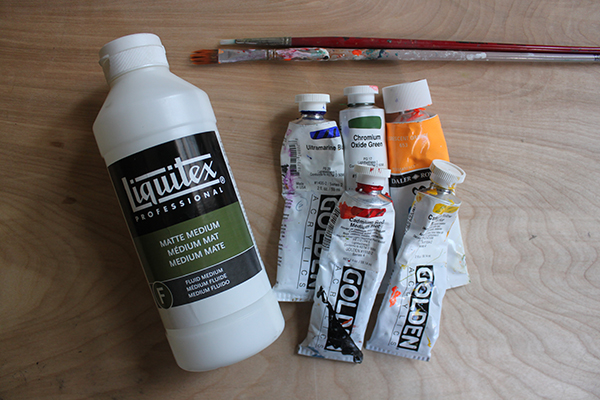 To complete this image, I’m going to use a few tools you’ve seen before. First and foremost, we’ll need something to paint on. I’ve used matte medium to prepare the surface of this paper so that it can adequately handle the acrylic pigment.
I’m going to use matte medium to mix with my paints, and a variety of colors and paint brushes. I even bought an unused plastic palette for the occasion! This is what I use and am comfortable with, but feel free to dig through your own supplies to find what you think works best.
To complete this image, I’m going to use a few tools you’ve seen before. First and foremost, we’ll need something to paint on. I’ve used matte medium to prepare the surface of this paper so that it can adequately handle the acrylic pigment.
I’m going to use matte medium to mix with my paints, and a variety of colors and paint brushes. I even bought an unused plastic palette for the occasion! This is what I use and am comfortable with, but feel free to dig through your own supplies to find what you think works best.
Step 1: Set up the base.
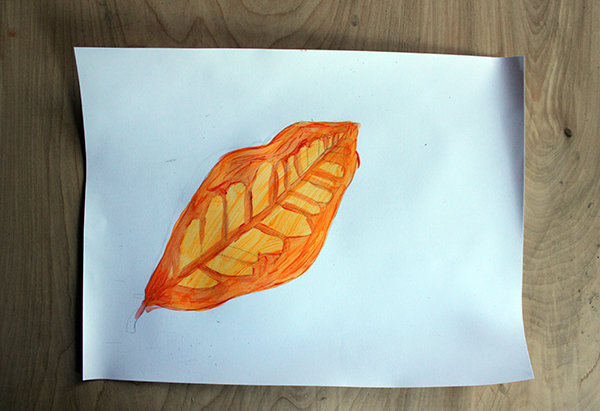
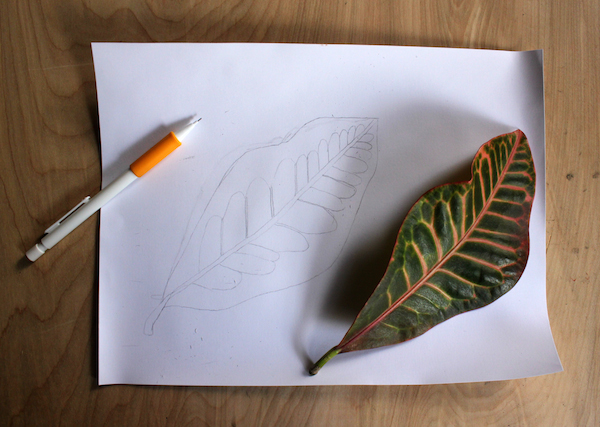 Now that you’re ready to paint, you’ll first need to draw your subject. I lightly drew this leaf using pencil; lightly is key because you won’t be able to erase when you’re done! Alternatively, if you’re feeling brave, you can draw your subject using a light colored paint.
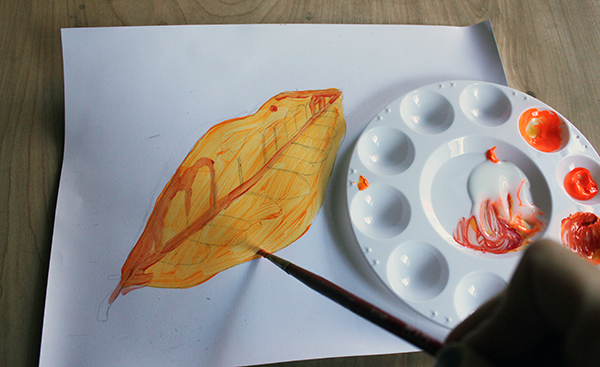
My matte medium is in the middle of my palette. I mix it direct with the pigment, a little at a time.
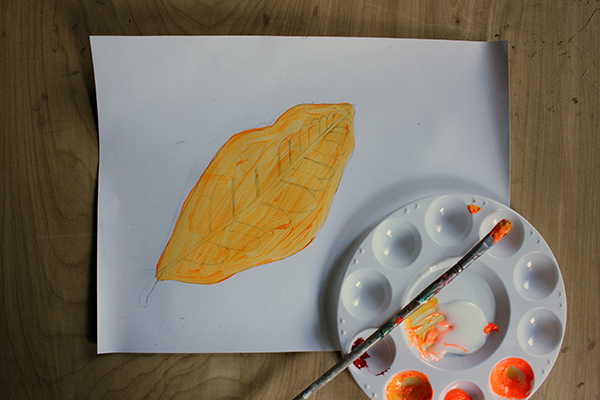
Once you’re happy with your image, it’s time to start with a base layer of pigment that’s not too dark. Remember, you’re going to have to build on top of this color. Darker hues come from the building up of layers, not necessarily the color itself. Using your first color, mix it with the acrylic matte medium. How much you use will depend on the amount of paint you have and how light you want the color to be. More medium will thin out pigment and create a lighter hue. But, be careful. Too much medium can alter the color.Step 2: Wait for it to dry.
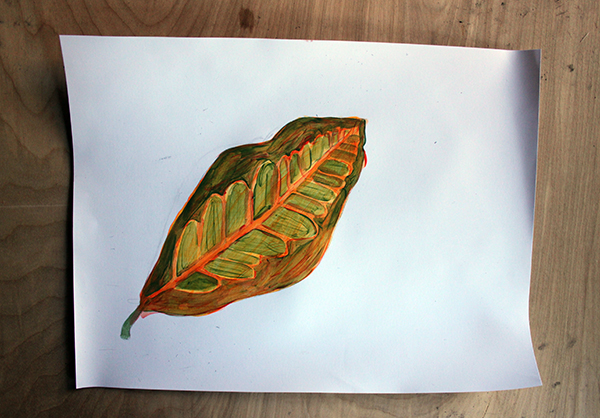
 The nice thing about working in layers is that it doesn’t take your paint too long to dry. That’s a good thing, because you’ll need to wait until everything dries to apply another layer. This will prevent smearing and unwanted smudge marks. For this next pigment, you can pick something that’s similar to the color you applied, or even slightly different. If you are applying a warmer green, why not add a little bit of blue to make it a cooler green? Mix it with the matte medium and paint. You can start to see how the two different hues interact with one another.
Step 3: Mix, dry, and repeat.
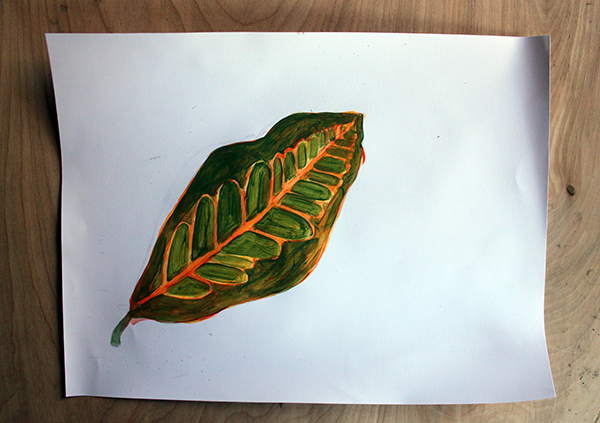 There aren’t a lot of complicated steps when it comes to gazing with acrylic paint and matte medium. Mostly, it’s following the same steps and patiently waiting for your layers to dry. Once you’ve achieved the colors you wanted, congratulations! You’re done!
Excelentes consejos para un aficionado