
Photographs and illustrations via CakeSpy unless otherwise noted
If you’re looking for inspiration for your next mixed media masterpiece, look no further than your garden. Flowers are a naturally fantastic artistic muse. There’s a reason why flowers have been the subject matter of great artists for centuries. As subjects go, flowers are practically perfect: They have interesting shapes, beautiful form and vibrant colors. Plus, they don’t have much trouble staying still.
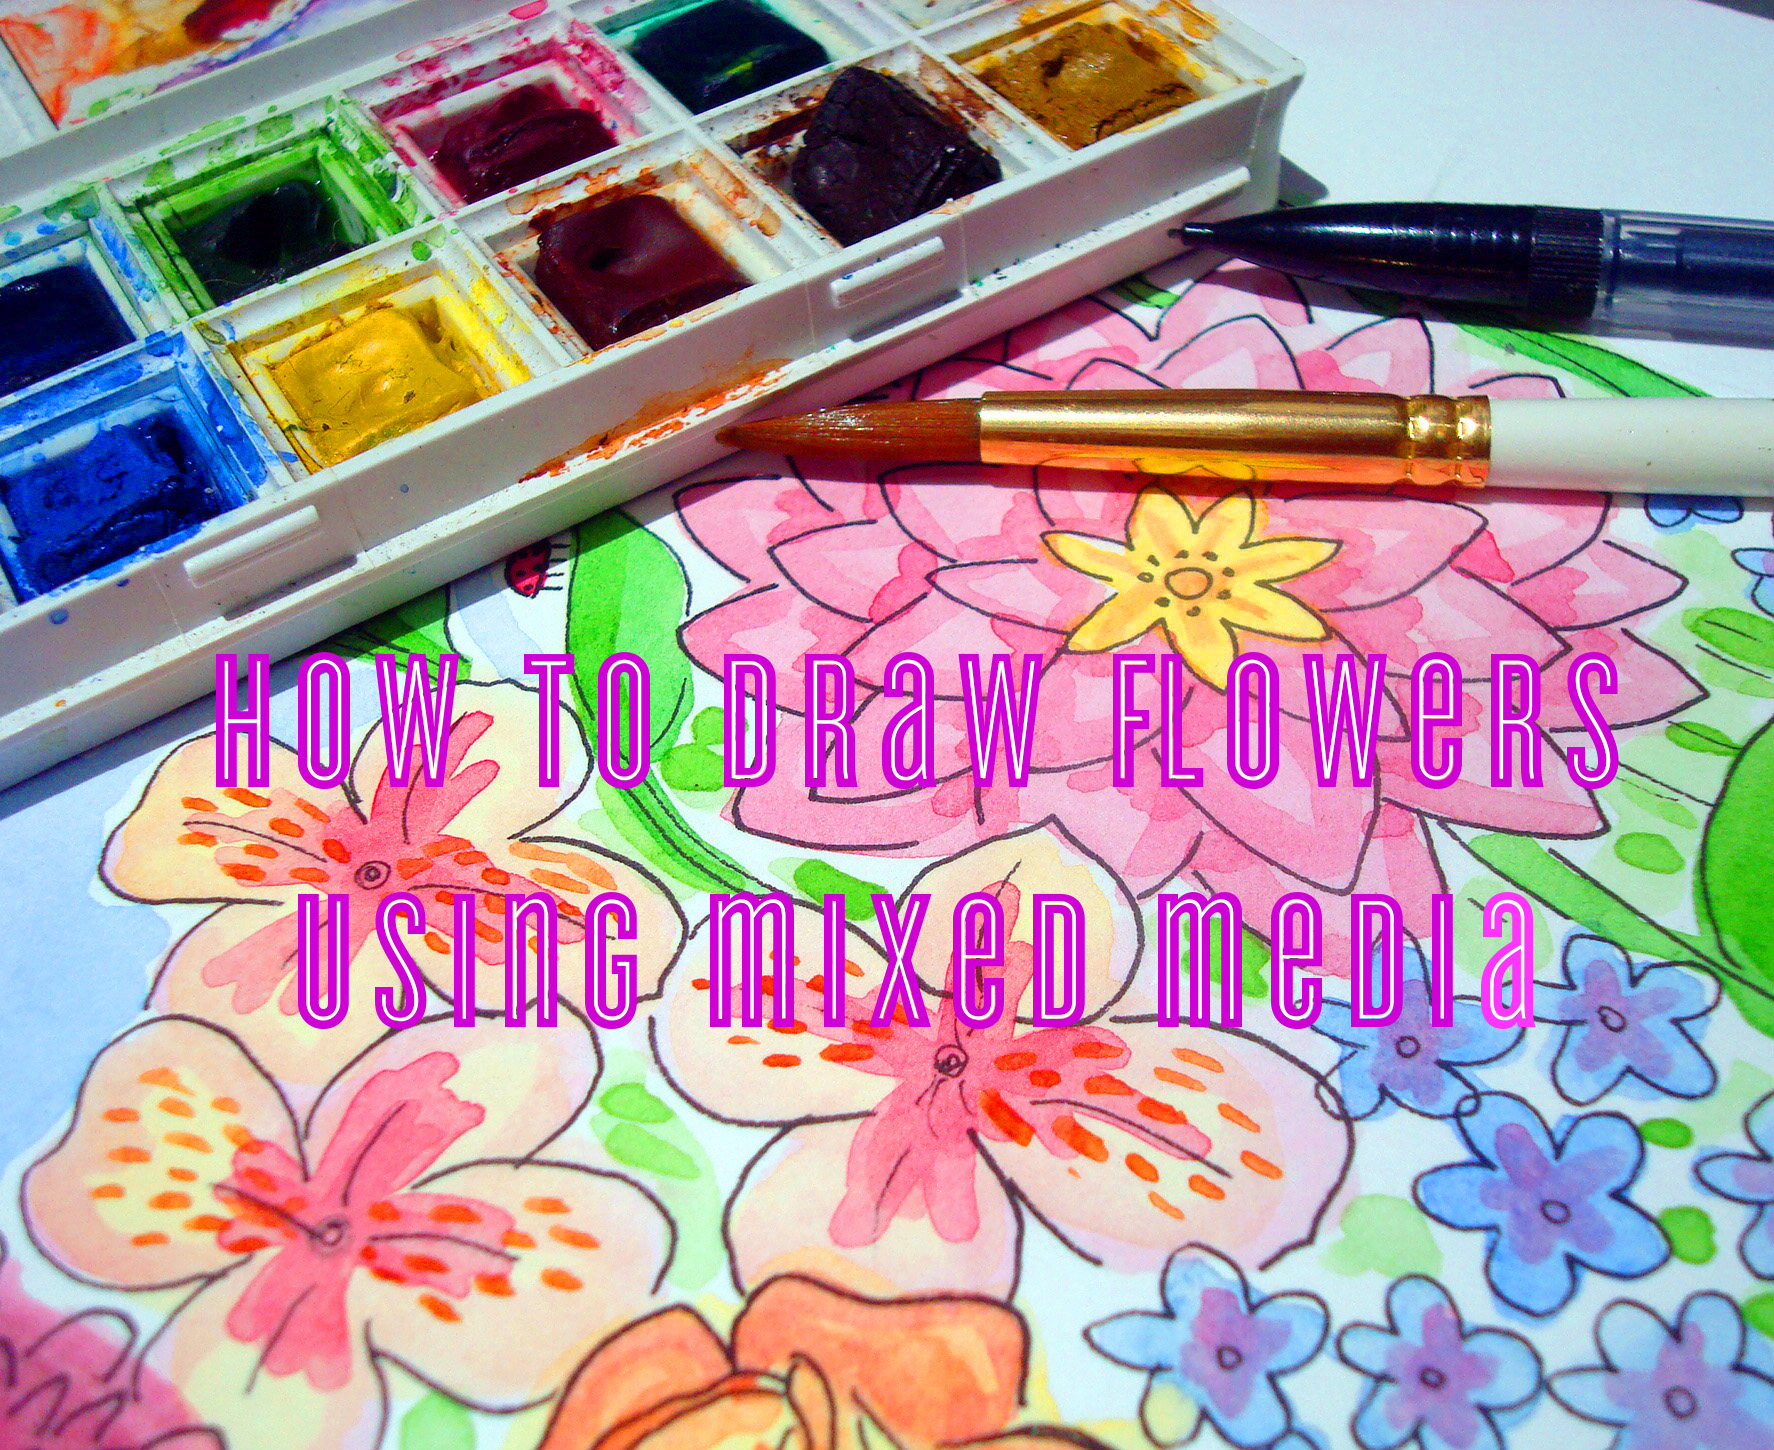
While there are many ways to render flowers, a mixed media approach with pen and ink + watercolor is an easy, accessible, and fun method of painting flowers.
Here’s a sweet tutorial on how to draw flowers using mixed media techniques.
Before you get started, find some inspiration:
It’s helpful to choose reference images. For this drawing, an assemblage of student projects from Craftsy course Photographing Flowers were chosen:
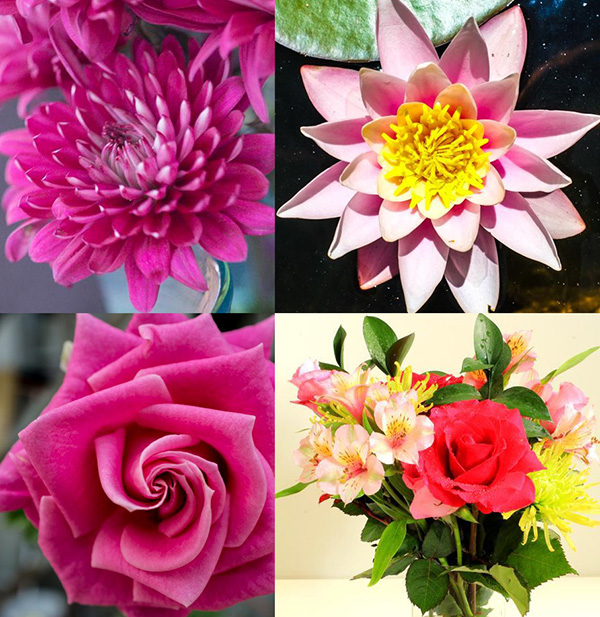
Clockwise from top left: Pink flower via Craftsy member Amandaann; Exotic flower via Craftsy member OutofFocus; Roses via Craftsy member OutofFocus; Bouquet via Craftsy member MissMermaid.
Although you can see aspects of the reference flowers in the finished piece, they were used more inspiration and proper cues on shape and color as opposed to a guide to simply copy.
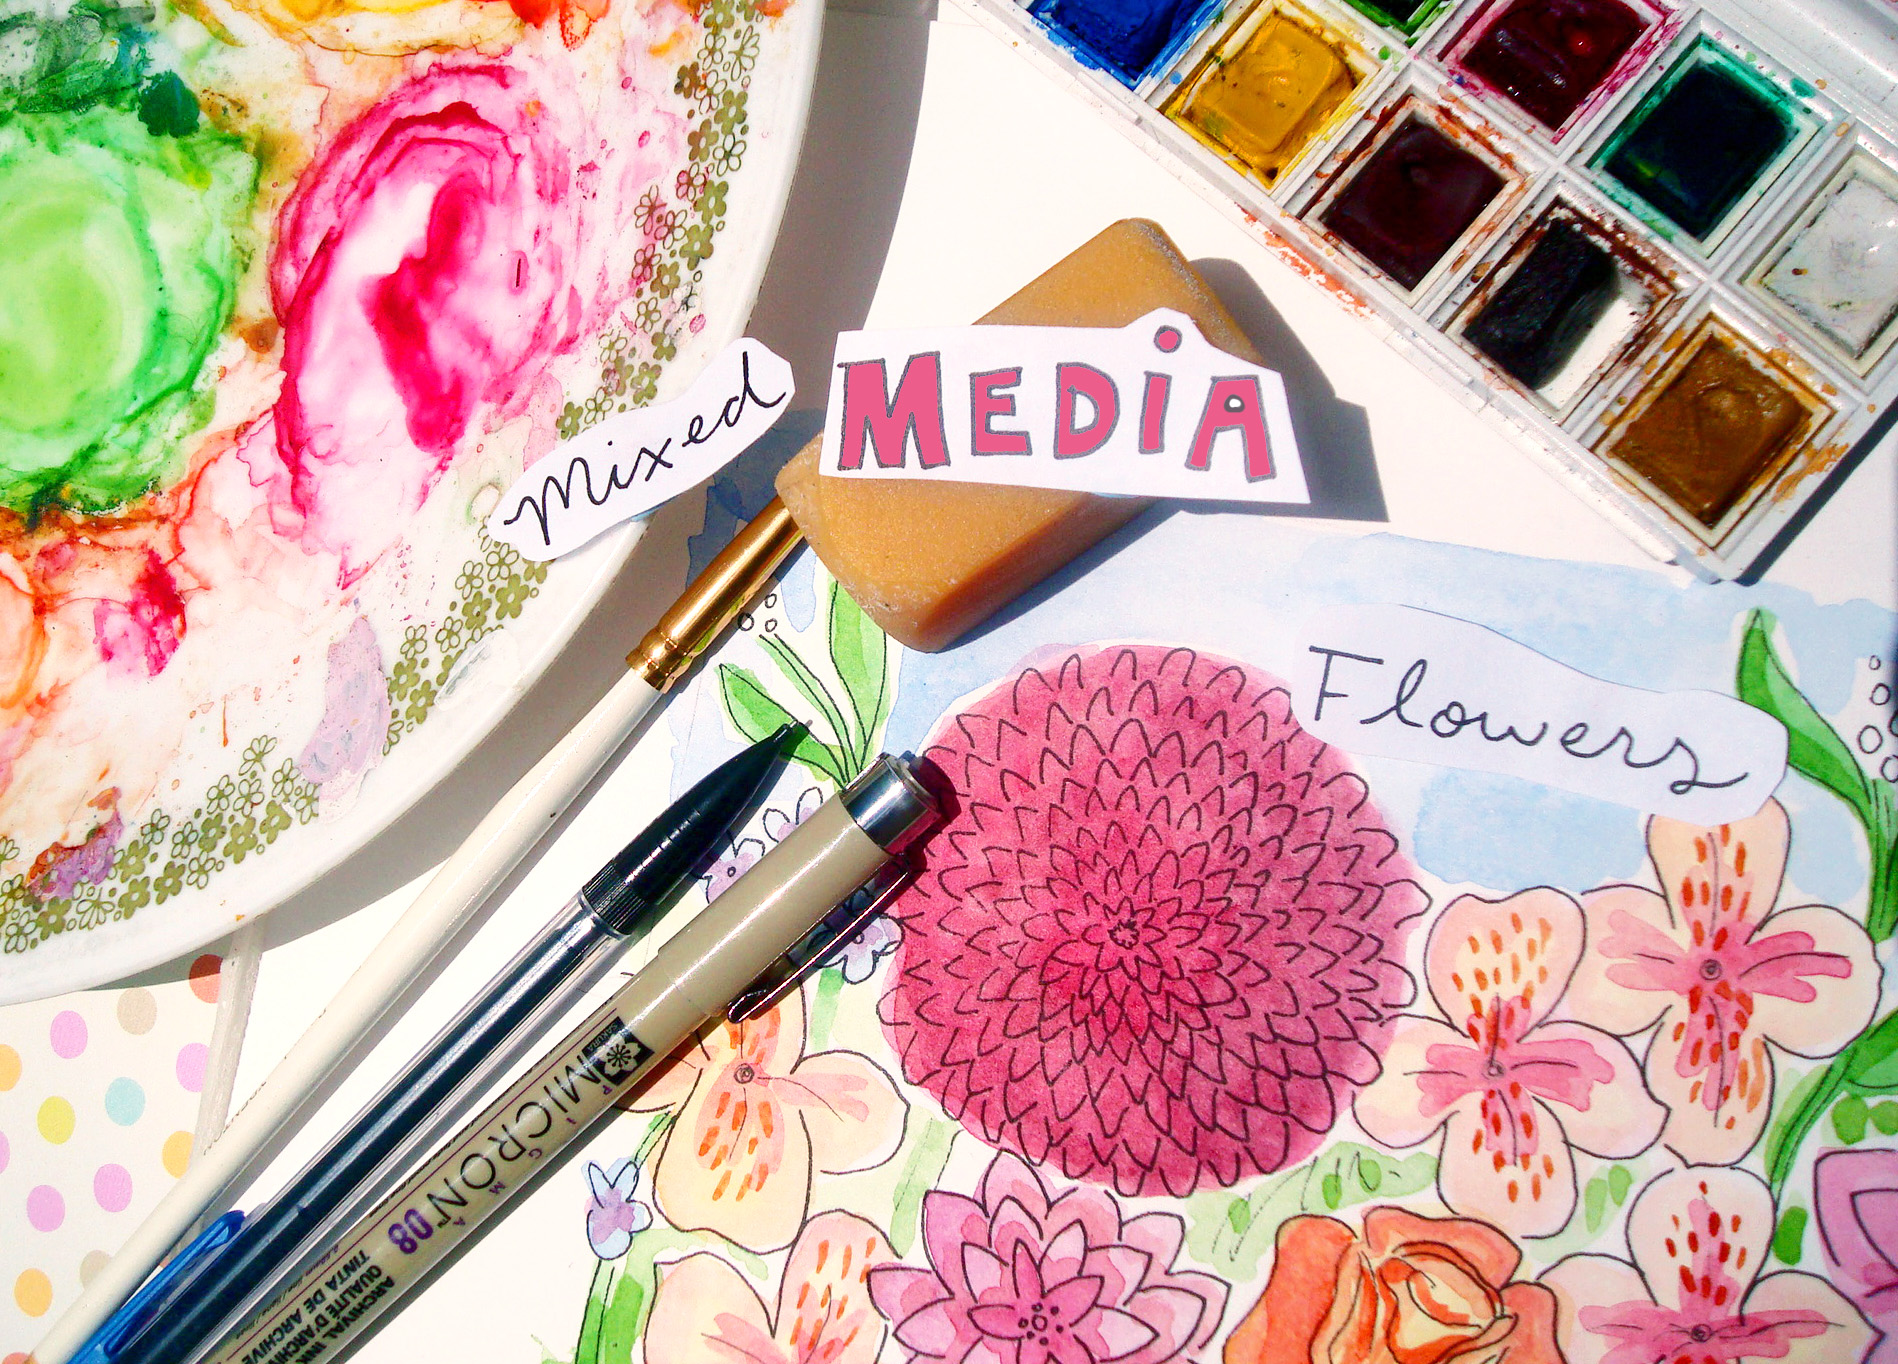
And prep your palette:
It’s a good idea to have a few colors pre-mixed for your flowers. Once you get to know your palette, you can keep a basic palette of watercolors with “go-to” colors ready to go. Simply re-wet and you’ve got paint.
How to create mixed media flowers
You will need:
- Pen and ink
- Pencil
- Eraser
- Wellum bristol board
- Watercolors
Step 1:
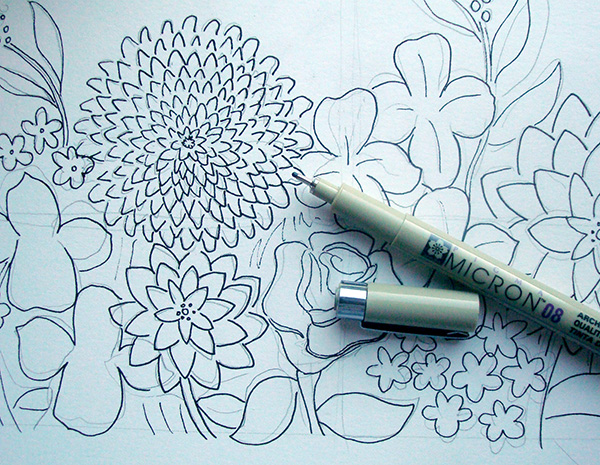
Assemble some reference images and start sketching. Once you’ve settled on a design that you like, render it in pencil on your working surface. Evaluate the drawing: If there are any changes you’d like, now is the time. Pencil is erasable, but the pen you’ll be using next is not.
Step 2:
When you’re happy with it, start using ink to finalize your drawing. This style is quite bold and linear. However the style you choose to use is up to you. You can use more delicate lines rather than strong ones, or employ methods such as cross-hatching. Once the ink has been laid down, let the ink “set” for several minutes. This will keep the ink from smearing when you erase the lines.
For more help on working with pen and ink, check out this post for 7 awesome pen and ink drawing tips.
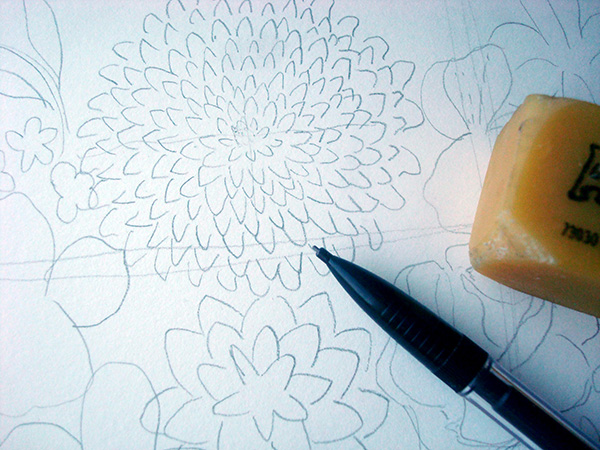
Step 3:
Erase the pencil from under the ink. Double check in clear light that there aren’t any ghostly pencil lines lingering.

Now, grab your watercolors.
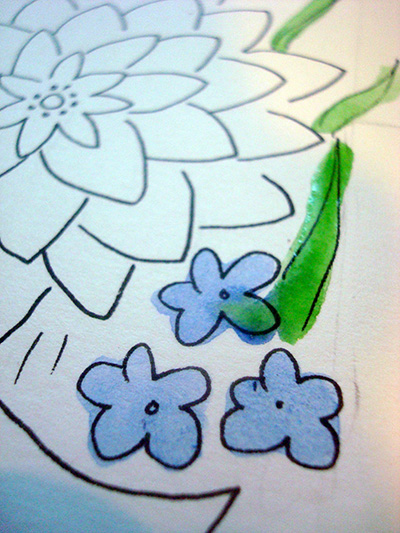
Step 4:
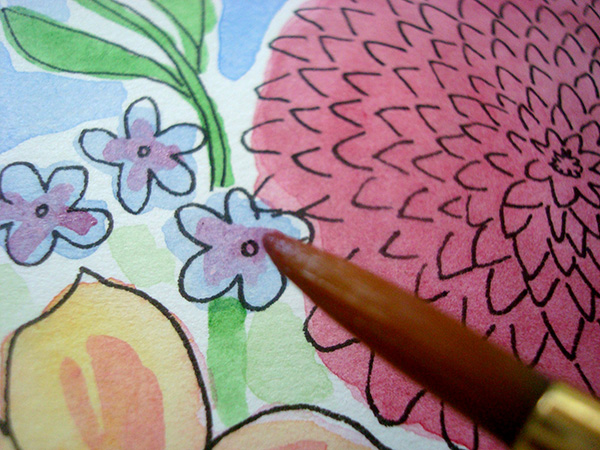
Paint the flowers, being careful not to let different colors of ink touch while they are still wet. In this painting, elements on far sides were painted, so that they wouldn’t touch. If you add two different colors of paint too close to another, they can bleed, like this:
To a certain degree this is inevitable, and one or two spots like this looks artsy. But, too many of these “bleeds” and your work will look messy. It might seem like a pain, but if an area of paint seems too close to where you want to paint next, err on the side of caution and wait, or lightly heat the area with a hair dryer to hasten the drying process.
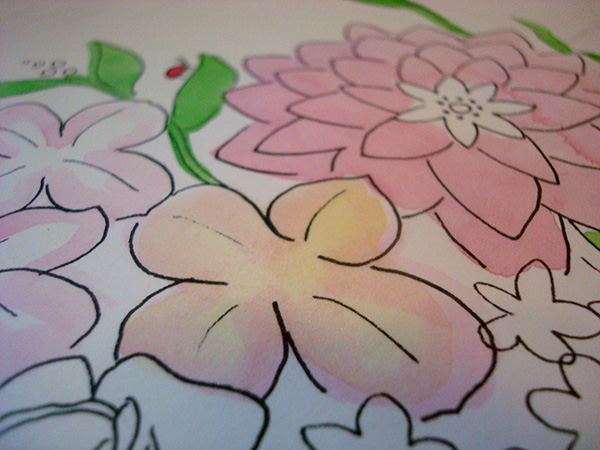
Note: Sometimes, this effect can be used artfully, as on portions of petals that have colors that blend. By applying the yellow paint on top of the still slightly wet pink paint on these filler flowers, a nice, dimensional gradient is attained.
Step 5:
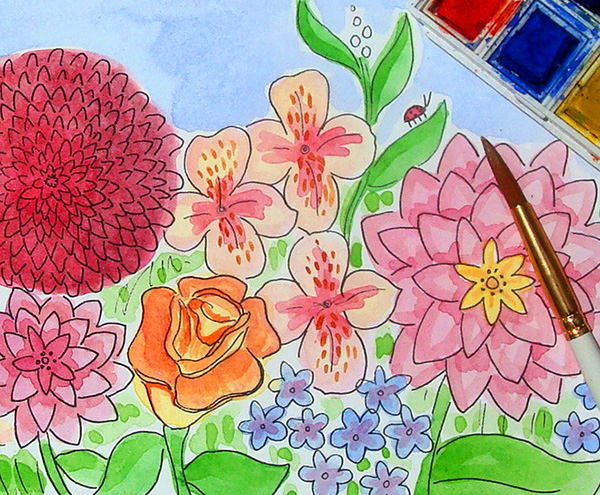
Once you have all of the flowers colored in, it’s time to add some detail. See how the painting still looks pretty “flat”?
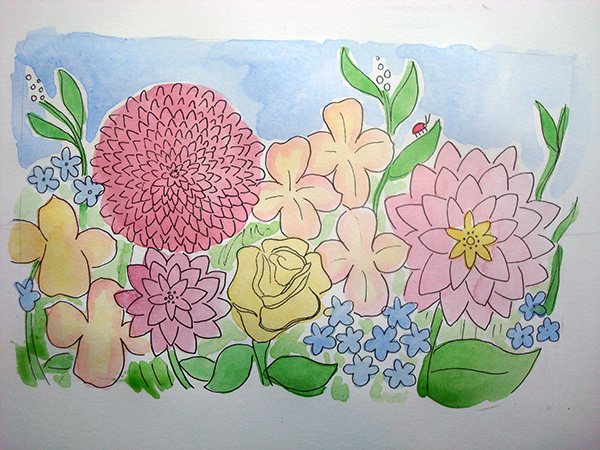
You remedy that by continuing to work with your paint: refine the color by adding another layer, add shadows or highlights of color, or even small details in pen and ink which will accentuate the work. You can refer to your reference images again for ideas on shading and adding highlights of color.
Once you’re satisfied, let your piece dry completely. You’ve just created a beautiful mixed media bouquet!
Have more fun with creating beautiful mixed media inspired by nature in the Craftsy class, Painting Wildlife: Acrylic & Mixed-Media. Follow along with the expert instruction of award-winning artist Sharlena Wood and learn how to work across mediums, rendering animals in stunning realism!
Share tips, start a discussion or ask one of our experts or other students a question.
No Responses to “Let Your Garden Be Your Muse: Painting Flowers in Mixed Media Techniques”