
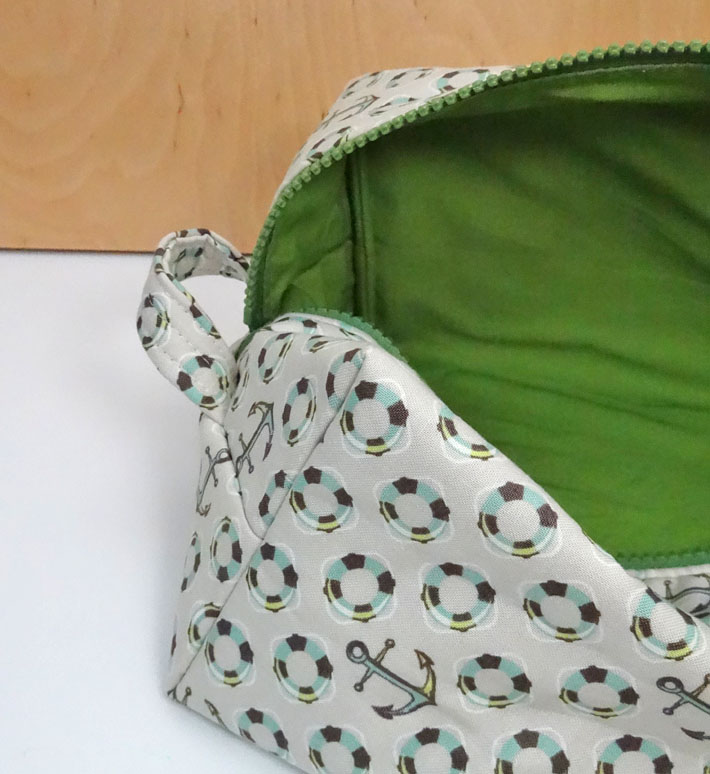
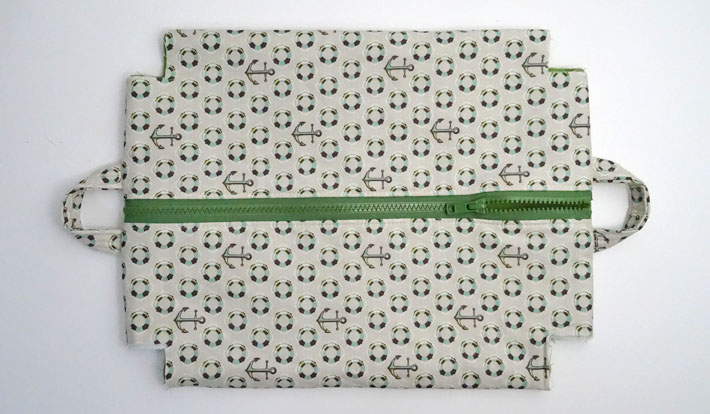
This manly pouch is a great idea to gift to that hard-to-sew-for person in your life. This kit is lined, with fully finished seams and sturdy handles at each end. It is generously sized at 10″ long, 6 1/2″ wide and 4″ high.
Keep reading to find out how you can sew an easy (fat-quarter friendly!) Dopp kit in only 1 hour.

Sew zippered bags with absolute confidence!

Learn 3 versatile methods and sew 3 fun bags, as you enjoy 7 HD, online video lessons.
Dopp kit tutorial
(Want to save or print this tutorial? Click here to download the FREE PDF version!)
Make this Dopp kit from linen, heavier or quilting cottons, canvas or home-decor weight fabric. If you’d like the interior to be water-resistant, it can be also lined with oilcloth.
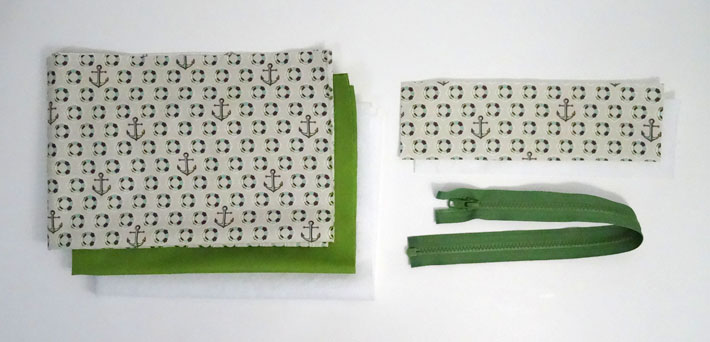
Materials:
- Outer fabric 15″ x 22″
- Lining fabric 15″ x 22″
- Fusible fleece 15″ x 22″ and 3″ x 10″ (optional on heavier fabrics)
- Outer Fabric 3″x10″ (handles)
- 16″ zipper (does not need to be a separating zipper)
Directions:
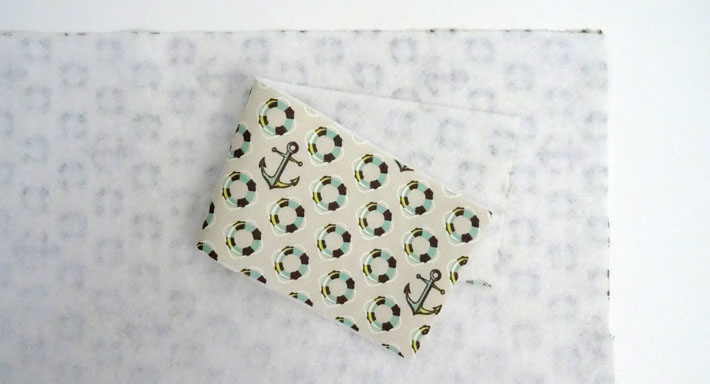
1: Fuse fleece to wrong side of outer fabric and handle following the manufacturer’s directions.
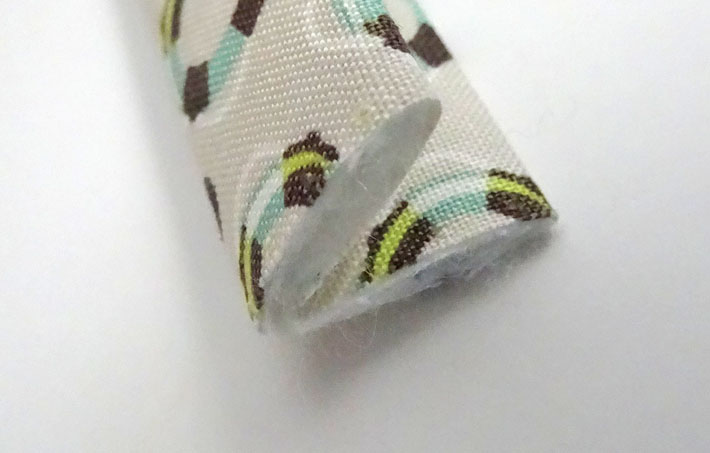
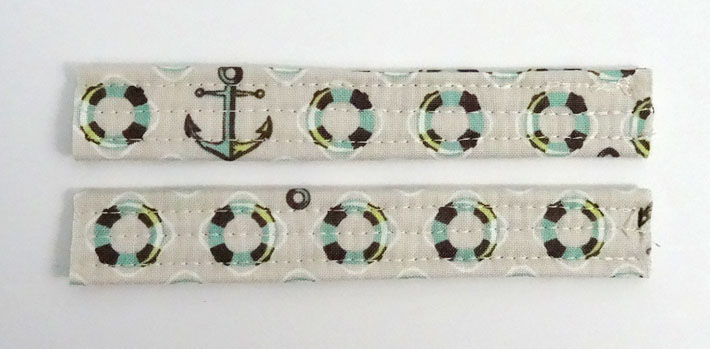
2: Fold the handle in half lengthwise and press. Fold each long edge into the center fold. Fold everything in half along the first lengthwise fold. Press well. Topstitch along each edge and once in the centre. Cut in half to make two 5″ pieces. Set aside.

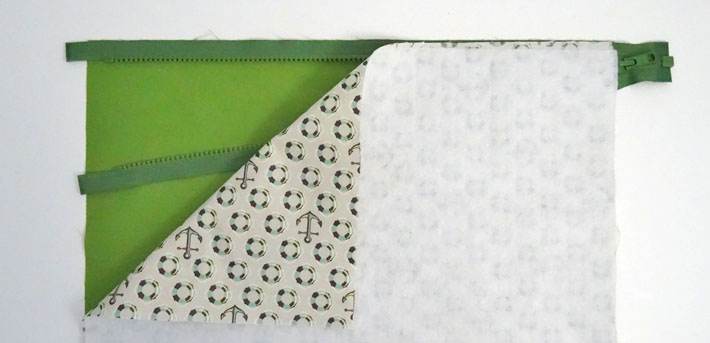
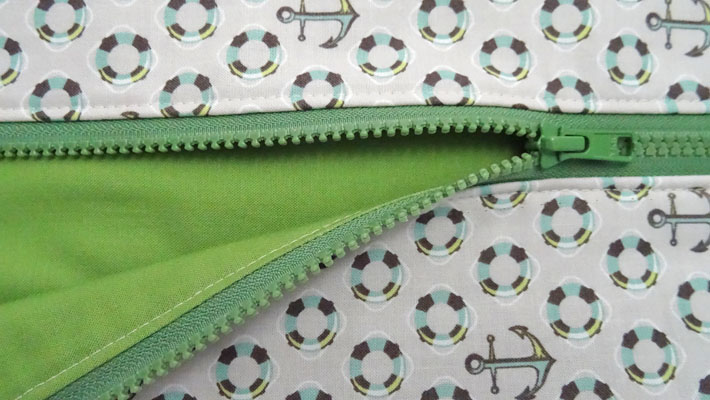
3: Place the lining right side up. Open the zipper. Align it along the short edge of the lining with the pull tab facing up. The top zipper stops should be 1/2″ away from the left side of the fabric. Align the outer fabric. Pin or glue baste the zipper in place in preparation for sewing. Stitch the short edge with a 1/4″ seam. Use a zipper foot if desired, or move your needle to the right and use your regular foot.
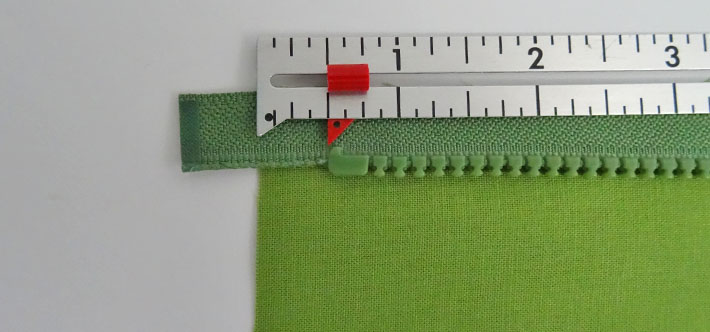
4: Keeping the zipper open, fold the lining right sides together. Fold the outer fabric so it is right sides together with the un-sewn short end of the lining. Align and pin/glue baste the zipper and outer as before, making sure the zipper stops are 1/2″ away from the right side of the fabric, and the zipper tab is facing up. Stitch with a 1/4″ seam, as before.
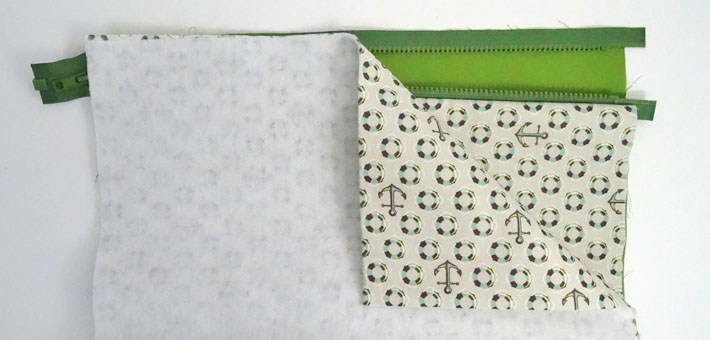
5: Make sure the lining and outer are wrong sides together. Press the lining and outer back from each edge of the zipper and top stitch.
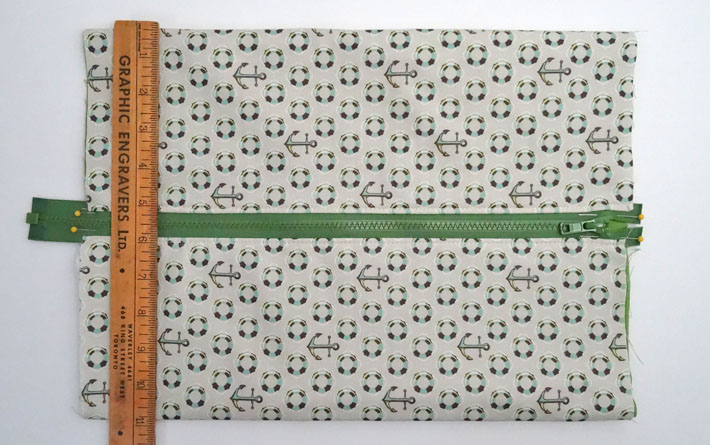
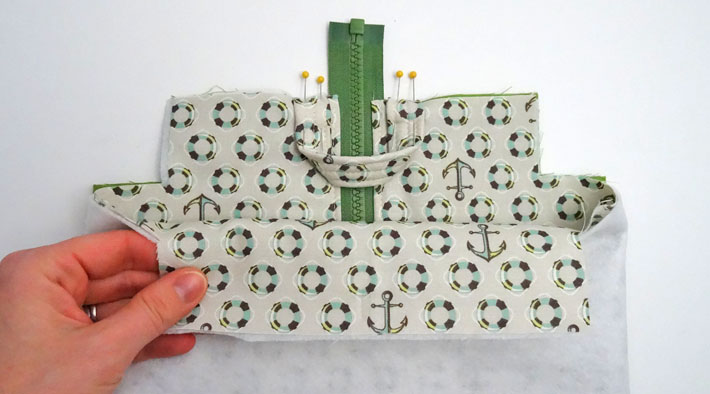
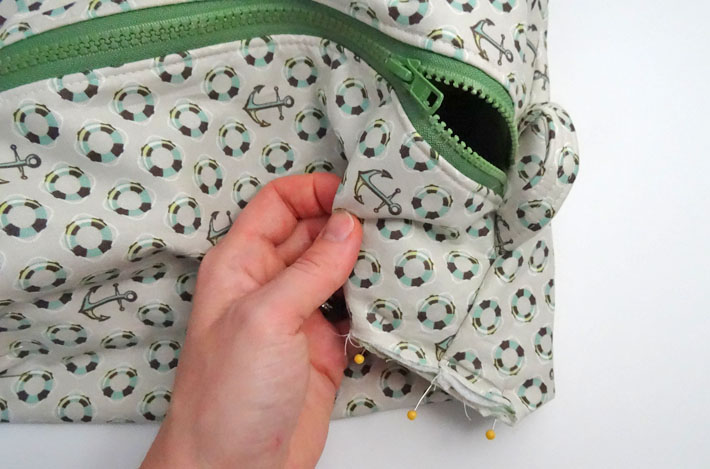
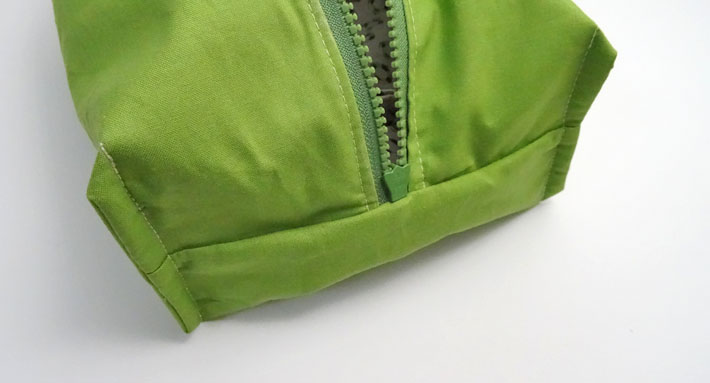
6: Fold the Dopp kit so your lining is right sides together. Close the zipper and align it at 5 1/2″, see photo below. Pin both ends of the zipper in place at centre to keep them in place through the next step.
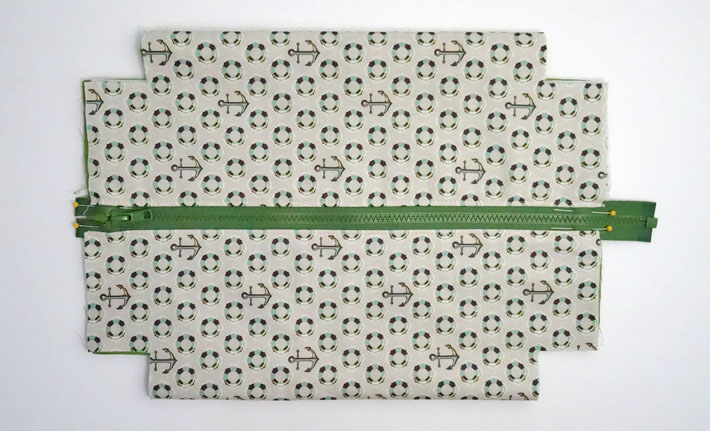
7: Cut a 1 3/4″ wide by 1 1/2″ high rectangle from each corner of the folded fabric. Unpin your zipper.

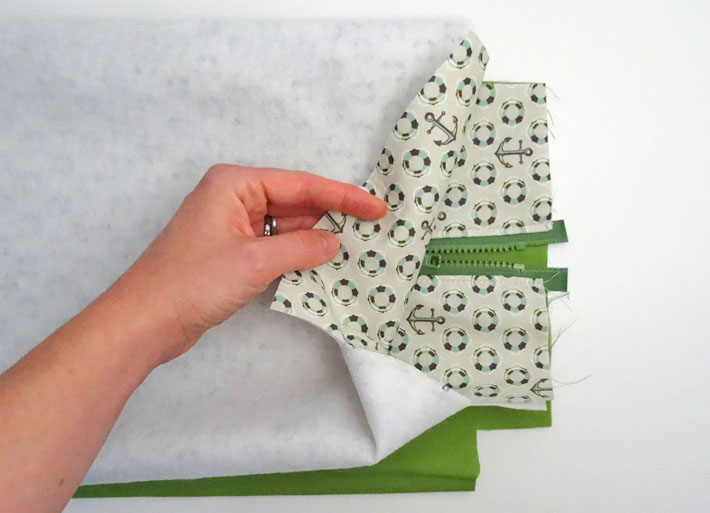
8: Turn the lining and outer wrong side out so each one is right sides together. Unzip your zipper a few inches.
9: Separate the two layers of outer fabric. Pin a handle to each end of the Dopp kit around the zipper as shown in the photo below.
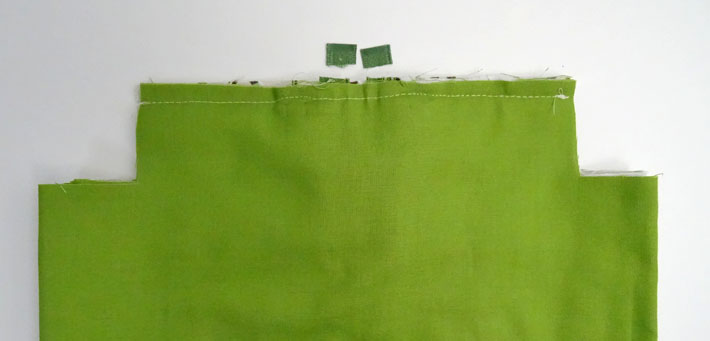
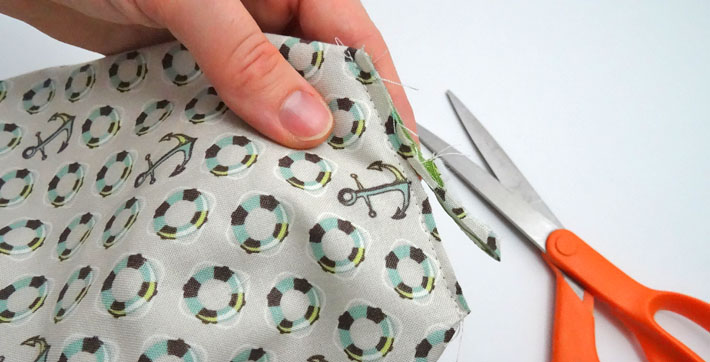
10: Make sure all layers (lining and outer) are aligned well, pin. Stitch each aligned short end of the Dopp kit with a 3/8″ seam. Stitch slowly over the zipper to avoid breaking your needle. Trim any excess zipper tape if desired. Finish seam allowances if desired.
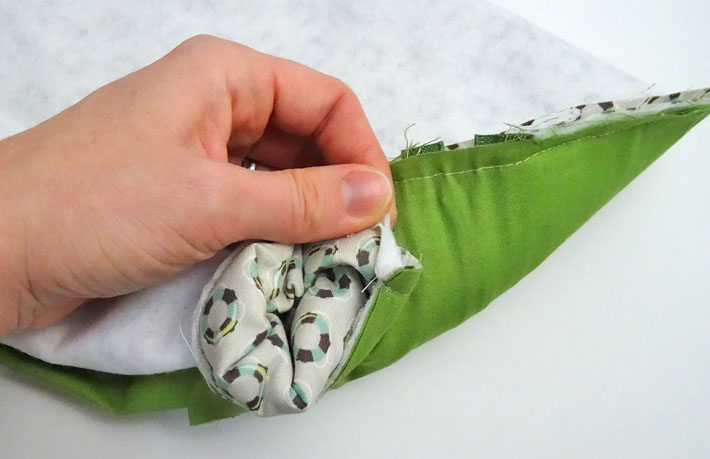
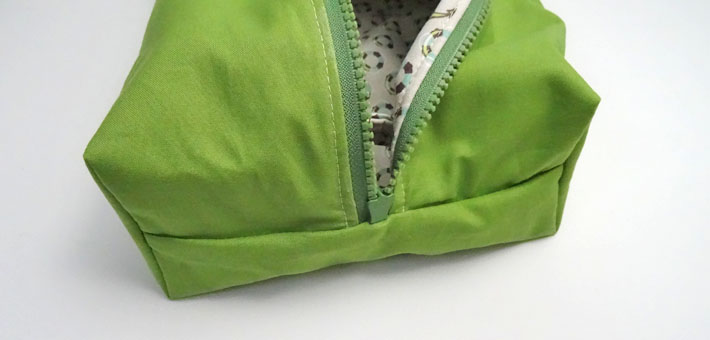
11: Turn the Dopp kit right side out through one of the rectangular corner cuts. It may seem slow, but it will turn – just keep pulling it through.
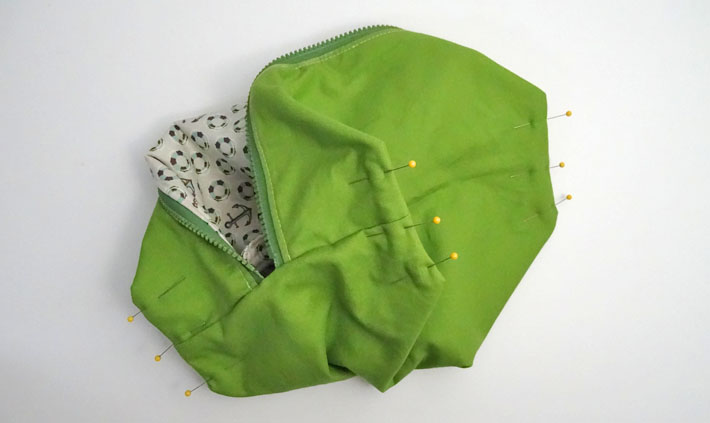
12: Re-align all corners and edges of the Dopp kit, paying close attention to the corner layers. Now we can finish the Dopp kit by making a French seam in each corner.
13: Open and re-align one of the cut corners so the short-end seam aligns with the centre of the side (see photo below). Make sure all layers are well aligned. This will create a boxed corner. Stitch the raw edges with a 1/4″ seam.
14: Trim the seam to 1/8″. Repeat Steps 13 and 14 for the other three corners.
15: Turn the Dopp kit inside out. Push out the four boxed corners well along their seams and pin each one.
16: Stitch each boxed corner with a 3/8″ seam, finishing the french seams and enclosing all raw edges.
 17: Turn your finished Dopp kit right side out and press each seamed edge as desired.
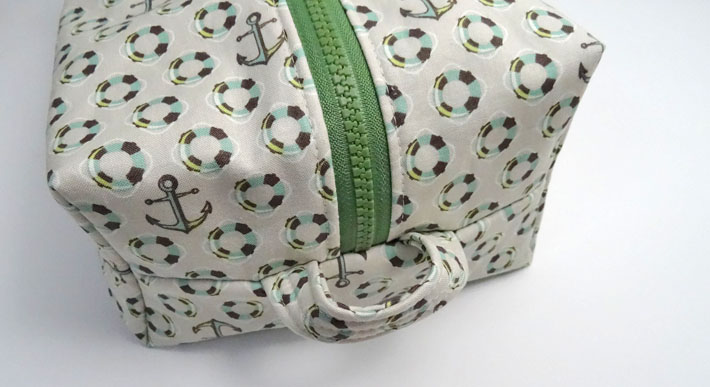
This does not print, instead it goes back to craftsy home page.
I cannot get this to print??