
Are you as smitten with succulents as we are? If you’re looking for a creative way to display these trendy plants, try making a DIY succulent wreath. These are all the rage in gardening circles, and the best part is they can be easily made in under an hour.
Follow along with this step-by-step DIY succulent wreath tutorial to learn how you can easily make a beautiful living wreath with succulent cuttings.

Photos via Garden Apothecary
DIY succulent wreath tutorial
Recently, my garden comrades at Garden Apothecary invited me to a succulent wreath making workshop. Since the event was in California, and I live in Illinois, I couldn’t attend, but they graciously agreed to share photos and tips from their successful workshop with the Bluprint community.

Notes on supplies
- If you don’t have experience with making living wreaths, the hardest part of growing your own succulent wreath will be making the the frame the succulents will grow in. The wreath is actually made from sphagnum moss and it can be costly and messy to make one from scratch. Garden Apothecary recommends buying a pre-made wreath to save some time and avoid some stress.

- If you live in a warm climate where succulents grow outdoors, you can ask neighbors for cuttings. But, if like me, you live in a gardening zone that experiences real winter, you’ll need to buy succulents at local garden centers or from an online retailer that sells succulent cuttings.
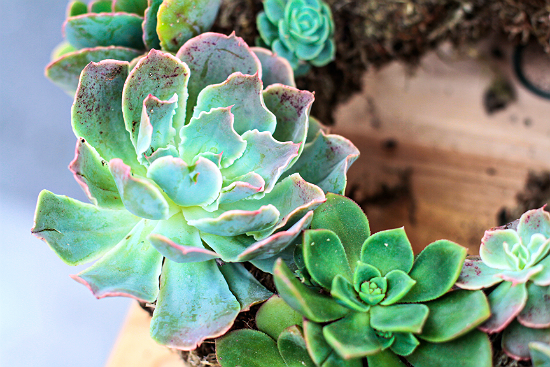
- The best succulents for a wreath are echeverias, aeonium, low-growing sedums and trailing succulents. Make sure to get some smaller sizes to fill in the gaps between larger rosettes of echeverias.
Assembling your succulent wreath
Step 1:
After you have gathered your materials, the first thing you want to do is to soak your moss wreath form in a bucket or pan of water to hydrate the moss. Lay the wreath flat in water for few minutes. Don’t overdo it, if the wreath becomes too soggy to work with, lay it flat and allow it to dry for about an hour.
Step 2:
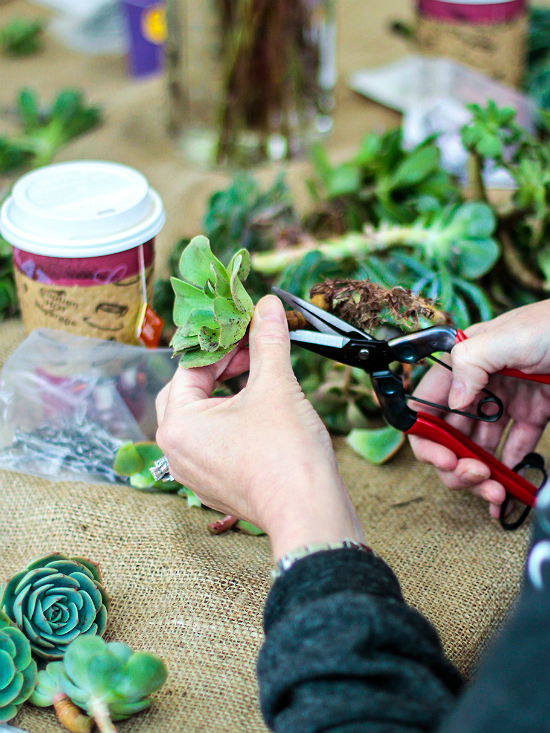
Clean up any dead leaves off your plants and make some sharp cuts to the ends of the succulent. If your plants look a little withered, soak them in water for a few minutes and shake off any excess moisture.
Step 3:
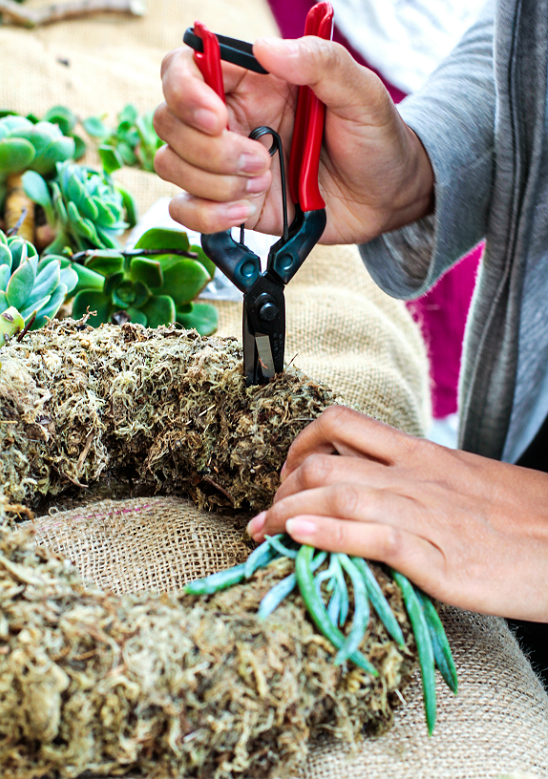
Now the fun begins! Starting at the bottom of the wreath, poke small slits or holes into the wreath just slightly smaller than the diameter of the cutting you are working with. Garden shears are good for this, but you can also use a pencil, pen or a chopstick. In fact, you should have a variety of tools on hand that you can choose from.
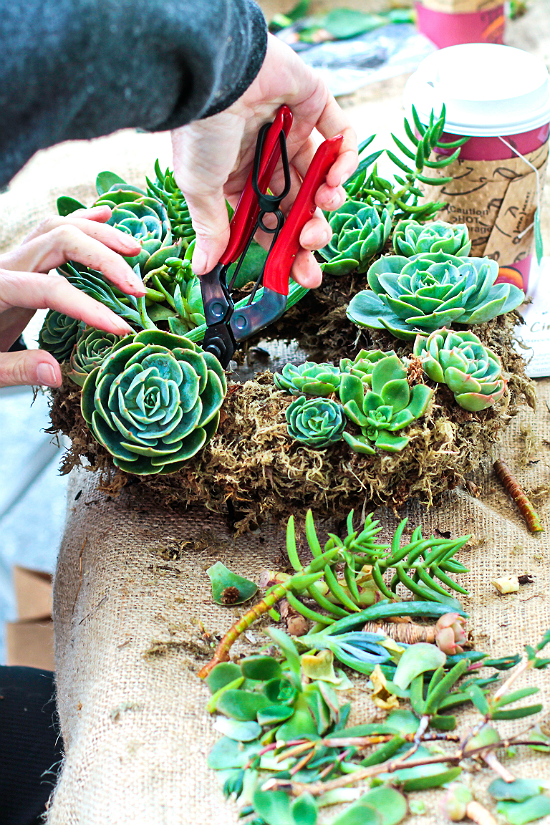
Work your way around one side of the wreath, carefully making holes just about the size of the cutting you are working with, sticking succulents into your wreath as you work. If the holes you make are much larger than the stem you are inserting, the plant can slide out before it has had a chance to root and secure itself in place. Take the little scraps and broken bits and find a spot for them in your wreath. They too will root and make your wreath look fuller.
When designing your own succulent wreath, think about putting your largest and most beautiful Echeverias center stage as if they were marking north, south, east and west on a compass.
Step 4:
After your succulent wreath has been assembled, lay it flat in a spot where it is protected from full sun for a week or two to let the cuttings take root. After that, you can hang your wreath in a spot where it can be enjoyed by everyone.
Succulents don’t require a lot of water, but be mindful of the fact that there is no soil for the plants to grow in. You will need to periodically soak your wreath to give the plants growing in it the moisture they need to grow happily.
Share tips, start a discussion or ask one of our experts or other students a question.
No Responses to “DIY Succulent Wreath: Simple Step-by-Step Tutorial”