
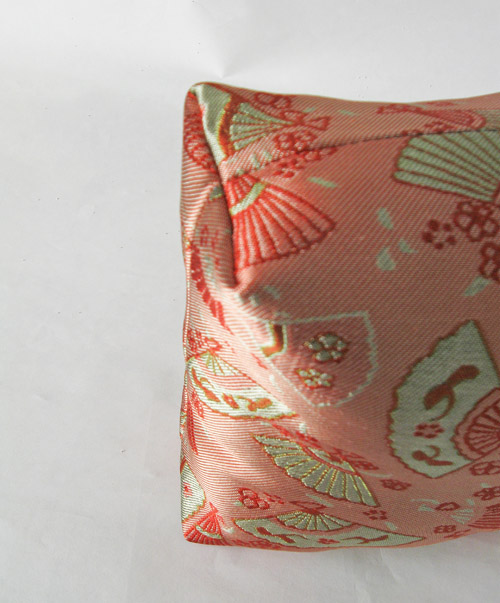
While the weather might still be saying winter, you might be dreaming of sprucing up your outdoor space in time for spring. A box edge pillow is a useful variation to have in your home decoration sewing skill set.
The box shape or square pillowcase is perfect for making cushion covers to use over foam inserts and can be customized to fit anything from a chair to picnic bench to a window seat.
Here’s how to sew your own square pillow in just three easy steps!
The box edge pillow only has a few extra seams, but similar to the way you might create a tote bag, the corners are seamed off and become box shape edges.

Step 1: Measuring your pattern
One tricky part to creating a box shape pillow cover is cutting out the pieces so that you end up with the correct finished measurements for your project. If you have purchased a square or rectangular foam cushion insert you need to calculate the lengths and seaming to result in a nice fit.
Home decor sewing often involves a little math, so here is a way to calculate your pattern measurements for this type of pillow.
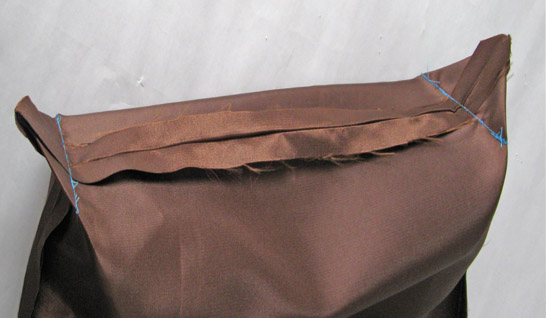
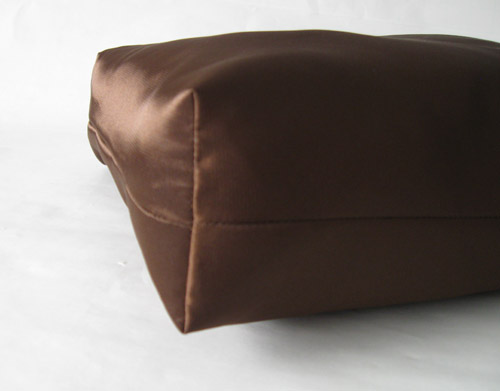
The height of the cushion is the same distance as the box edge height you will create by stitching each corner into a triangle, as shown in the blue thread.
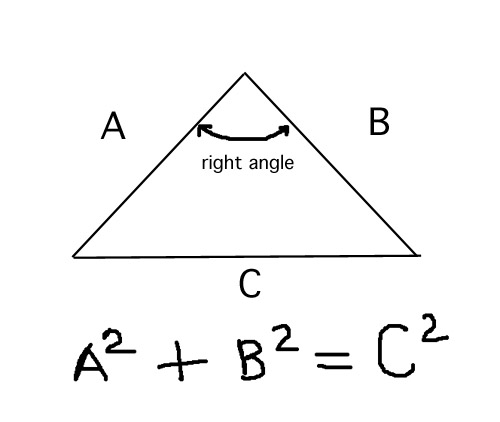
This quick method determines how long to cut your two rectangular or square pillow pieces. You can use the Pythagorean Theorem to calculate the hypotenuse of the triangle – but if you just blinked when reading “theorem” here is an easy way to calculate the measurements.
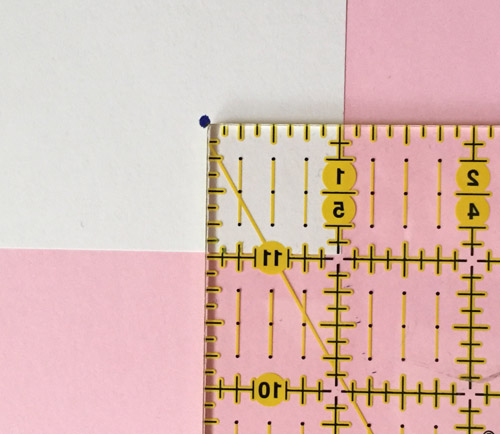
Take a piece of paper and use a square gridded ruler to mark a dot by placing the 1 inch square over the corner of the paper.
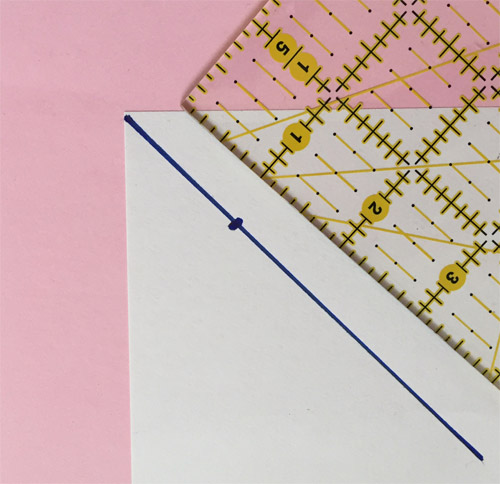
Using your straight edge, connect the dot to the corner of the paper and create a diagonal line through the corner. Now we have a model of the sewn edge of the pillow cover, and can measure how large a triangle we will sew to create the desired finished pillow height.
Using your ruler, place your height measurement centered over the seam and slide until it meets the folded edge of the pillow.
You can make a paper template as shown instead of holding the measuring tape over the diagonal line.
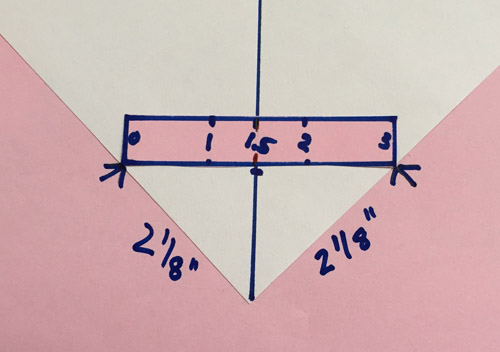
Measure the sides of the triangle created. Be sure that two sides measure the same length. This is the amount that you need to add to each edge of your pillow pieces.
In this example, we want a pillow height of 3 inches, so we will add 2 1/8 x 2 to each edge of the pillow. If we are making a pillow that is 18 x 18 x 3 inch high, we will cut squares that are 22 ¼ inch squares and then seam off the triangles to create the box shape.
Step 2: Put your pattern pieces to work.
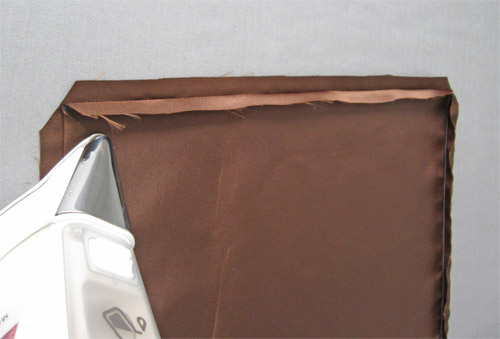
Cut our your pillow squares or rectangles, and sew them together, leaving whatever opening you choose so that you can fit it over the cushion or add pillow stuffing. Trim the corners and at this point it is helpful to press the seams open as shown.
Step 3: Pin the corners to finish it off!
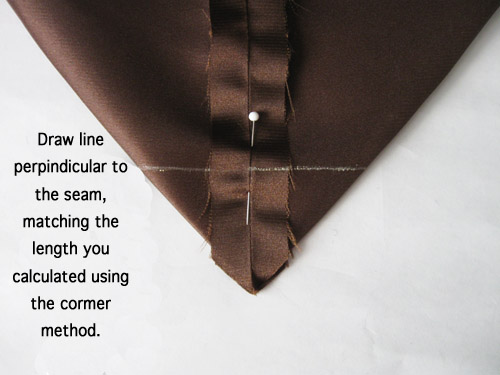
Pin the corners together with seams matching, mark your triangle and then stitch all four corners of the pillow from edge to edge as shown in the chalk line. There is no need to trim off this triangle which is created by the stitching. Next turn your pillow cover right side out and place over your cushion or fill with pillow stuffing.
Now you have added the box-edge pillow to your home dec sewing list. Do you have a seat or bench that needs a cushion? Give it a try!
I would love this class in video form. The math is too complex for me.