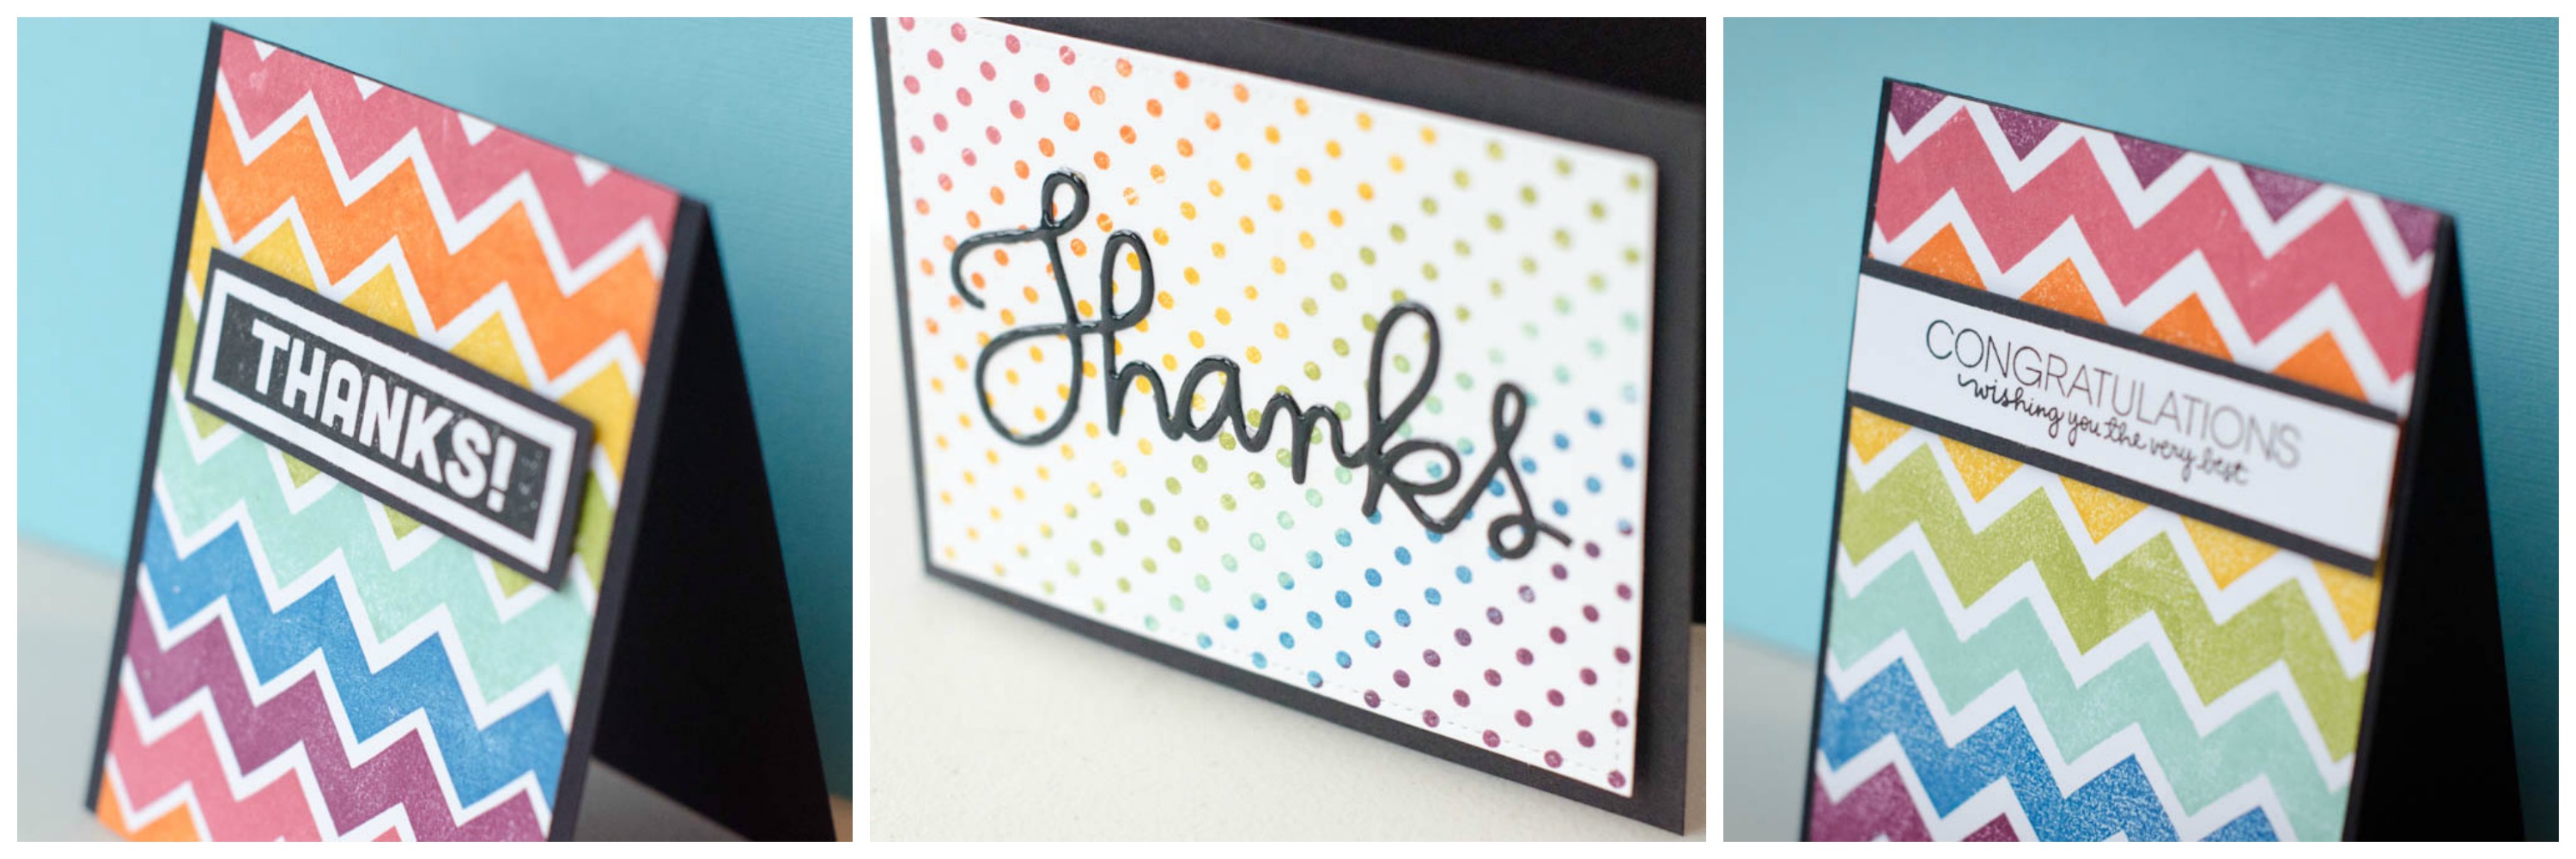
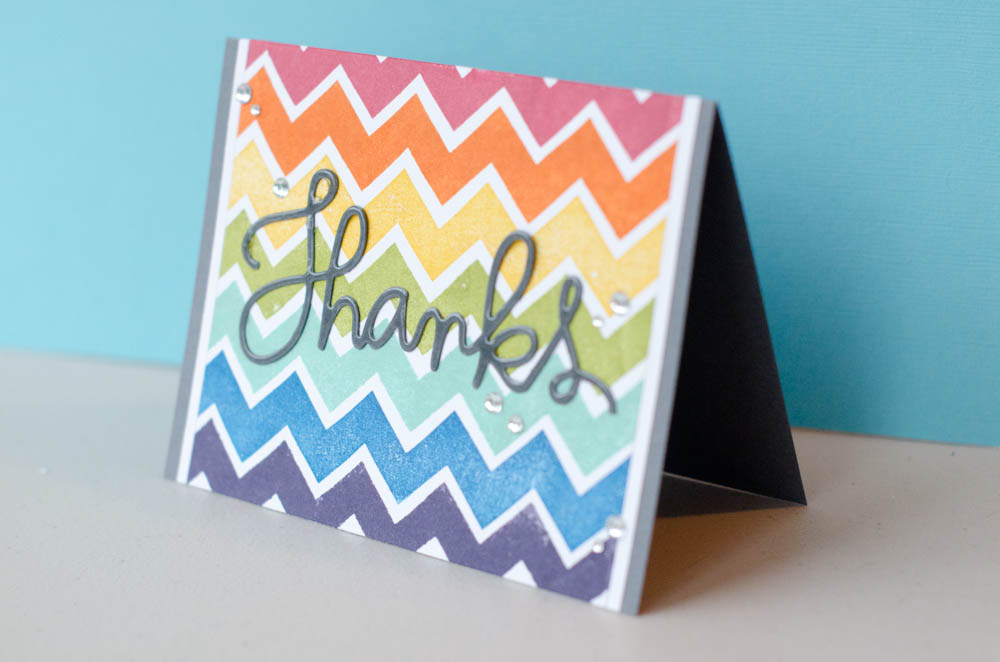
Who needs patterned paper when you have stamps? Follow these fun stamping techniques to stamp bold and fun rainbow colored backgrounds for your handmade greeting cards. You can easily customize these designs to whatever color ink or cardstock you have on hand. This is a wonderful way to really practice your stamping and be creative. Let’s get inky!
How to make DIY rainbow cards
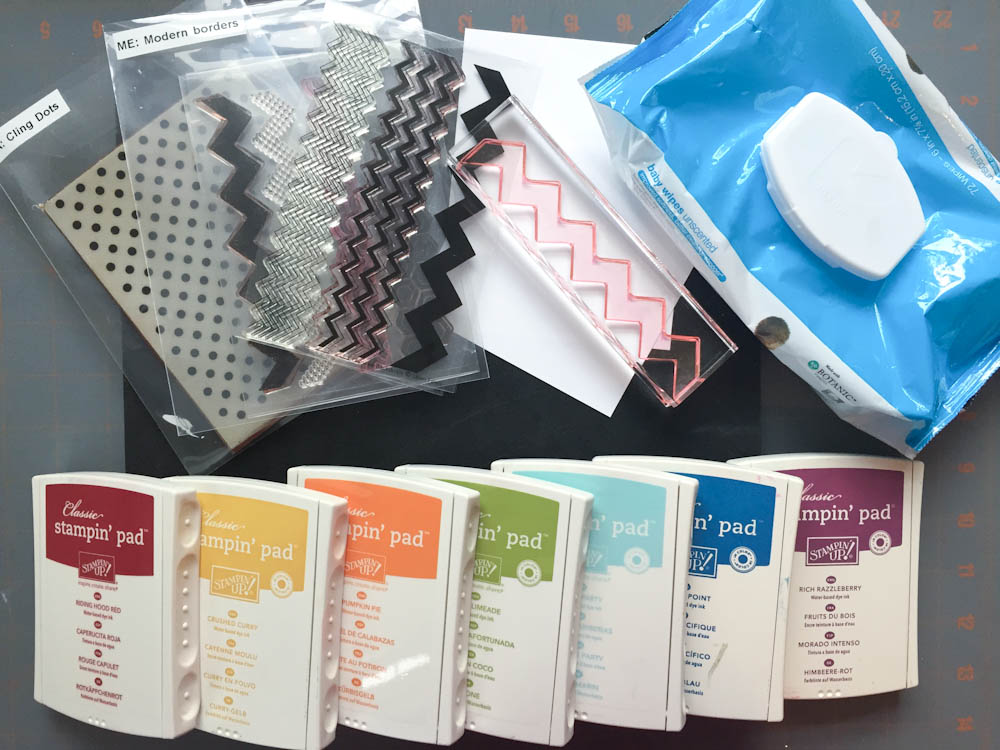
Supplies you’ll need:
- Wide clear stamp
- Large background stamp
- Acrylic block or stamp press
- White cardstock trimmed to 4.25″ x 5.5″
- Multiple colors of ink pads and/or markers
- Baby wipe or another stamp cleaner
- Optional: foam stamp pad, scrap paper
Technique #1: Use clear stamps to build your background
Step 1:
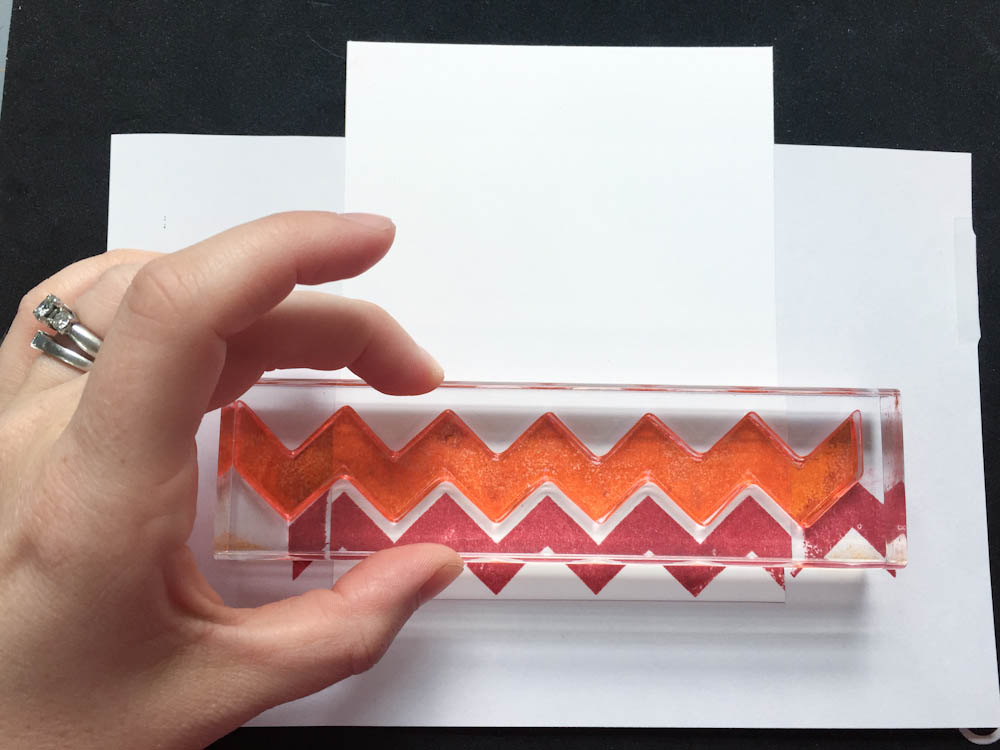
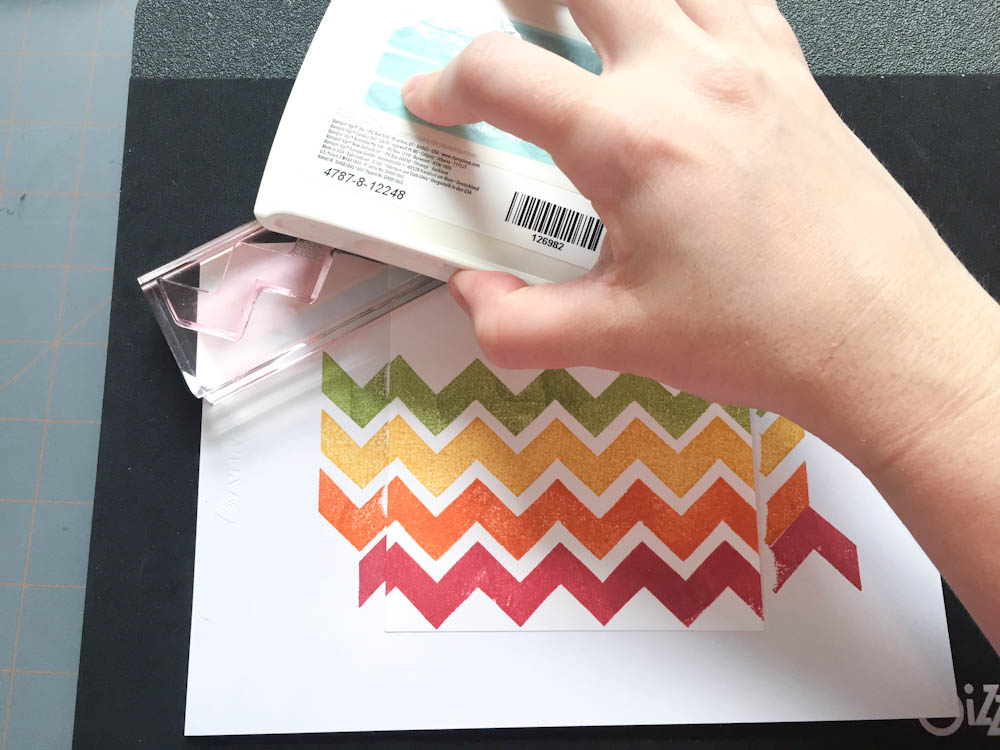
Adhere your stamp to your block and apply your first ink color to the stamp. Place your white cardstock on some scrap paper to avoid getting any extra ink on your work surface. Line your stamp up along the bottom edge of the cardstock and press down firmly and evenly. Starting at the bottom of the cardstock will make it much easier to line up your next row of stamping. It will be easier to see where you are stamping as you work your way up.
Tip: You may find it easier to use a firm foam pad underneath to get the best-stamped image. In these photos, I am using the Stampers Secret Weapon by Sizzix.
Step 2:
Use a baby wipe to clean the ink off your stamp. Make sure that it’s fully clean of any ink residue, as you don’t want to interfere with the next color.
Step 3:
Apply the next color of ink to your stamp. Line up the block directly above your previous stamped image. You should be able to see through the clear block and stamp to space and line things up just right. Continue to stamp each row, alternating colors until you have filled your entire sheet of cardstock.
Tip: You may find it easier to apply ink by placing your stamp face up on your work surface and tapping it with your ink pad.
Step 4:
Trim your cardstock to the desired size. The size of the cardstock that we started with (4.25″ x 5.5″) is the size of a regular A2 sized card front. You may opt to trim down a little to clean up the edges and allow for decorative border or edge to your card front.
Technique #2: Use a large background stamp and ink pads
Step 1:
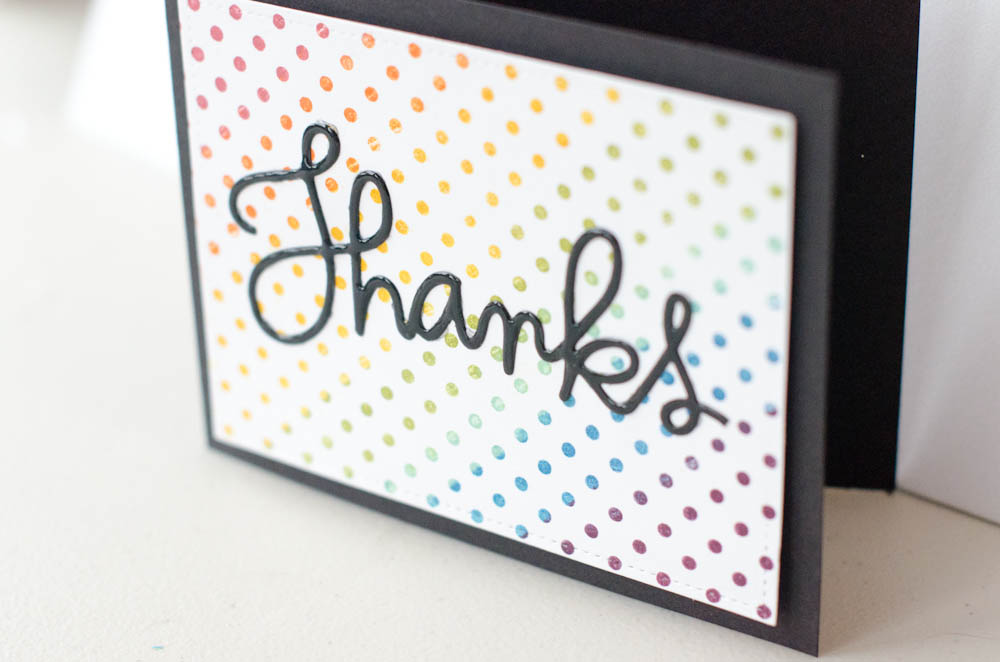
Place your large rubber background stamp flat on your work surface, with the red rubber facing up.
Step 2:
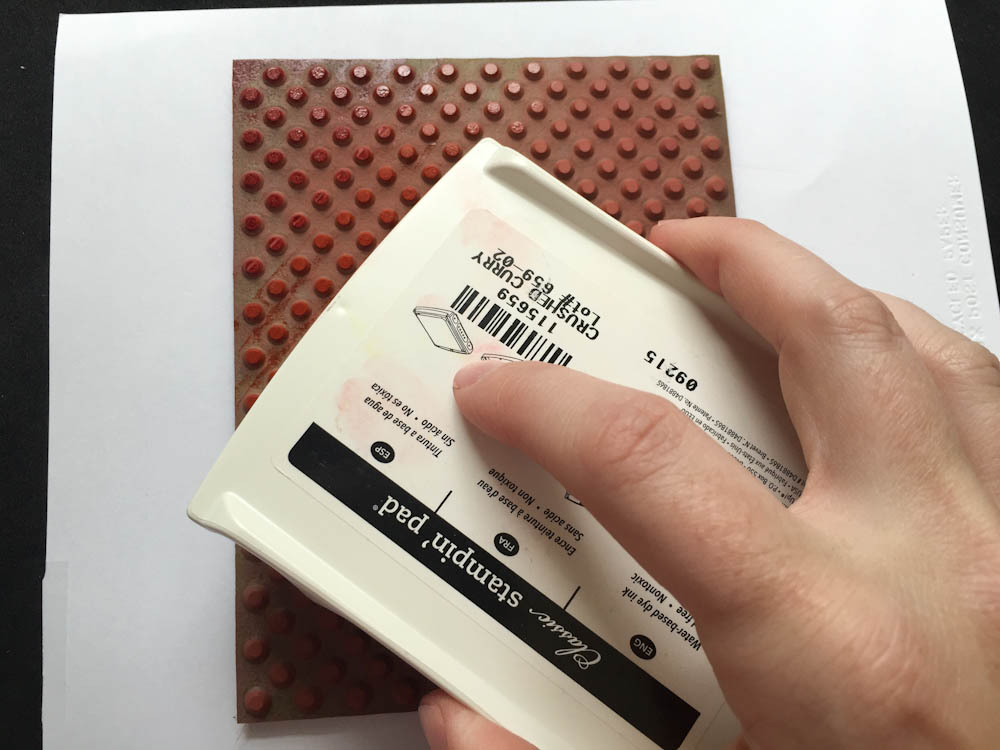
Use the edge your stamp pad to dab ink onto the stamp, starting at the very top corner. Try and apply the ink in only a small area of the stamp, leaving room for the other colors.
Tip: You may find it easier to apply ink by placing your stamp face up on your work surface and tapping it with your ink pad.
Step 3:
Alternate colors and add ink to remaining areas of the stamp, making sure to cover all areas. Try not to overlap too much as you don’t want to transfer too much color to your ink pads.
Step 4:
Prior to stamping your image, you may find it helpful to lightly breathe on the fully inked stamp. This will help re-moisten any ink that may have dried while you were applying color.
Step 5:
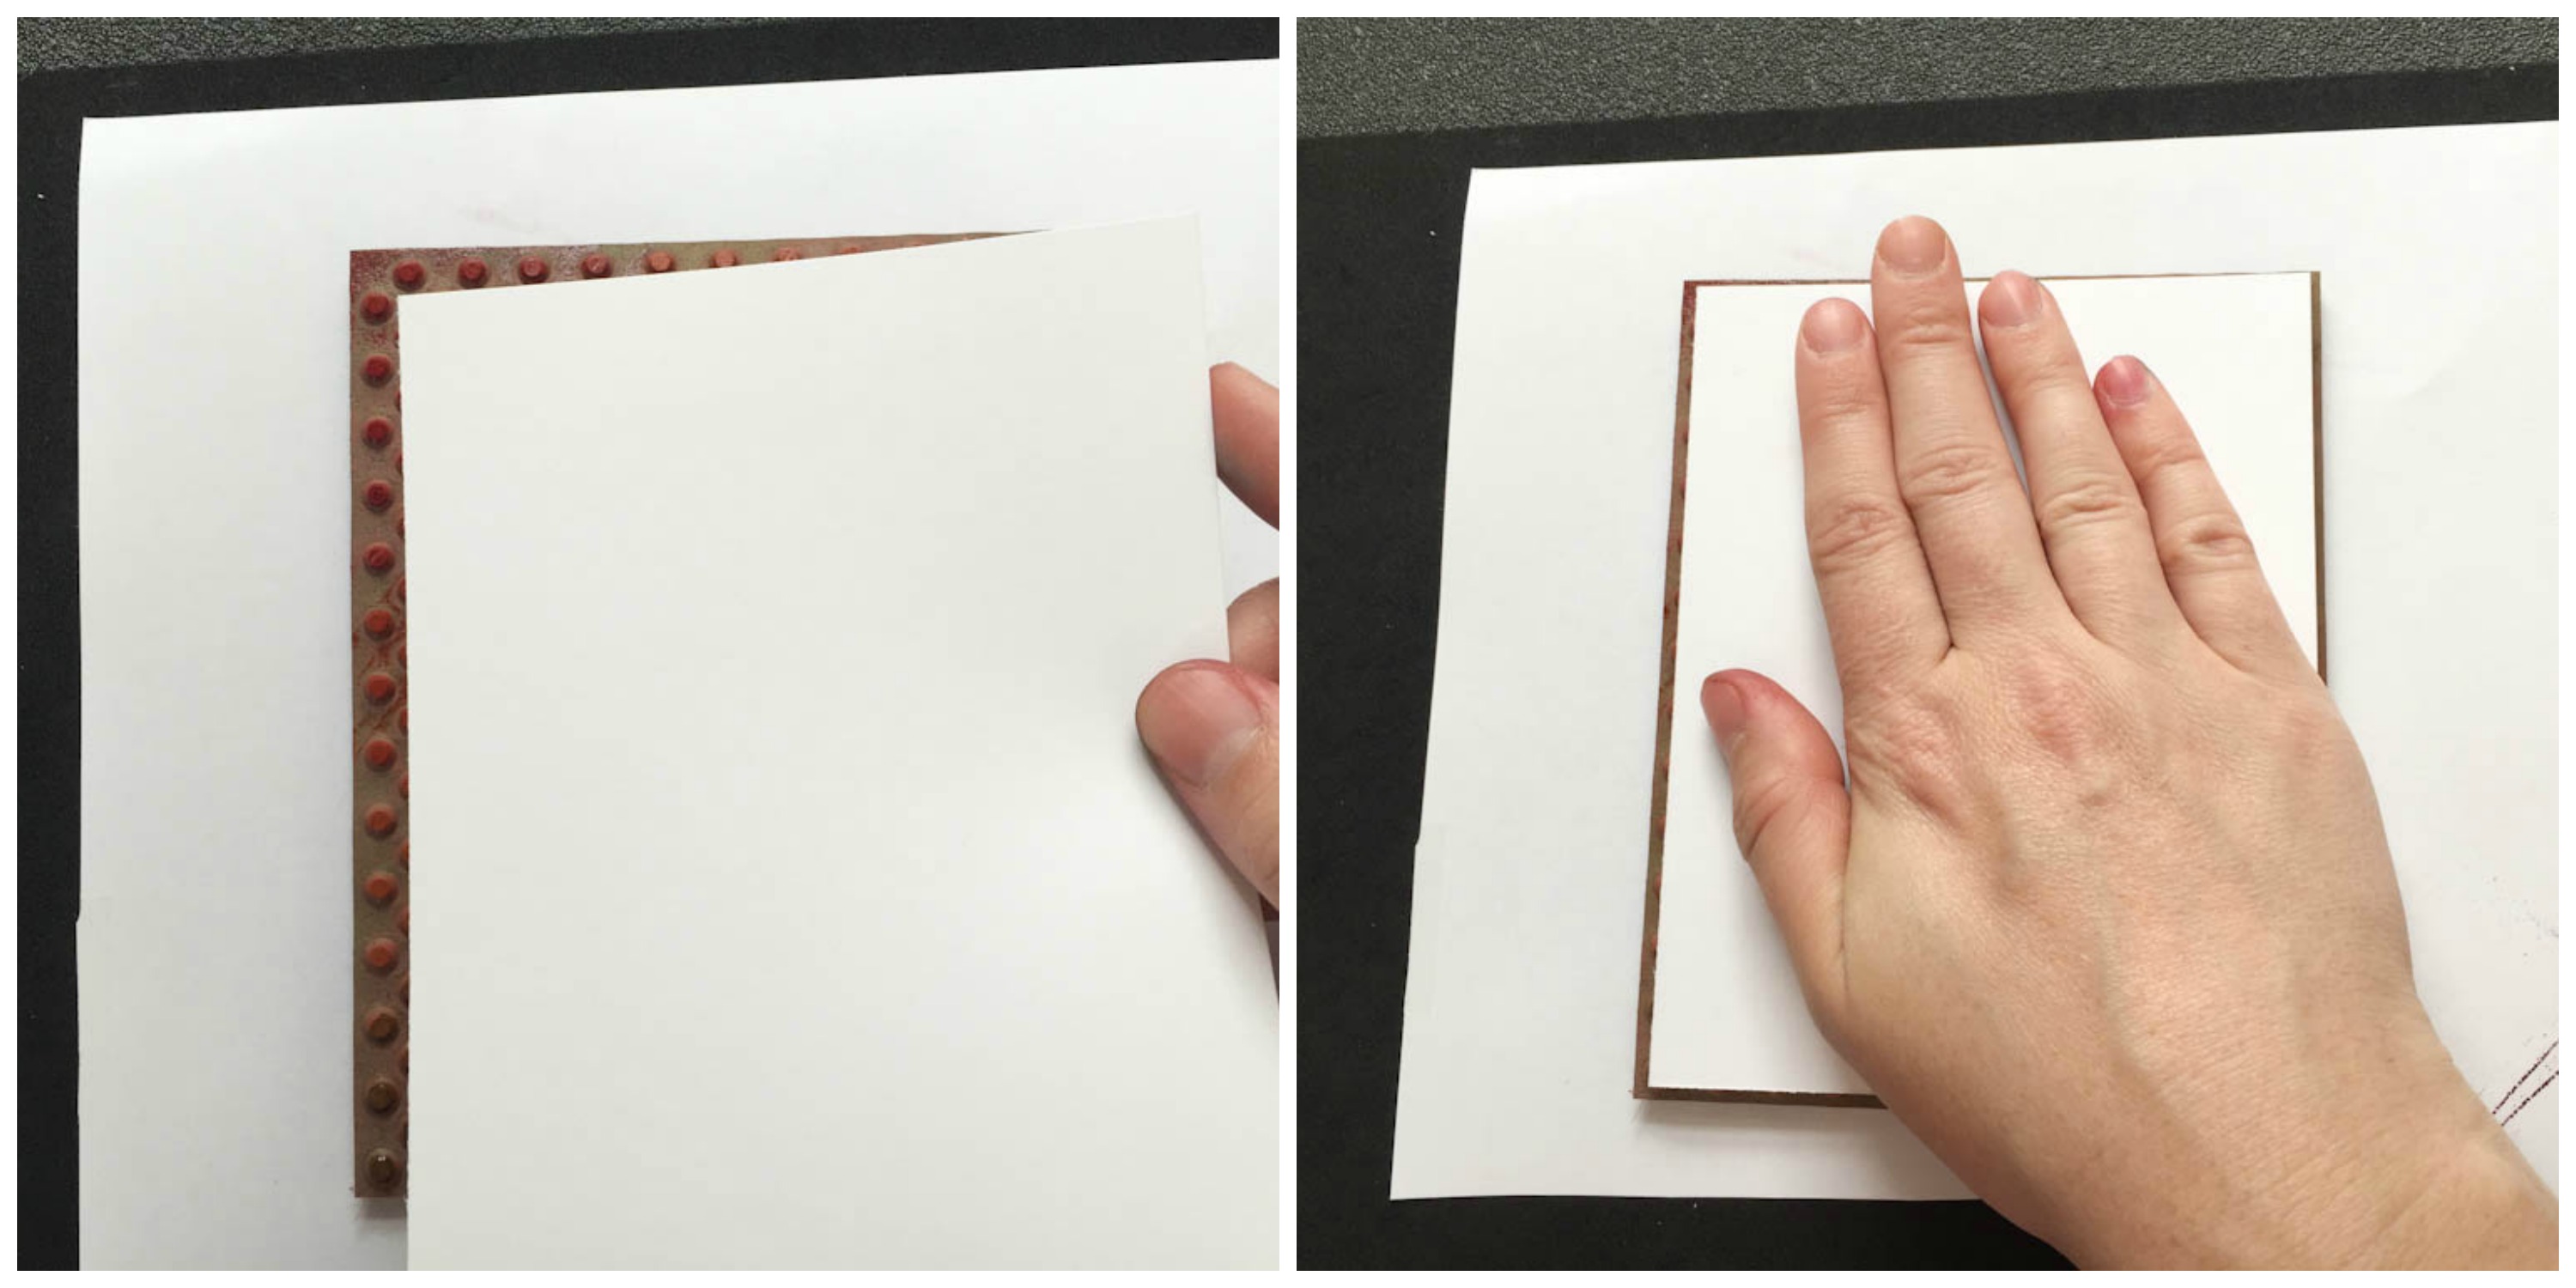
Place your A2 sized cardstock on top of the inked up stamp and use your hand to hold in place. Use your other hand to gently rub all over and transfer the ink to the cardstock. Be careful to not shift or wiggle the cardstock. Apply even pressure to all parts of the stamp.
Step 6:
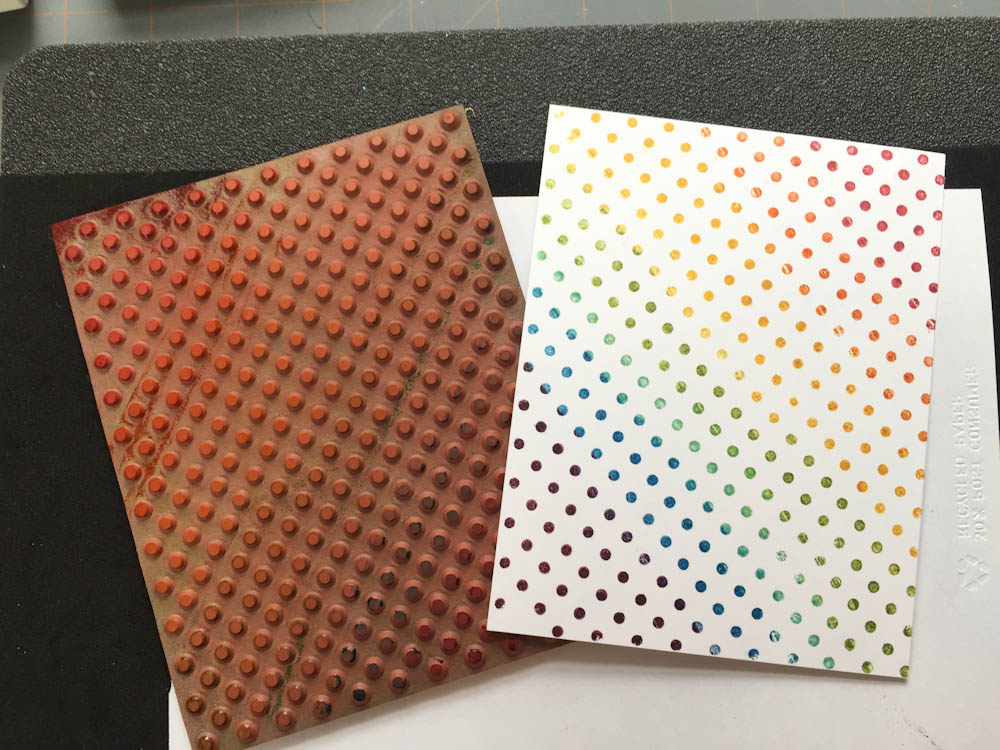
Carefully peel back the cardstock and reveal your gorgeous rainbow stamped background!
Technique #3: Use a large background stamp and markers
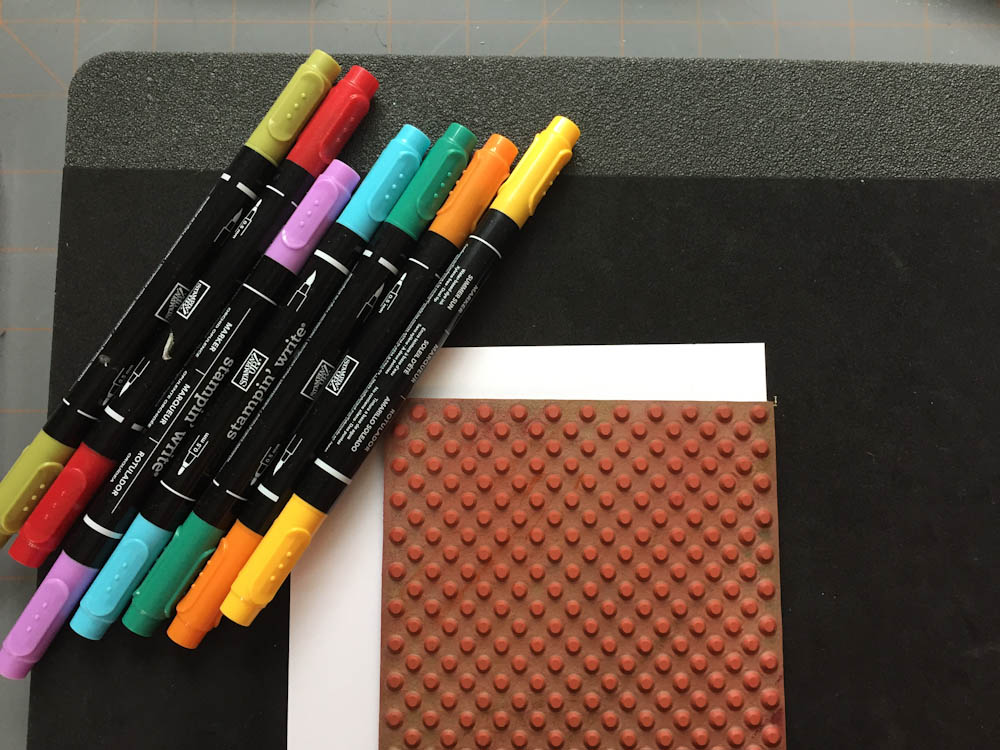
Step 1:
This technique follows the same steps as Technique #2. You will use a large rubber background stamp, placing it face up on your work surface.
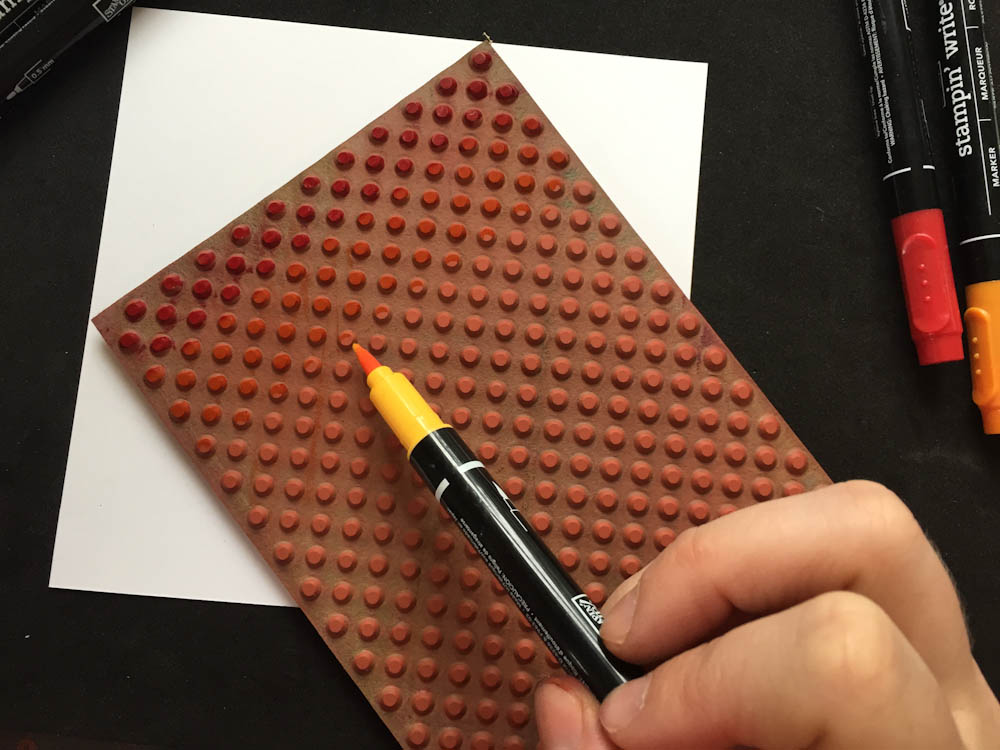
Step 2:
This time, we will use markers to apply ink to the stamp. Brush the markers across your stamp in the desired pattern, being sure to cover all areas.
Step 3:
Just as before, you may find it best to lightly breathe over your stamp just before applying your paper to re-moisten any ink that may have dried as you applied color.
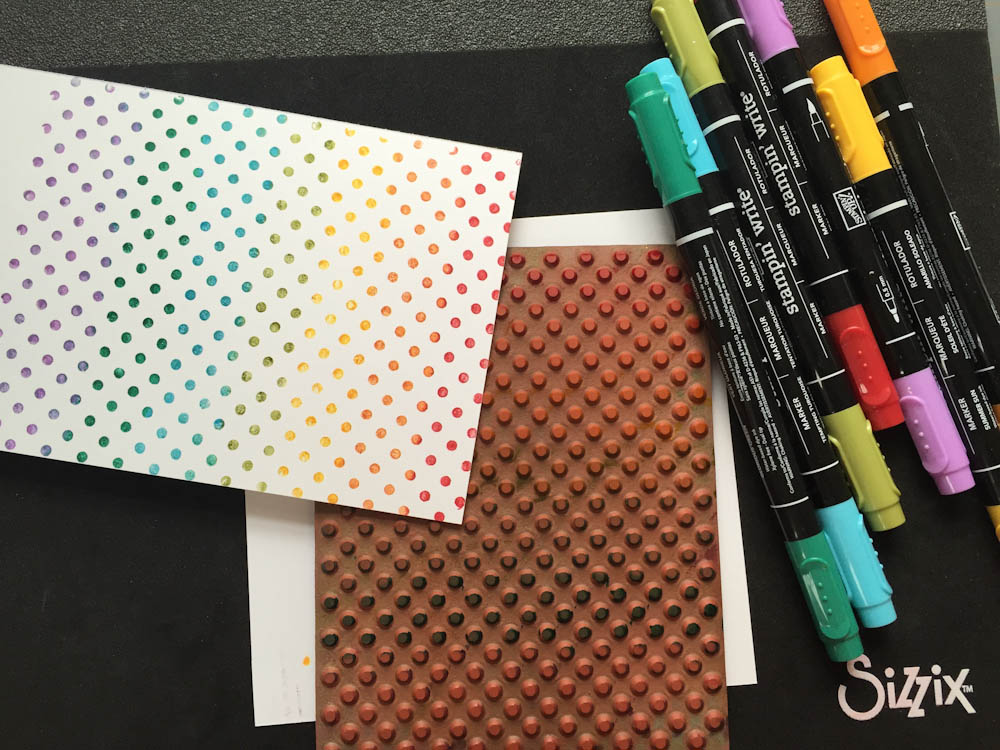
Step 4:
Follow remaining Steps 4 & 5 described above, and you will have a wonderfully colored rainbow background!

Share tips, start a discussion or ask one of our experts or other students a question.
No Responses to “Create Colorful DIY Rainbow Cards: 3 Fun & Free Mini-Tutorials”