
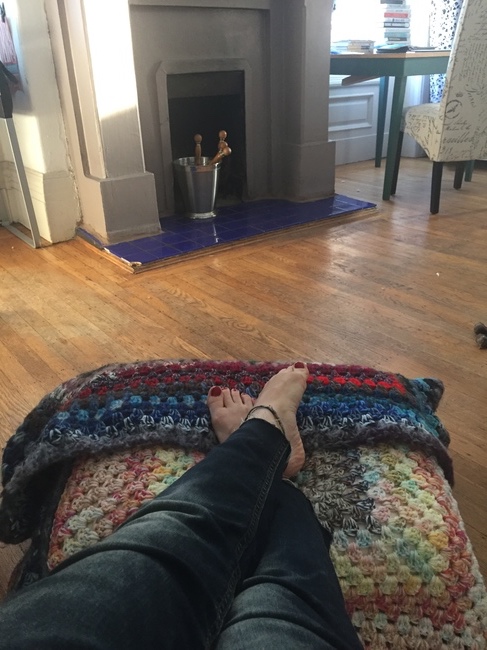
What is your room missing? You have a couch, a chair, a table, a TV… maybe what you’re missing is a pouf!
A crochet pouf is the chic equivalent to a bean bag chair for comfy lounging on the floor, and it serves the dual purpose of an ottoman. This crochet pouf pattern uses two different sizes of the classic crochet granny square stuffed with 3 or 4 basic bed pillows for a design that will make you smile while it makes you cozy.

Photos by Kathryn Vercillo of Crochet Concupiscence
How to make a crochet pouf
What you need:
- This tutorial uses a granny square for the cover. The two squares are made using scrap yarn, held together double stranded, and the crochet hook size of your choosing for the project.
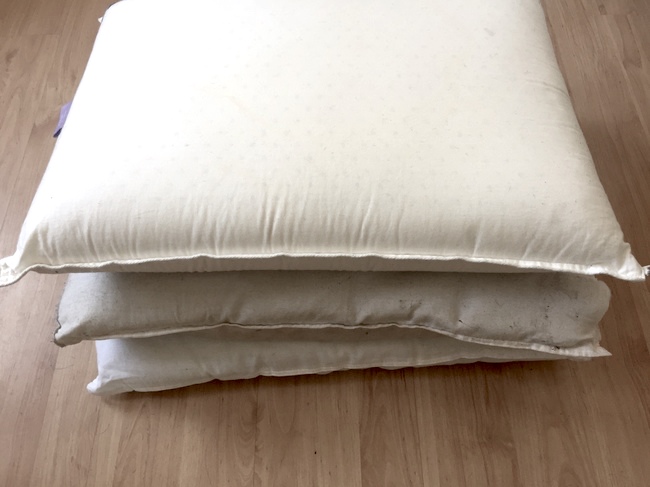
- This tutorial uses 3-4 bed pillows for the stuffing but you can adapt its shape and sturdiness by using the stuffing of your choosing.
Crocheting the granny squares
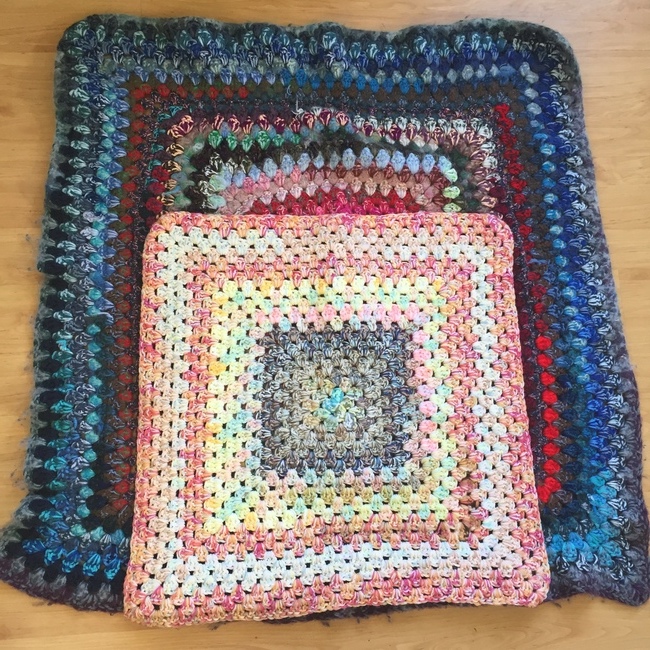
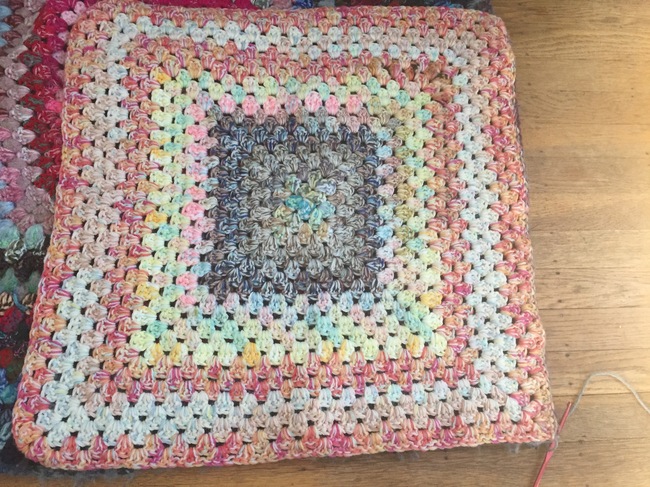
You will make two crochet granny squares for this project using a classic granny square crochet pattern. Note: Any square pattern will work as long as you can easily add rounds.
The first crochet granny square is sized to the length of the cushions.
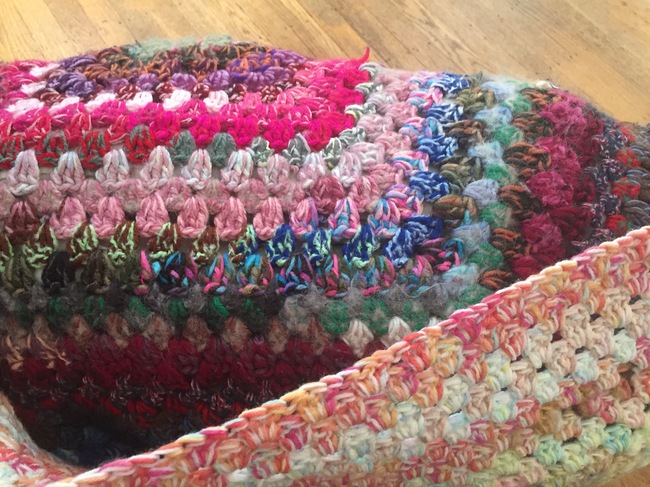
The second one is larger: It is the same length with extra width that builds the “walls” of the pouf, giving it its height.
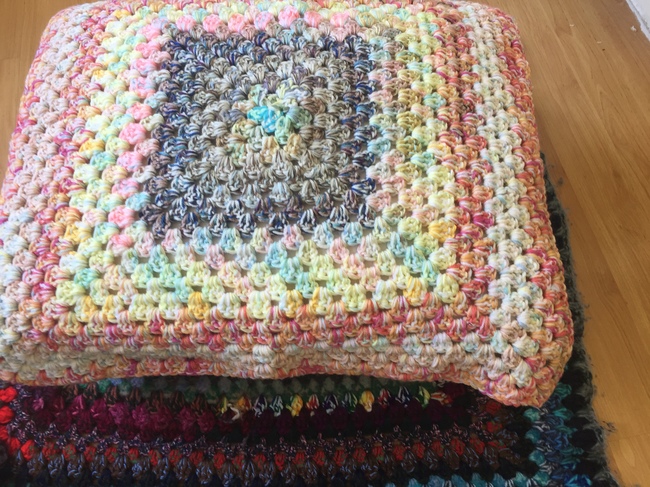
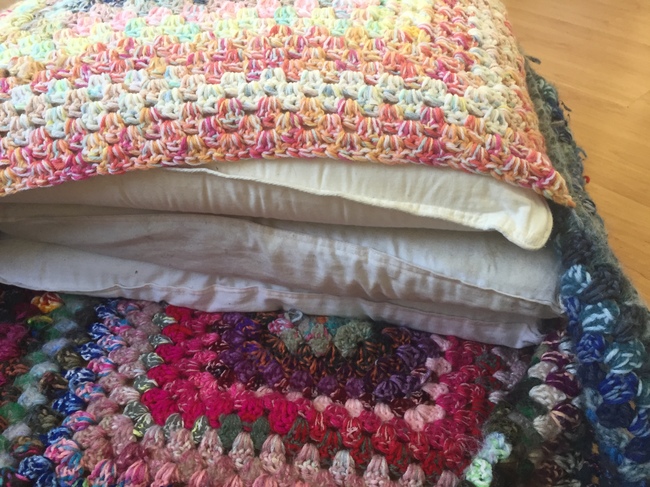
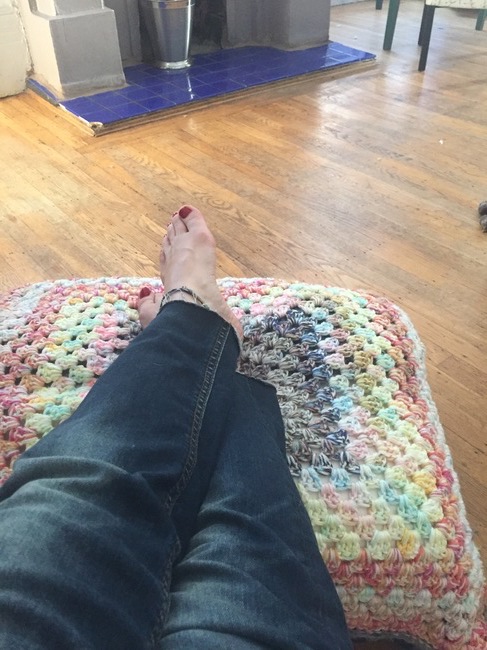
If you look at the picture above, you’ll see that the smaller crochet granny square is sitting on top of the stack of pillows. The bottom square underneath can then be folded up to cover the entire stack inside.
The size of your crochet granny squares will vary depending on the size of the filling you are using. For mine, the small crochet granny square was approximately 22″, and the larger granny square was 36″. This resulted in a pretty loose cover; for a tighter fit and a more solid pouf, use a smaller size for the larger of the two granny squares.
Seaming the crochet granny squares
The two granny squares will be connected on three sides, leaving an opening at the top where you can insert the cushion.
Step 1: Place little square atop big square
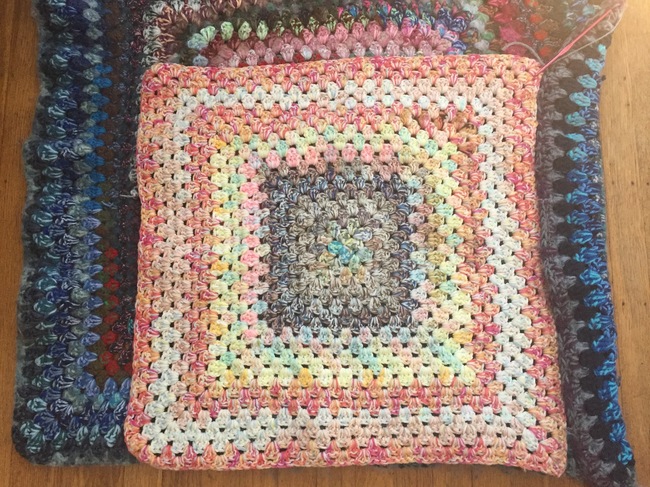
Place the little square on top of the big square in preparation for seaming. Match the bottom right corners.
Step 2: Seam the right side
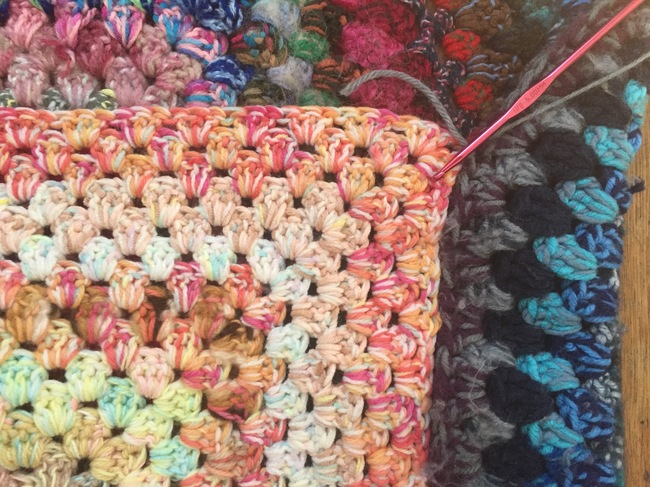
Beginning at the top right corner of the smaller granny squares, join your seaming yarn to connect it the small square with the side of the larger square. Use the seaming method of your choice, such as whipstitch or slip stitch seaming. Seam from the top of the small square down to the bottom right corner of both squares.
Step 3: Seam the bottom of the crochet pouf
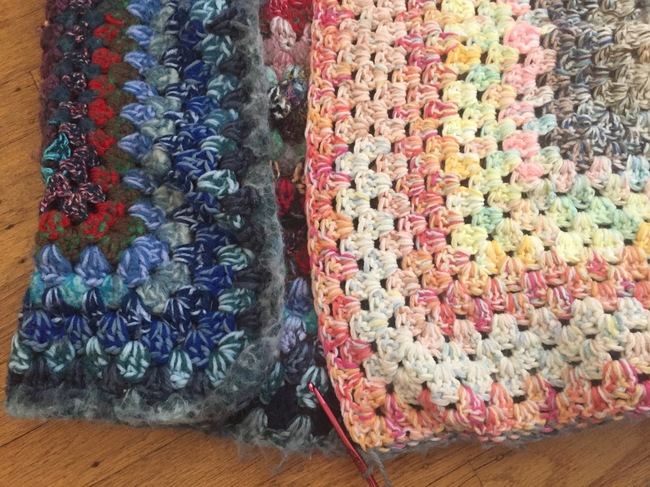
Continue seaming around the corner of the pouf, securing both squares together at the bottom from the right corner to the bottom left corner of the smaller square.
Step 4: Seam the left side
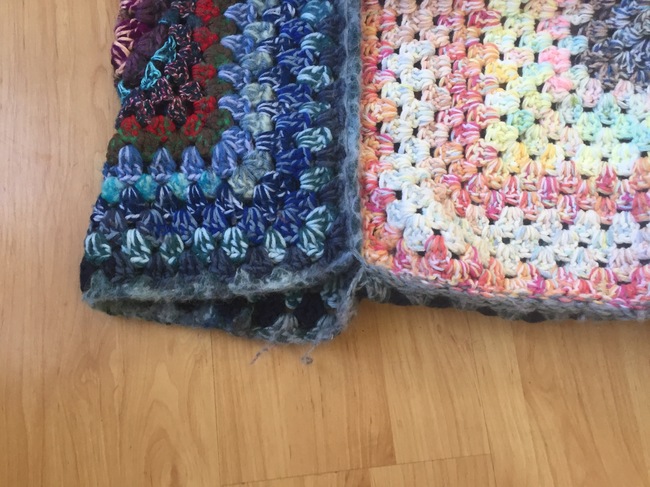
Fold the left side of the larger square in to meet the left side of the smaller square. Continue seaming around the corner, attaching the bottom left corner of the two squares to one another. Seam together the left side of the small square to the left side of the large square. When you reach the top of the square, finish off and weave in ends.
Step 5: Finish the seaming
You’ll notice an opening at the bottom of the pouf cover. You can seam it closed now, or you can wait until you’ve inserted the stuffing (this is a good option if you think it will be a tight fit).
When you’re ready, simply attach yarn to the right side and seam that bottom portion together to the left side using the same seaming method chosen earlier.
Stuffing the crochet pouf
Once you have seamed together all but the fourth side of the crochet pouf cover, it’s time to stuff it. What you basically have is an envelope, and you are going to stick the pillows into the envelope. If there is too much extra room, add additional stuffing to get the firmness you prefer.
Finishing the crochet pouf
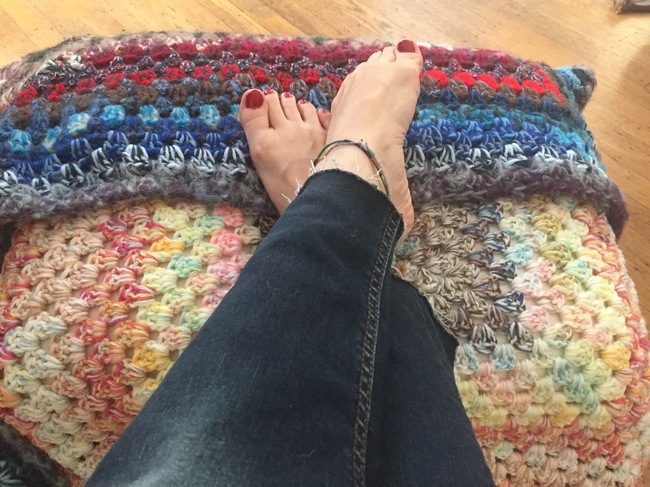
Once the pillows are inside the pouf, determine how you’d like to close it up. If the larger of the two squares is large enough, it will fold nicely over the other square and hold the pillows in without any extra work.
Another option is to tuck the flap from the larger square into the pouf, between the smaller square and the pillow closest to it.
You could also choose to add buttons or ribbon to secure the top flap to the bottom flap and keep it closed. If you do not want a removable cover, you could use seaming to crochet the entire thing closed.
Share tips, start a discussion or ask one of our experts or other students a question.
No Responses to “Crochet a Cute Cozy Ottoman With Your Leftover Yarn!”