
 Tutorial photos by Kathryn Vercillo of Crochet Concupiscence
The slip stitch join
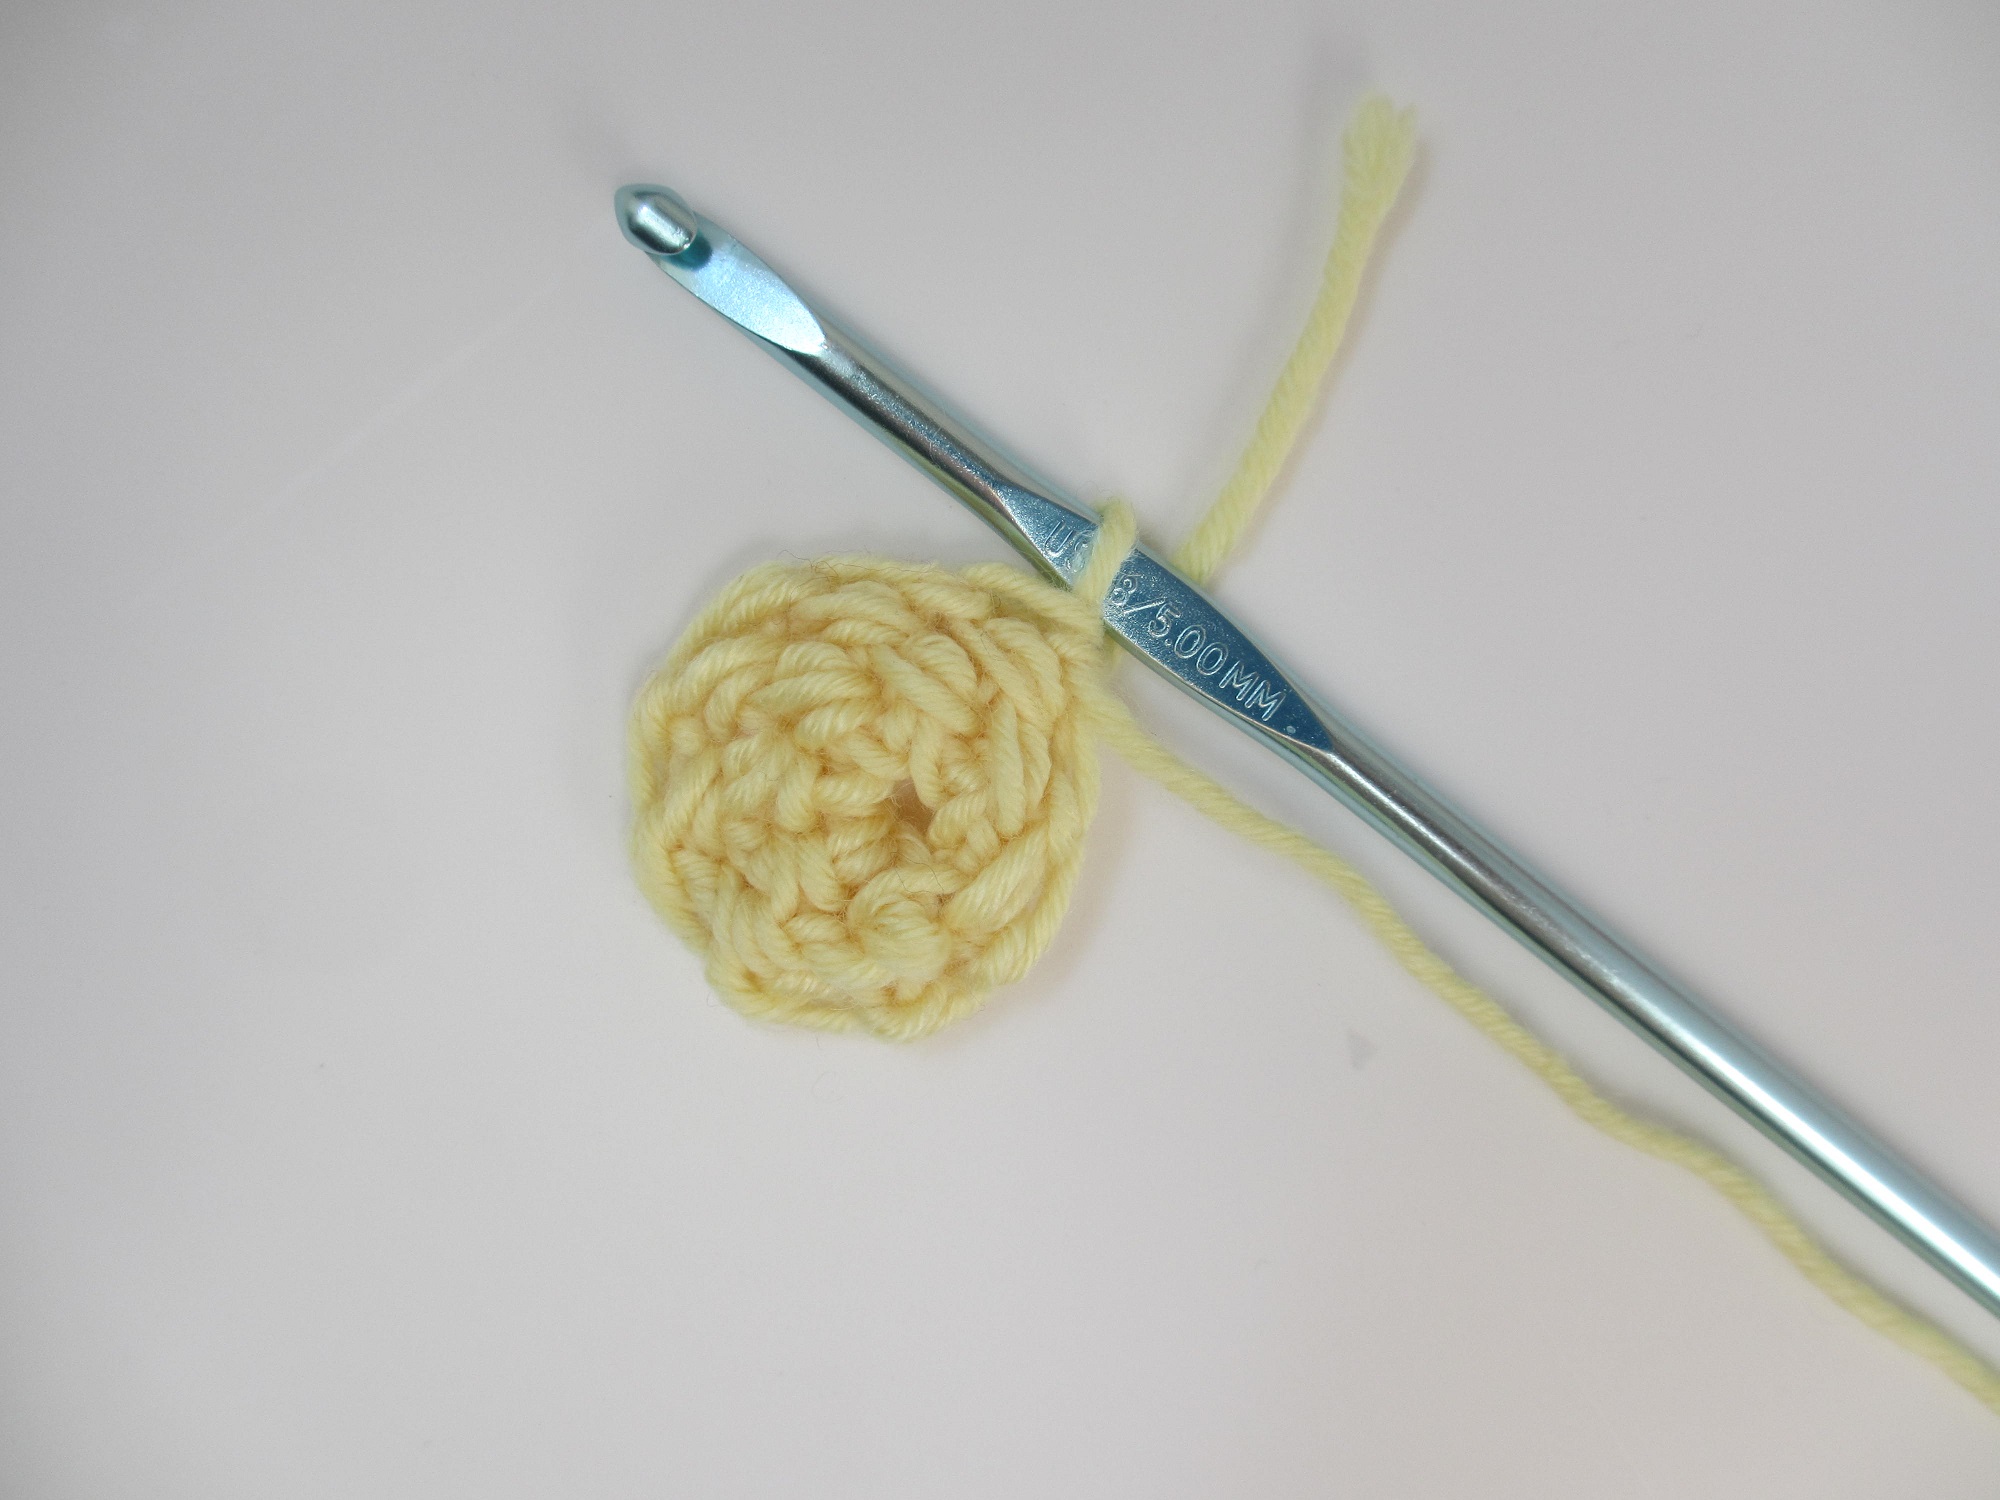 Image via Craftsy blogger Ashley Little
The invisible join crochet technique you’ll read about later in this post is an alternative to the slip stitch join, which is the method that almost all crocheter learn. In fact, many crochet-in-the-round patterns end each round with “slip stitch to join.”
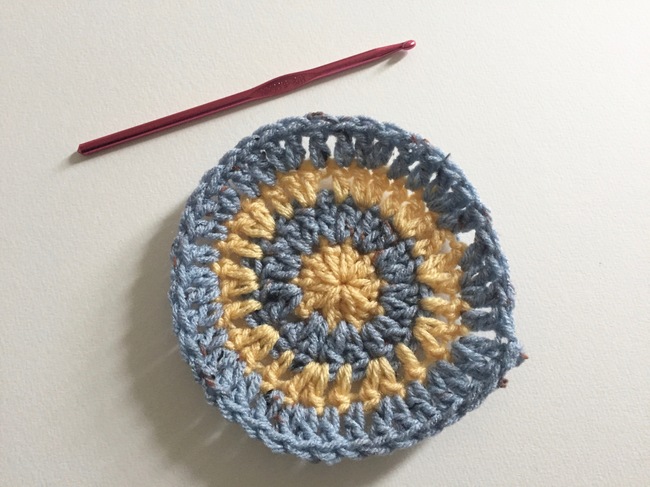
With a slip stitch join, you can often see the join itself — there’s a line running from the center round all the way to the edge, even when you crochet a perfectly flat circle.
The invisible join eliminates that and makes for a neater, more polished crochet project. You can substitute this invisible for any crochet project worked in the round.
Image via Craftsy blogger Ashley Little
The invisible join crochet technique you’ll read about later in this post is an alternative to the slip stitch join, which is the method that almost all crocheter learn. In fact, many crochet-in-the-round patterns end each round with “slip stitch to join.”
With a slip stitch join, you can often see the join itself — there’s a line running from the center round all the way to the edge, even when you crochet a perfectly flat circle.
The invisible join eliminates that and makes for a neater, more polished crochet project. You can substitute this invisible for any crochet project worked in the round.
What is the invisible join?
Before we get into the details of the technique, let’s get a sense of what it is all about. The invisible join is, more or less, a fake stitch that you create at the beginning of each round. It’s an extra stitch that you won’t find in the directions for regular join-in-the-round projects.Crochet invisible join in the first round
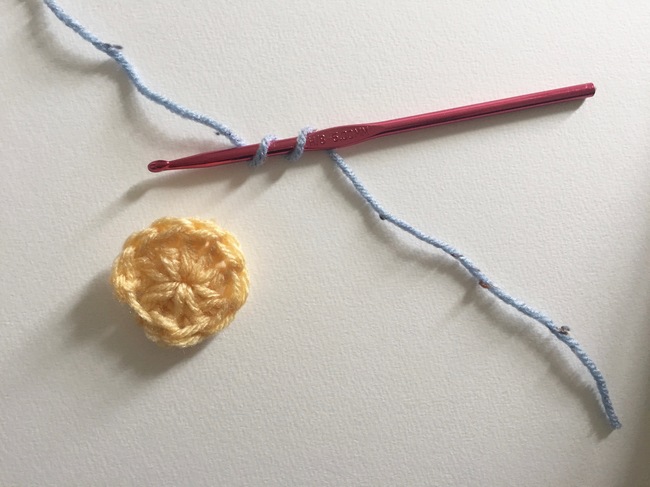
Step 1: Crochet all the stitches in your first round
 In my example, I did the following: ch 3, 9 dc in first ch. Alternatively you could work 10 dc into a magic ring.
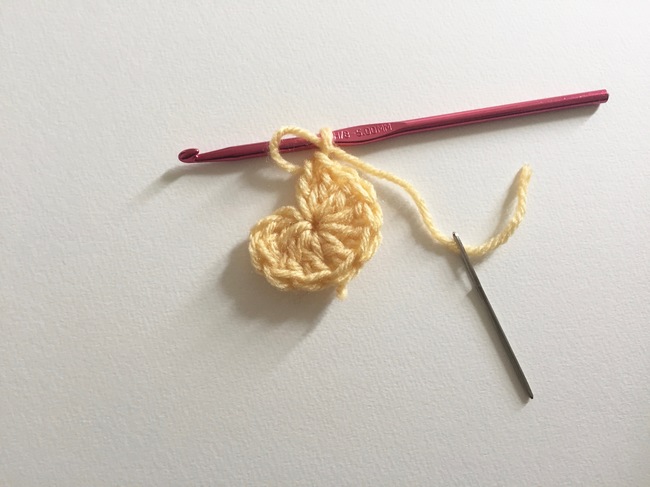
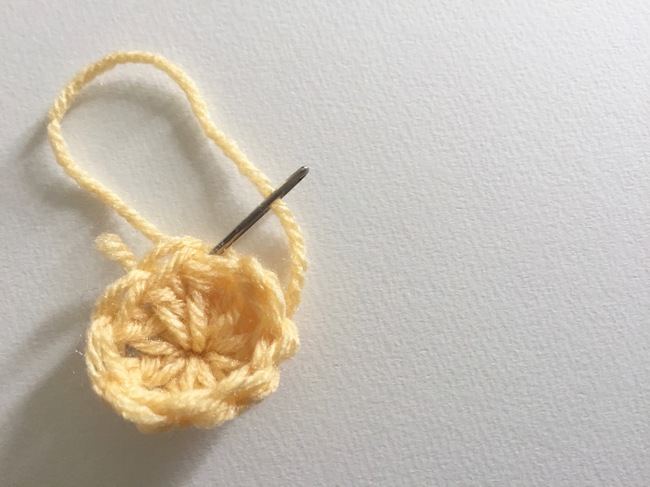
Step 2: Finish off the round
 This is where you’d typically sl st to join. Instead, we’re going to cut the yarn, leaving a long tail. Thread this tail through a tapestry needle.
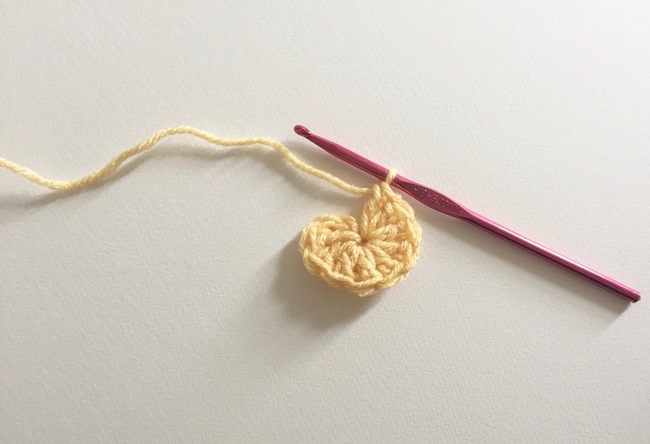
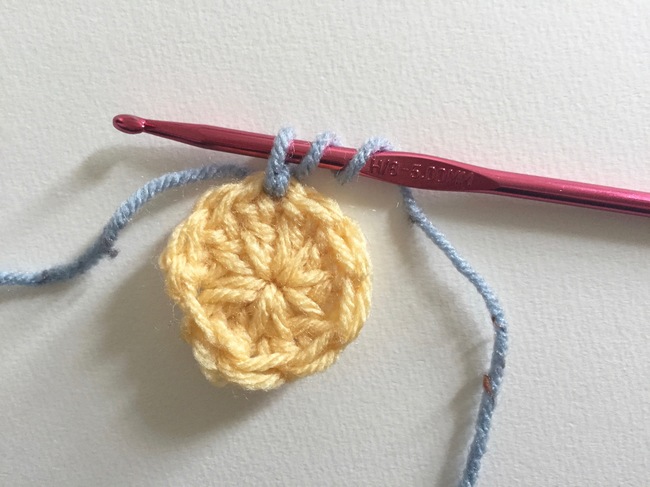
Step 3: Pull the tail through stitch
 Use your tapestry needle to thread the yarn tail through the last loop on your hook, the top of the last dc stitch. You can leave the loop on the hook or remove the hook first — whatever is more comfortable for you.
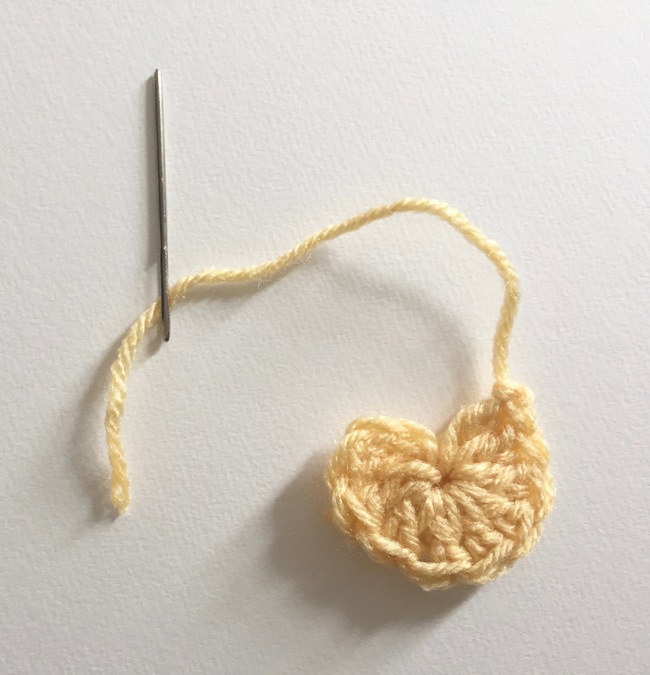 To complete this step, simply remove the hook and pull the yarn tail tight to secure it.
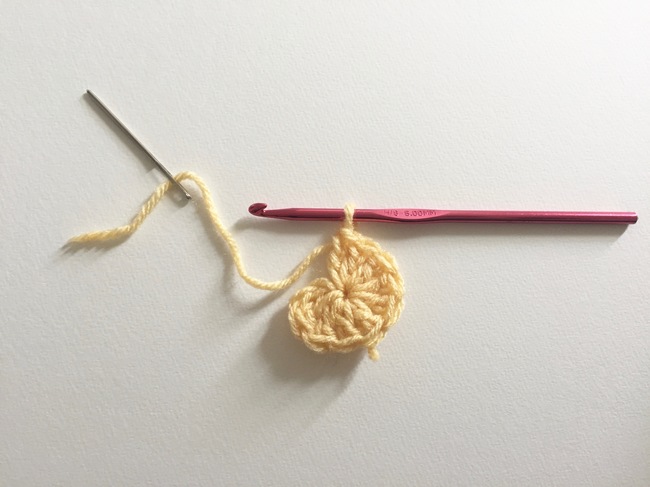
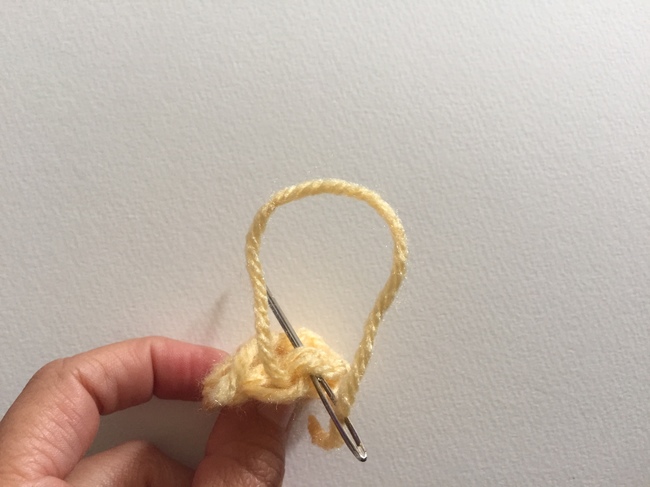
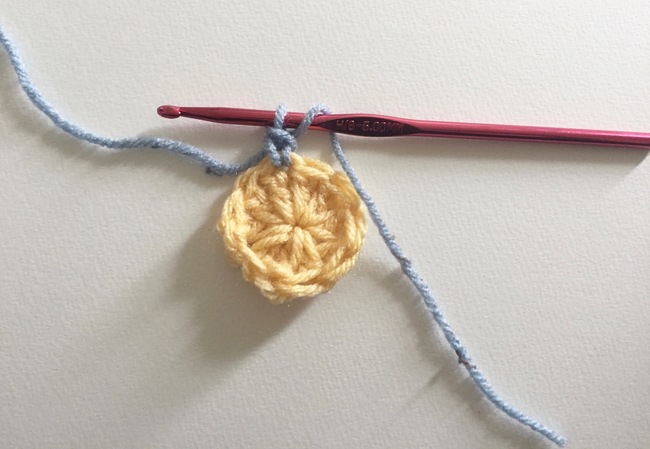
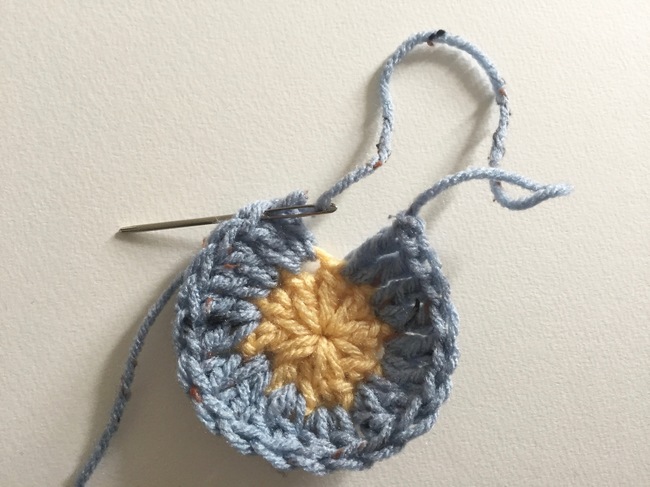
Step 4: Join to dc
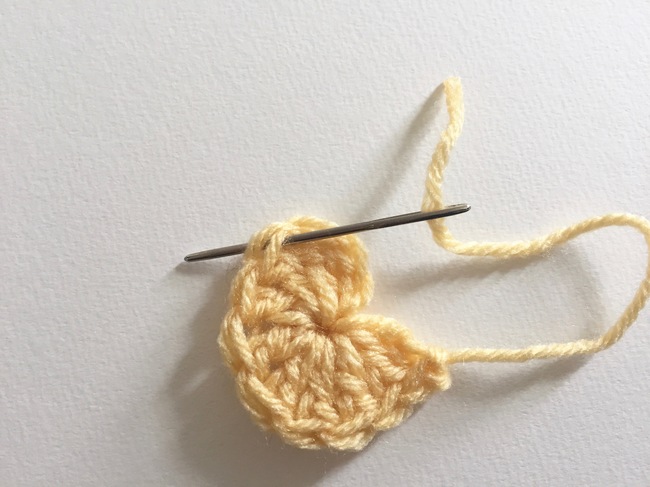 With the yarn tail still threaded in the tapestry needle, insert the needle into the top of the first dc stitch from the last round.
NOTE: You’re not threading it into the top of the ch 3, but instead into the first of the dc stitches after that chain.
With the yarn tail still threaded in the tapestry needle, insert the needle into the top of the first dc stitch from the last round.
NOTE: You’re not threading it into the top of the ch 3, but instead into the first of the dc stitches after that chain.
 Pull the yarn tail all the way through the stitch. Pull it relatively tight while maintaining the circle shape.
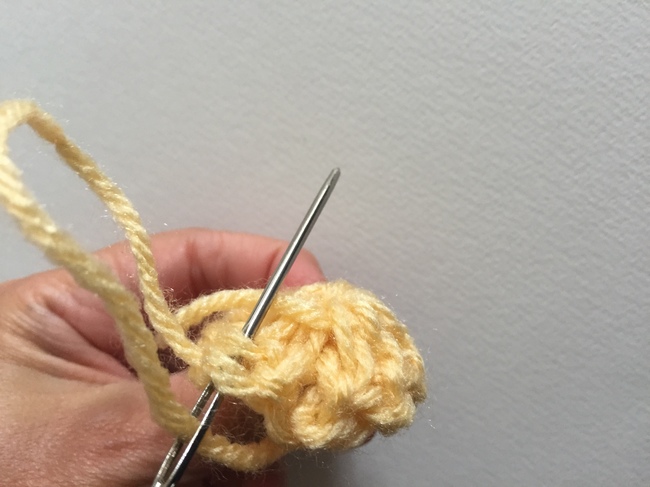
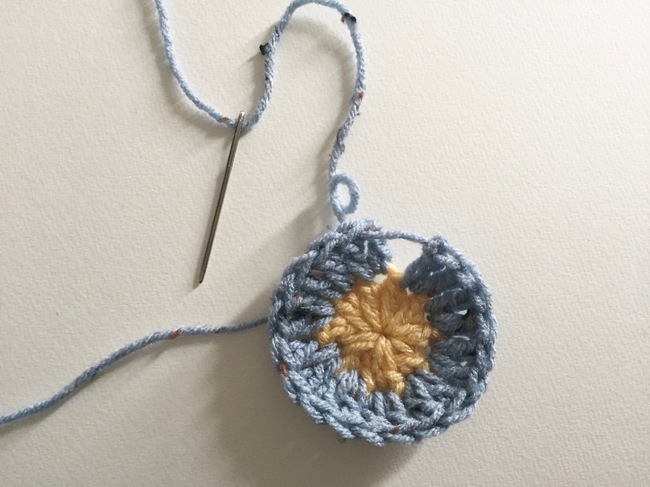
Step 5: Insert into previous stitch
 Now, insert your needle into the top of the previous stitch (just to the right of where you last worked, if you are a right-handed crafter. In this case it’s through the top ch of the ch-3 stitch). Insert the needle vertically down through the top of the stitch, through the back loop.
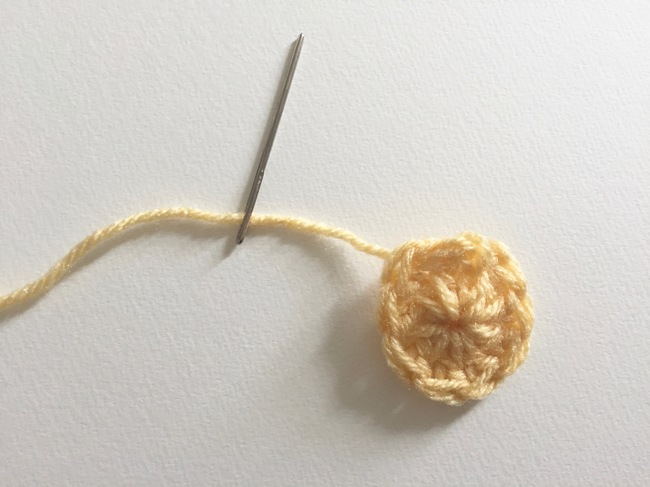
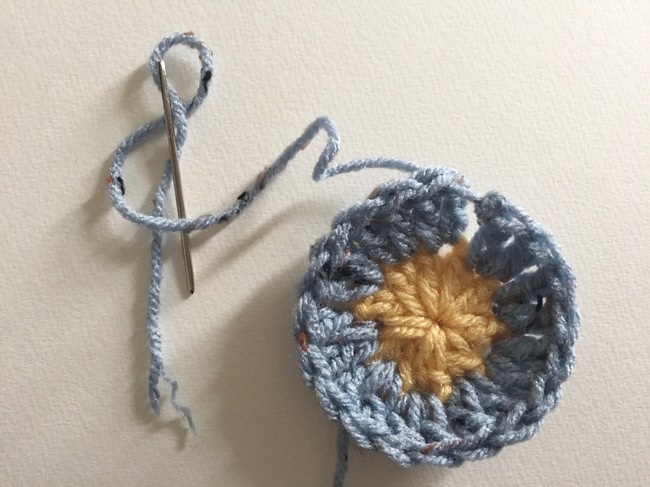
Step 6: Pull through the back loop
 Look at the back of the work, and you should see a second loop behind the needle. Continue inserting the needle through the stitch, including through this loop. Pull the yarn all the way through, but keep it loose. You are forming your “fake” stitch, which should be the same height as all of the other stitches in the round.
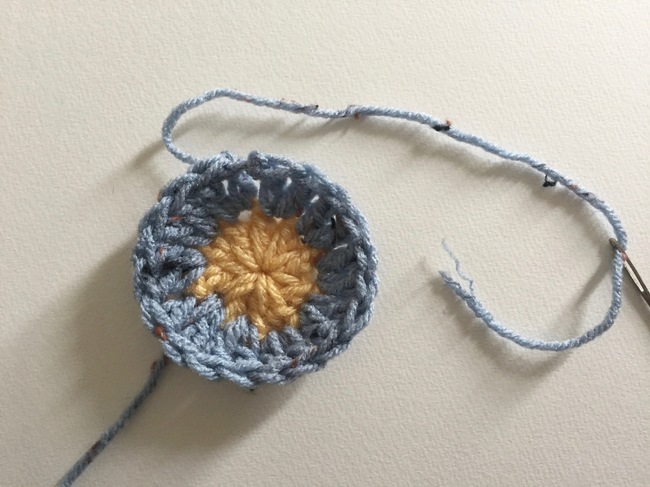
Step 7: Secure the stitch in place
 To make sure the stitch is secure, run the needle once again vertically through the same loop where you already worked. Pull the yarn all the way through.
Step 8: Weave in ends
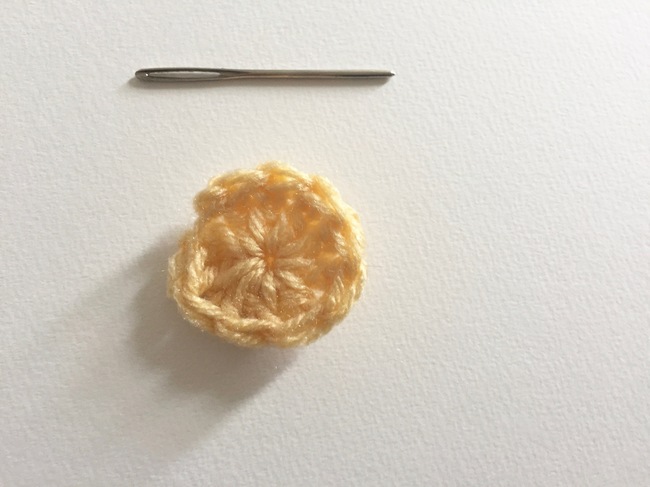 Weave in the remaining tail ends of your yarn, or leave them and work over them in the next round.
How to crochet a standing dc stitch
Ready to begin your next round? From here on out, you’ll start each new round using a standing stitch, such as a standing double crochet. Follow along to learn how:Step 1: Yarn over twice
 This technique is most useful when you’re working with a new color of yarn that hasn’t yet been joined to the work. Leave a long yarn tail and hold it tightly in your working hand.
Step 2: Insert hook
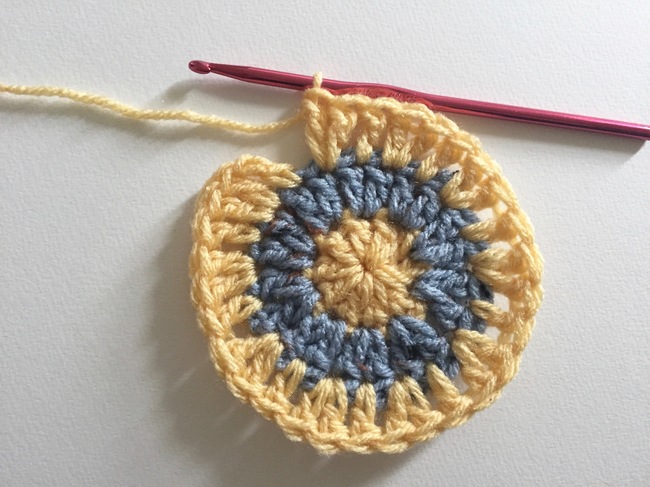
 Insert the hook anywhere into the circle where you want to join the next color of yarn. Since you’re using an invisible join, there will be no seams, so you can join anywhere in the circle.
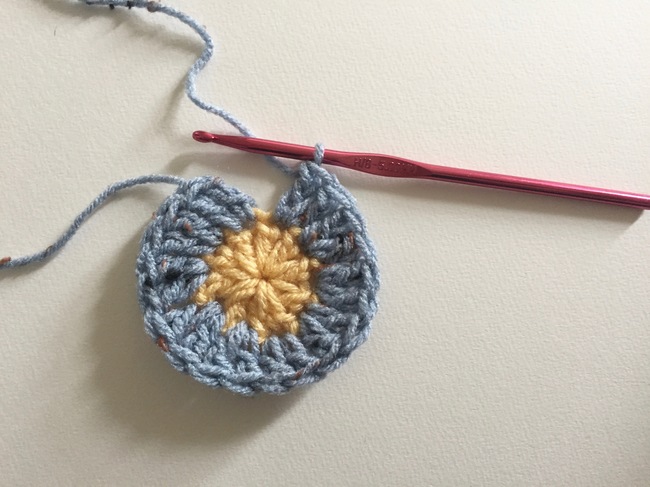
Step 3: Yarn over and pull up a loop
From here on out, you’re basically working a regular double crochet stitch, but you’re doing it without joining the yarn. Continue holding the yarn tail with your working hand to keep the yarn from slipping through the work.Step 4: Yarn over and pull through first two loops
Step 5: Yarn over and pull through last two loops
 Now that you’ve completed the first standing dc, you can let go of that yarn that you’ve been holding in your working hand and proceed with the rest of the stitches as normal.
Crochet invisible join in subsequent rounds
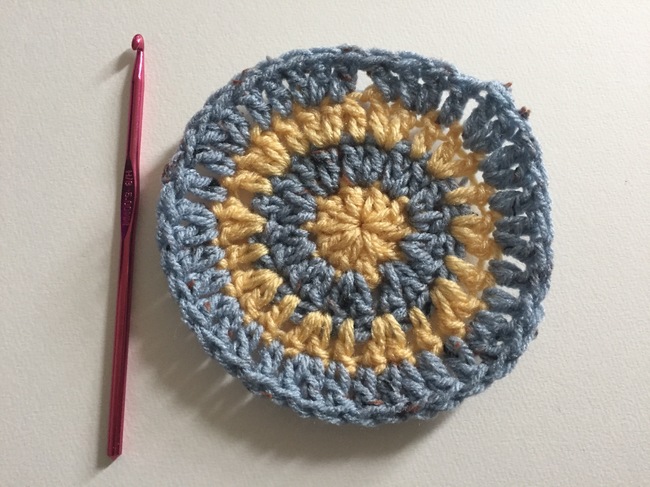
 Making an invisible join on the rest of your rounds will be very similar as the first round. You’ll work all of the stitches of the round, stopping before any instructions about joining (such as “sl st to join”). Then you can make your crochet invisible join.

 Remember that you’ll be working into the second stitch. Just like you skipped the “ch 3” in the first round, you’ll skip the standing double crochet in subsequent rounds. Work steps 3-8 in the same order as shown above.
 One note: The “fake” stitch you create next to the standing stitch will not be very tight. Don’t worry — you haven’t done anything wrong. When you pull the yarn tails in the final steps, this stitch should tighten up. The tricky part is maintaining the right tension: Pull too tight, and the stitch will be shorter than the other stitches in the round; don’t pull tight enough, and it will remain too loose. If you aren’t sure, err on the side of a little loose and pull tighter when weaving in your ends.
 On the final round, you can either close the round with an invisible join or simply slip stitch to join.
Hmmm...I would like to see a clean join technique that does not involve cutting the thread!