
If you want to learn to crochet and are a complete beginner, you’ve come to the right place! This step-by-step guide will get you started with basic crochet techniques.
Tutorial photos by Kathryn Vercillo of Crochet Concupiscence
By the time that you work through the steps in this tutorial, you will know how to complete a slip knot, which is the first step of all crochet projects. You will also know how to create a foundation chain and how to single crochet. With this information, you’ll be ready to crochet in rows, allowing you to complete projects like washcloths, scarves and even simple blankets!

More Beginner-Friendly Crochet Tutorials
We’ve rounded up our favorite simple crochet tutorials — perfect for beginners — in this free downloadable guide!
Here’s how to crochet for beginners, shown step by step so you can follow along.
Step 1: Select your materials
When you first begin to crochet, your materials can seem very confusing. There are different yarn fibers and weights; different hook sizes and materials… How do you know what to choose?
The short answer is that you can crochet with any yarn and hook. However, some are simpler than others for beginners. Here are some tips:
- Choose a mid-weight yarn. Worsted weight yarn (#4) is the best option for beginners.
- Choose a yarn that has good stitch definition. This simply means that it is easy to see your stitches when you work. You don’t want a fuzzy or fancy yarn that’s hard to work with. A simple acrylic, wool or cotton yarn is a good choice.
- Choose a light colored yarn. This is so that you can easily see your stitches, which will help you determine where to insert your crochet hook as you work.
- Choose a crochet hook that matches your yarn weight. Yarn labels often suggest a hook size. Size G / 4.25 mm is a good starter hook.
Don’t worry too much about choosing the right yarn and hook when learning how to crochet. The main goal here is that you find the materials to be easy to work with.
Step 2: Make a slip knot
The very first thing that you need to learn is making a slip knot. All crochet projects begin with a slip knot on the hook. Step-by-step, here is how to make a slip knot for crochet:
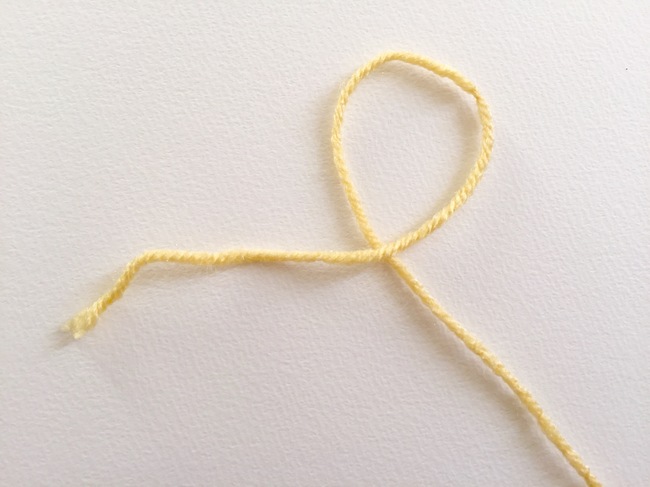
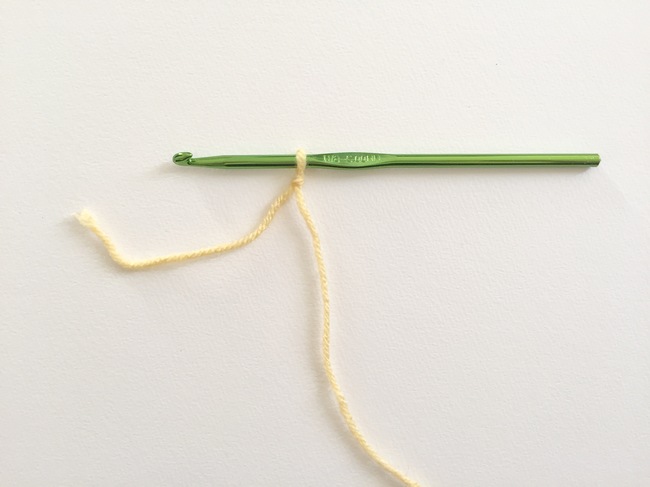
1. Make a loop with your yarn, bring the tail of the yarn over the working yarn. The tail should be 4″ – 6″ long after it crosses the body of the yarn.
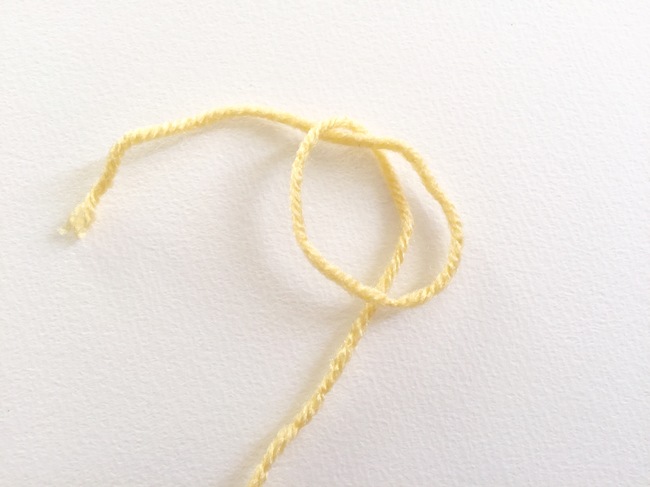
2. Now it’s time to make the know. You’ll basically create a pretzel shape (see above) with the loop. Press your left finger where the yarn tail crosses the working yarn; then use your right hand to bring the loop down over the working yarn. Really, you’re just flipping the loop upside down.
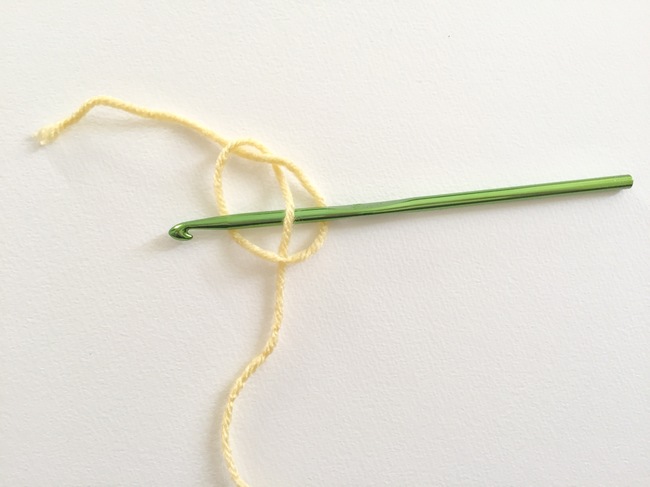
3. Insert your crochet hook from the left to the right over the working yarn and through the loop. It should go over the right side of the “pretzel,” under the working yarn, then over the left side of the “pretzel”.
Note: These instructions for how to crochet for beginners are for right-handed crocheters. In left-handed crochet, you effectively reverse everything.
4. Pull down on the yarn to tighten it around the hook. Lift the hook up and tug lightly on the tail end and working yarn to tighten it. That’s it, you have created your first slip knot for crochet!
Step 3: Crochet a foundation chain
Once you have a slip knot on your crochet hook, you’ll need to crochet a chain. This chain is often called the starting chain or foundation chain because you work your other stitches into it, so it serves as the foundation of the project.
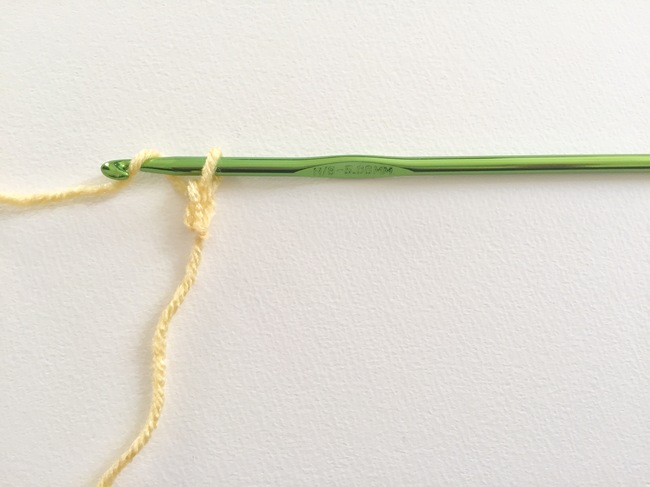
First, yarn over. This common crochet term (sometimes abbreviated yo) just means to bring the working yarn over the hook.
Hold the crochet hook so that the tail hangs down, and pinch the tail between your thumb and ring or middle finger. Note that people hold their hooks and yarn in many different ways so you might find a method that is more comfortable for you.
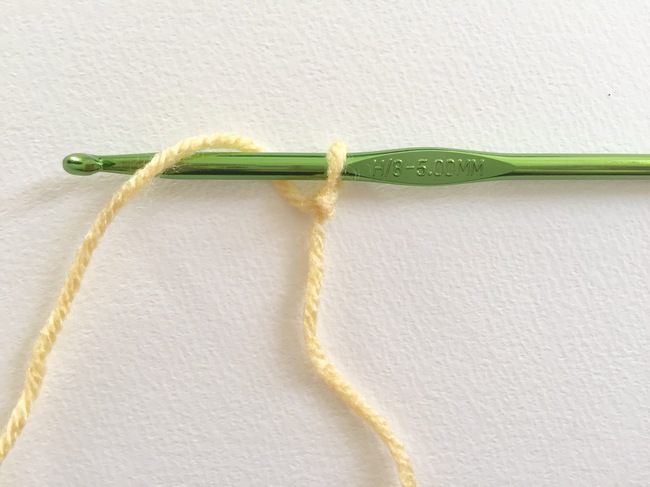
Bring the ball of yarn to the left of the crochet hook. Yarn over so that the working yarn comes behind the hook and then over it, to the left of the slip knot, on the crochet hook. You want to bring the working yarn underneath your hook.
Pull the working yarn through the slip knot. Move your hook to the right, pulling the yarn over all the way through the slip knot. There will still be a loop on your hook, plus one loop beneath it. These loops are called “chains.” You have now started to crochet your first chain!
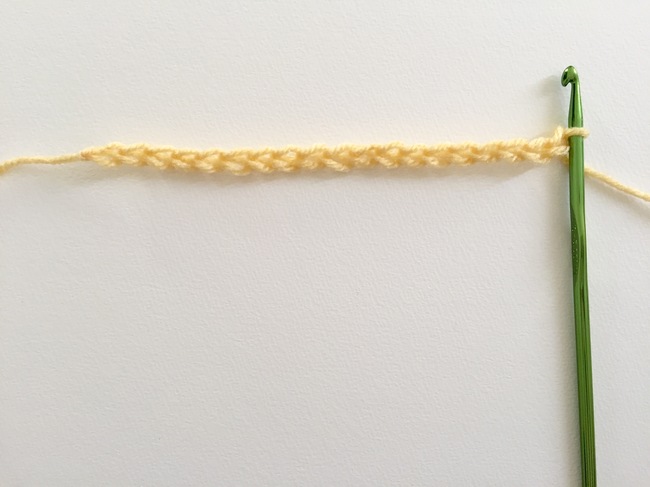
Now you can repeat the same steps. Yarn over, then bring the yarn through the loop that is on the hook.
This will adding chains to your foundation chain. Count as you go. Each yarn over creates one chain, so if your instructions say “chain 20” then you will do these steps 20 times.
You can also see each loop as you work so you can count them again if you need to. But counting can be cumbersome with longer chains, so counting as you go is a good habit to get into.
Step 4: Single crochet
Now that you know how to create a chain, you’re ready to learn how to single crochet (abbreviated sc). Many of the stitches in crochet begin with the same steps used to create single crochet stitches, so by learning this stitch, you are setting up a great foundation for yourself to learn taller stitches.
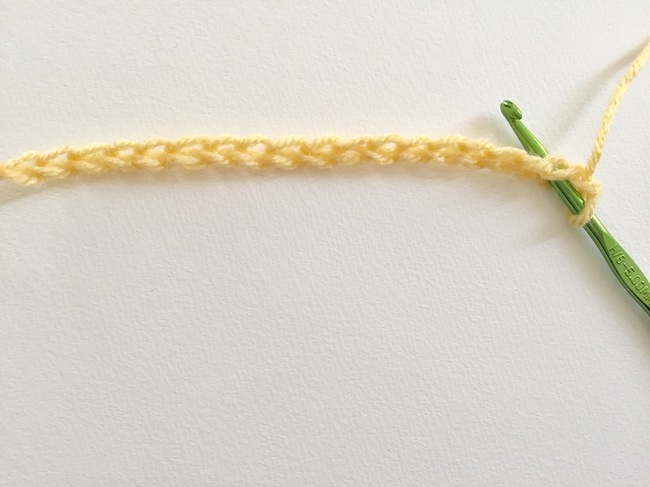
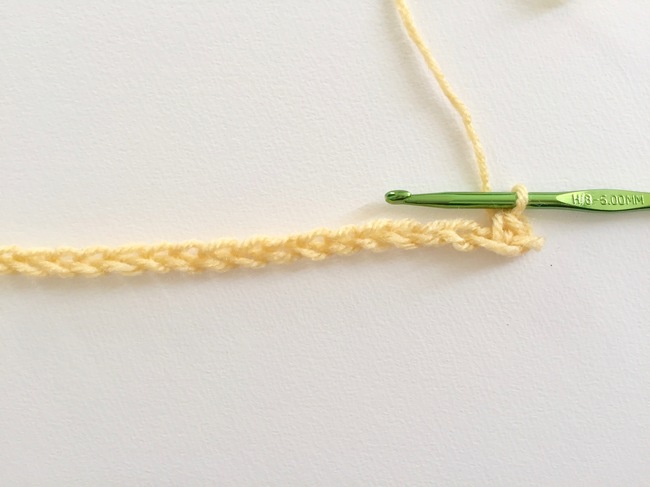
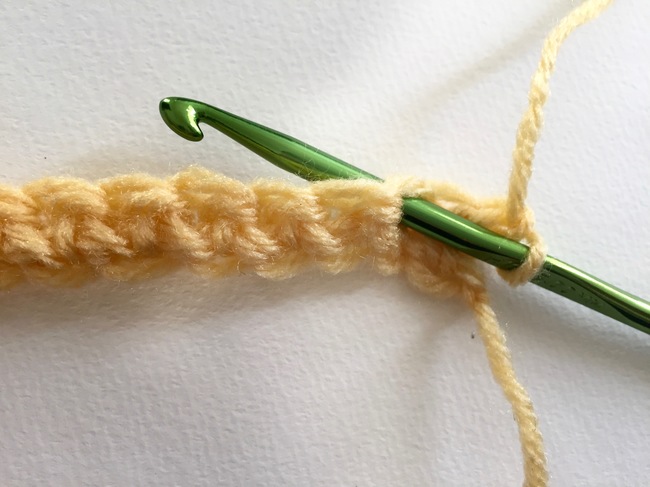
First, insert your hook where you want to create the stitch. When working the first row of single crochet in a project, you’ll work into the foundation chain. Place the first stitch in the second chain from the hook.
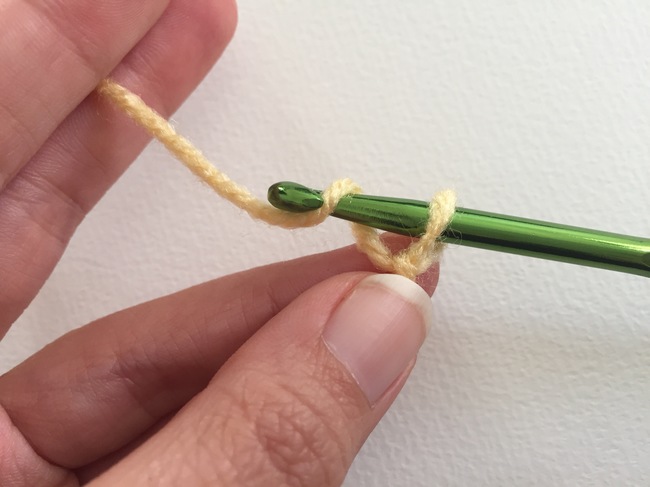
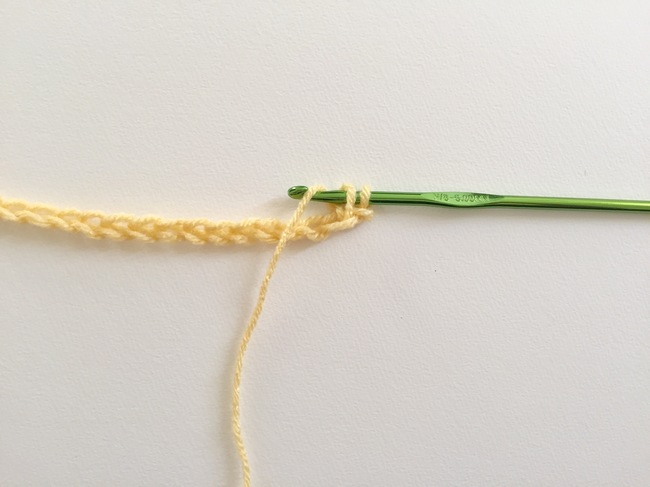
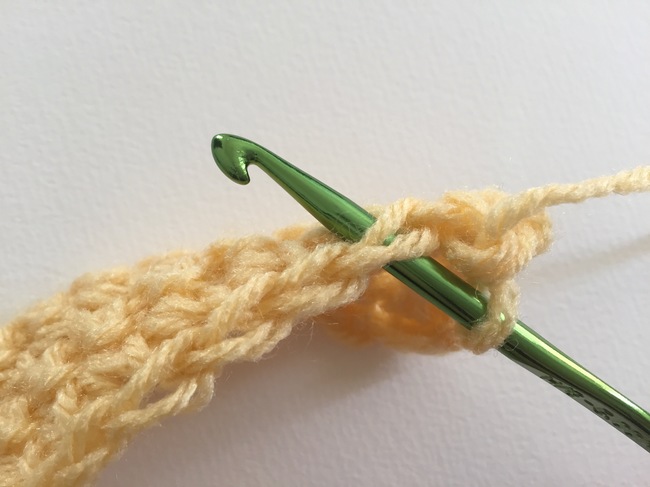
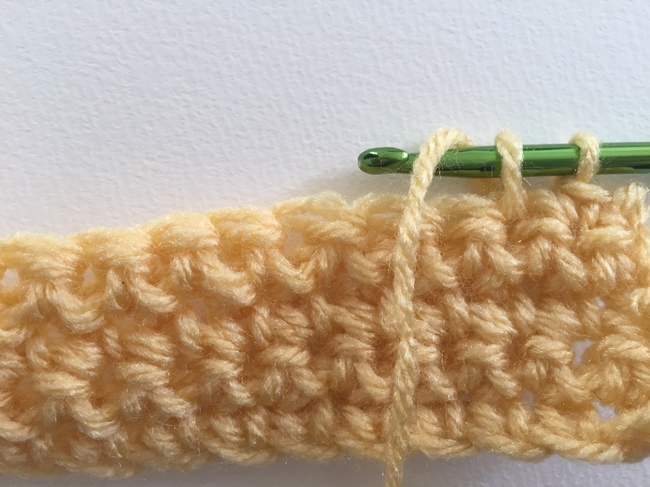
Each chain looks a little bit like a V, with the mouth of the V open toward the right. Insert your hook into the second V away from your hook. The hook goes front to back through the V. Look carefully: When you insert the hook, there should be two loops of yarn above the hook and one strand of yarn below the hook. You can see it a bit more clearly in the photo below:

The next step is to yarn over, also shown in the photo above.

Next, pull the working yarn through the loop. This is the same thing you did when making your chain. Move your crochet hook to the right, bringing the working yarn all the way through the chain where the hook had been inserted. When this step is complete, there will be two loops on your crochet hook.
Next, yarn over again. Looks familiar right? You’re getting the hang of it!
This time when you pull through, bring the working yarn through both of the loops on the hook. Now you should have one loop on the hook. You have completed your first single crochet stitch!
Continue this all the way across the row. Each time, insert your hook into the very next chain.
Just to recap, a single crochet is:
- Insert hook, front to back, where the stitch is going to go.
- Yarn over.
- Pull the working yarn through the chain where you had inserted the hook, leaving two loops on the hook.
- Yarn over.
- Pull the working yarn through both loops on the hook.
Step 5: Additional rows of single crochet
Now that you’ve learned to do one row of single crochet stitches, you can create as many rows of the stitch as you would like. There’s just one more thing to learn for crocheting additional rows: the turning chain. A turning chain effectively serves as the first stitch of the row, setting you up to crochet into the stitches in the row below.
Flip your work over, clockwise from right to left, so that everything that was to the right of the hook is now to the left. (Learn more here.)
Chain one. You already know how to do a chain: yarn over and pull through. Again, this serves as the first stitch in your row.
Because you’ve now made the first stitch, you will not begin with the first stitch that’s directly below the turning chain; you’ll start with the one immediately to the left.
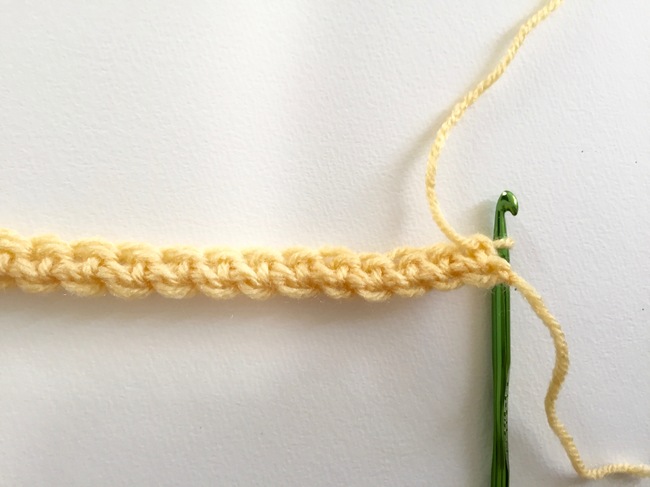
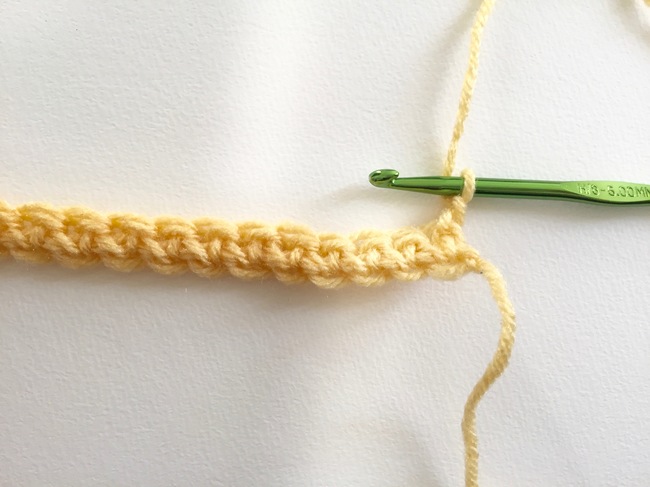
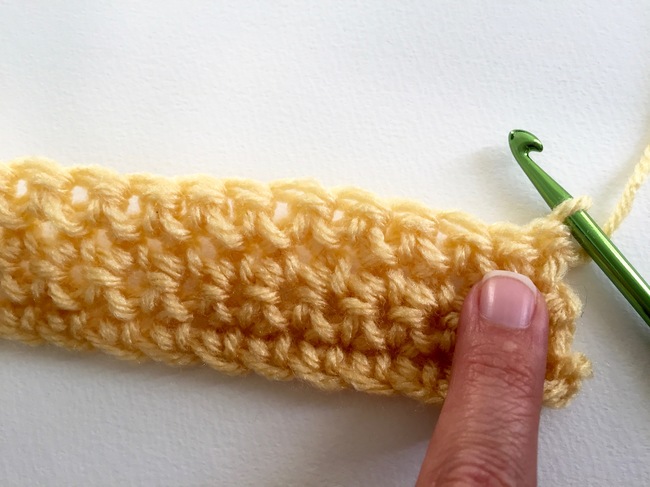
The following two photos show this in more detail: In the first one, the finger is pointing to the “first stitch,” where the turning chain is. The second photo shows the next stitch, which is where you’ll work your first single crochet of the row.
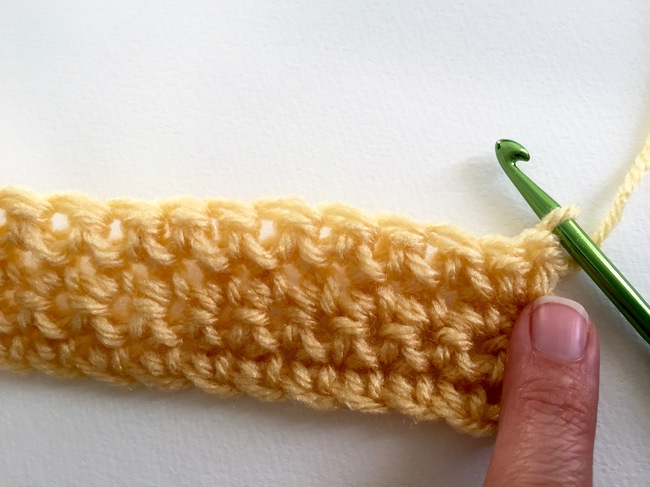
So, the turning chain is holding the place of this first single crochet stitch.
Now, it’s time to make your first single crochet. It’s the same process as before: Insert your hook from front to back into the single crochet immediately next to the turning chain. Make sure your hook has two loops sitting on top of it.
Yarn over and pull the working yarn through the stitch. There will be two loops on the hook. Yarn over again and pull the working yarn all the way through both of the loops on the hook.
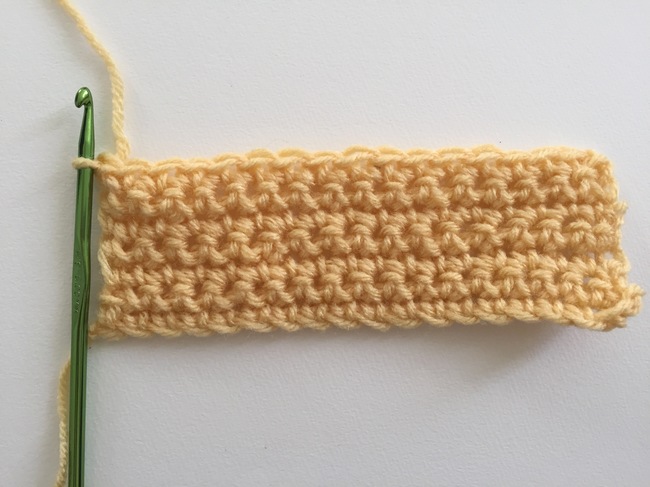
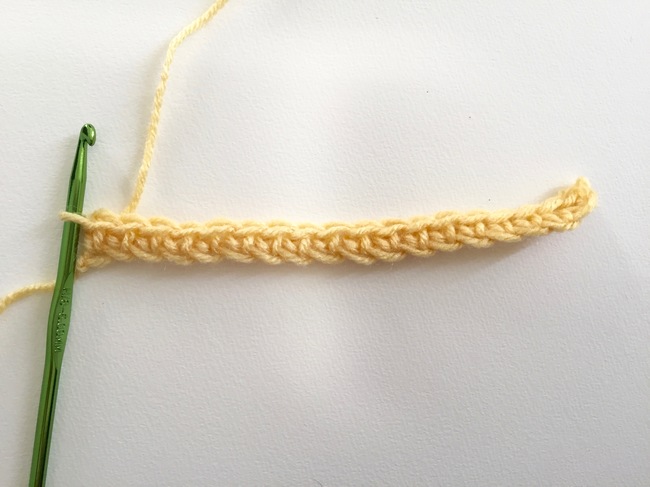
Continue doing this all the way across the row. At the end, you will have two rows of single crochet stitch, like this:
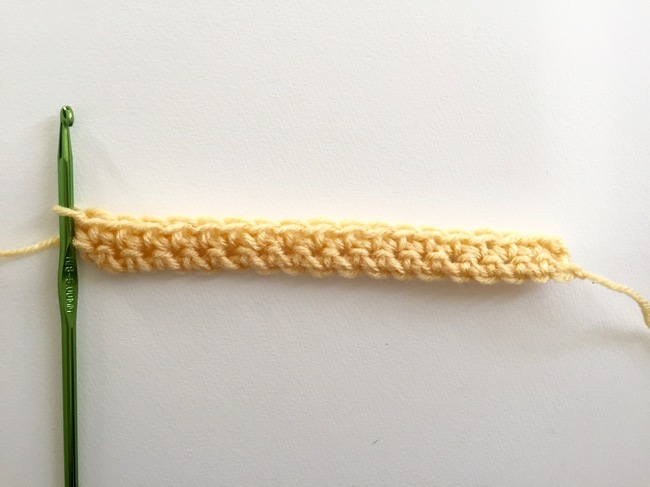
You now know all that you need to create additional rows of single crochet.
One thing to note is that your final single crochet of a row will be worked into the turning chain at the beginning of the previous row. This is just something to note at this time, as it will be important when working taller crochet stitches.
2 tips for learning to crochet:
There are two important things to pay attention to when you are learning how to crochet as a beginner:
1. Be sure that you are inserting your crochet hook into the right place.
It should always go into the next stitch, immediately next to the one where you just worked. It should always be inserted so that there are two loops sitting on top of the hook.
2. Count your stitches.
In rows of single crochet, there should always be the same number of stitches in each row. If you have 20 stitches in row 1, there should be 20 in rows 2, 3 and so on. Count as you go, beginning with that turning chain. If you get to the end of the row and you don’t have the right number, you know did something wrong and can try again.
Next in your crochet journey
By changing the length of your foundation chain and crocheting more or less rows, you can create squares and rectangles of all sizes for projects including dishcloths, placemats and afghans. Eventually you’ll want to learn more techniques and stitches to crochet more advanced projects. Here are some of the things you might want to learn:
1. Working in different loops.
Single crochets are worked in “both loops.” However, you can work this same stitch into different parts of the loop to create entirely different effects, rapidly broadening your crochet experience without a whole lot of extra effort! Read more here.
2. Increasing and decreasing.
This is how you achieve shaping in crochet. Increases and decreases are necessary for creating the angles in accessories and clothing. Read more here.
3. Taller basic stitches.
Single crochet is the foundation of almost all basic crochet stitches that are worked the same way as single crochet but are taller. Learn half double crochet, double crochet and treble crochet to start.
4. How to crochet in the round.
You can make many projects by working in rows, but some projects (like hats) are better when worked in the round. read more here. Read more here.
5. How to read crochet patterns.
After you know how to crochet the basic stitches, you can make many different items — if you learn to read crochet pattens! Read more here. (P.S. It’s important to know that there’s a difference between American and British crochet terms.)
More Beginner-Friendly Crochet Tutorials
We’ve rounded up our favorite simple crochet tutorials — perfect for beginners — in this free downloadable guide!
Share tips, start a discussion or ask one of our experts or other students a question.
No Responses to “Want to Learn How to Crochet? Start Here!”