
My love for photography first started with a passion for digital editing. Years ago, when my mind was awakened to the possibilities of Photoshop, I was completely blown away. I could now take a simple snapshot and change light or scenery, add and take away objects and create something I could once only visualize in my head. The creative possibilities seemed endless and my obsession became rooted onto a new artistic digital platform I never knew existed.
 After spending countless hours editing, I’ve learned a few creative Photoshop techniques. Some I use often, such as curves and overlays, while others I bust out when the photo beckons for it, like a black and white conversion. While these techniques still keep the true “photo” look of an image, within the recesses of Photoshop Filters lies the ability to create something more abstract.
If you love a photo, why not make it a piece of true abstract art? Transform an image into a painting without ever breaking out a brush or making a mess — exactly my type of craft!
FREE Guide: Explore Essential Photoshop® Functions

Transform your photos with valuable Photoshop tips and techniques!
How to transform an image into a painting
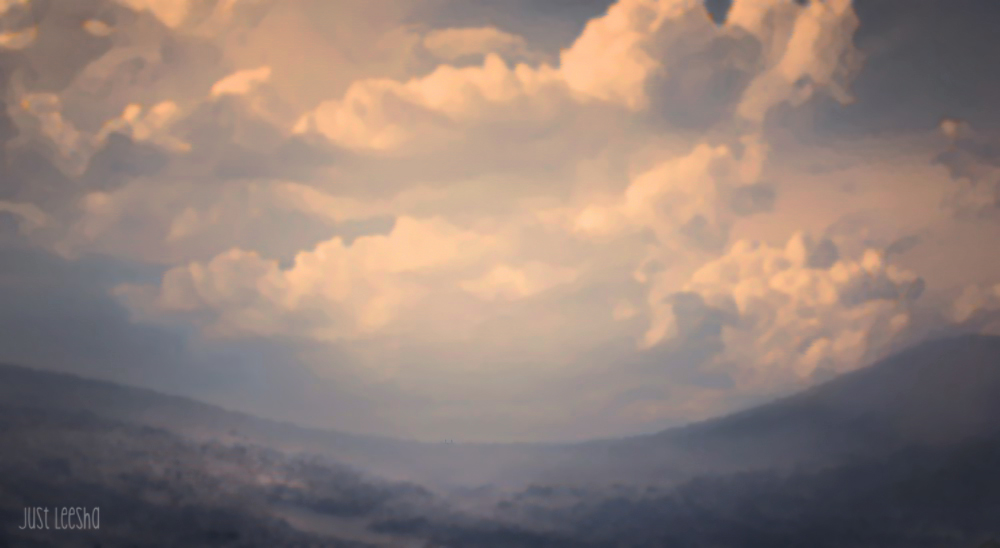
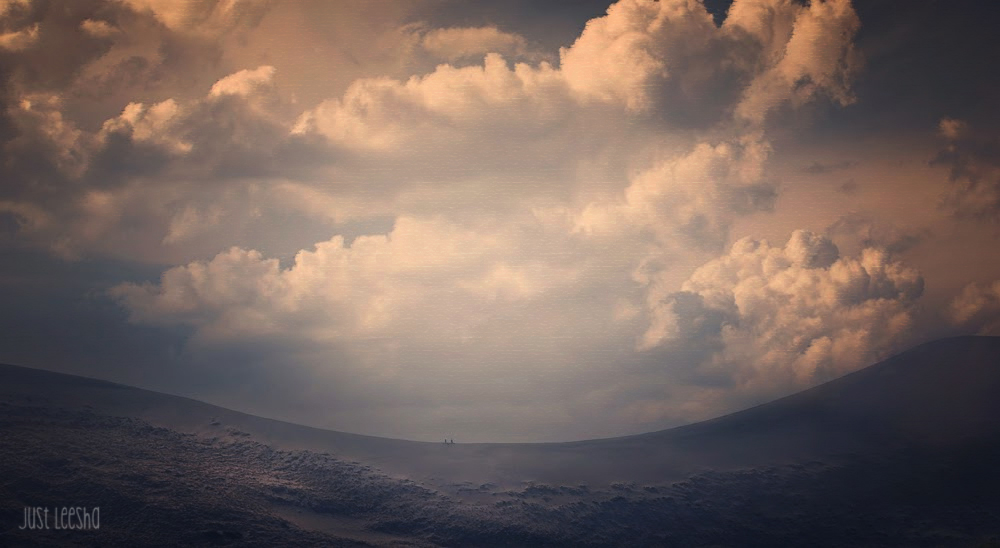
First you will want to choose an image that doesn’t have many small details, as they will be lost as we convert the photo to an abstract image.
The photo I chose was a landscape shot I took last fall:
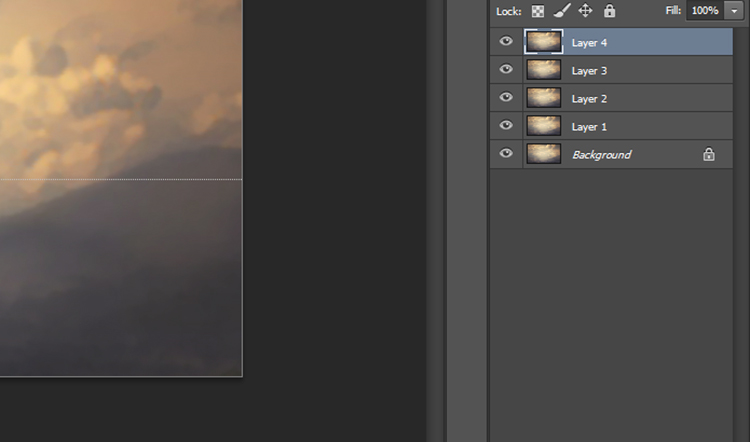
Once open in Photoshop, duplicate your photo at least three times.
With only Layer 1 highlighted, select Filter from the top menu and open Filter Gallery.
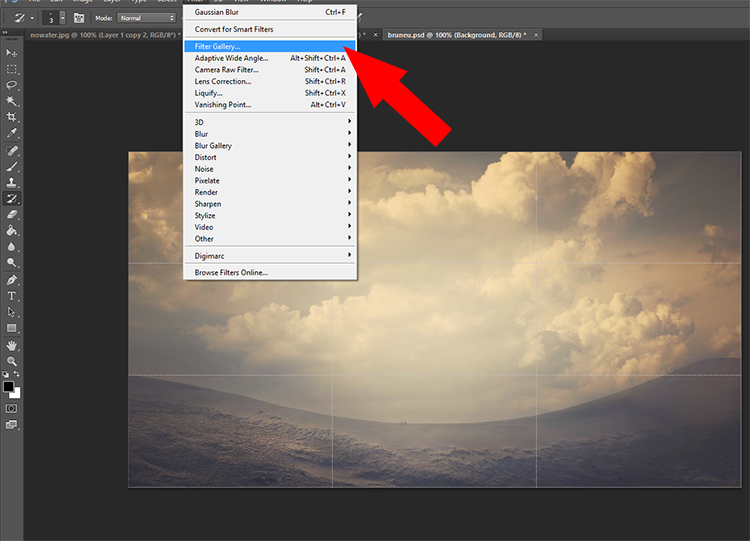
Once you open the Filter Gallery, you will have a multitude of options to choose from.
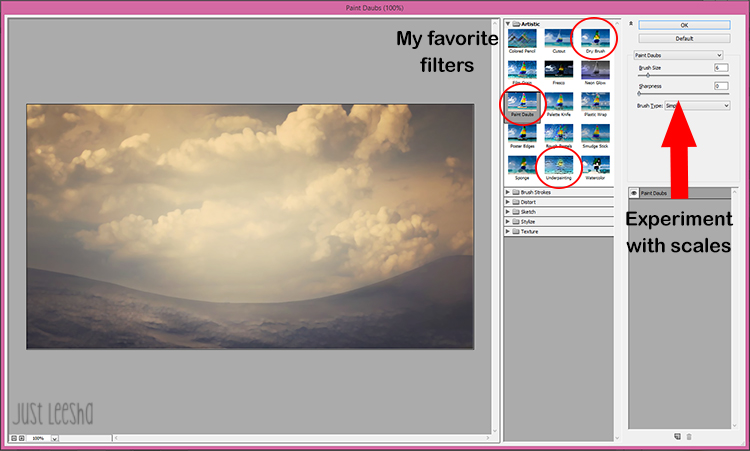
Now this is where you get to become your own artist and begin creating your “painting.” The important thing to remember is that no two photos are alike; therefore, there is no perfect formula for making a perfect digital painting.
For this particular photo, on my first layer, I used Underpainting with the Canvas option. After adjusting the filters to my preference (don’t be scared to play around with these to create the look you want!), I clicked OK and Layer 1 looked like this:
Not what you had in mind? Me neither. But this is just your foundation.
Now that you have an idea of how to become creative with Filters from the gallery, you can repeat this process on each new layer of your image. Choose a new style each time, adjust the scales, then select the Blending Mode.
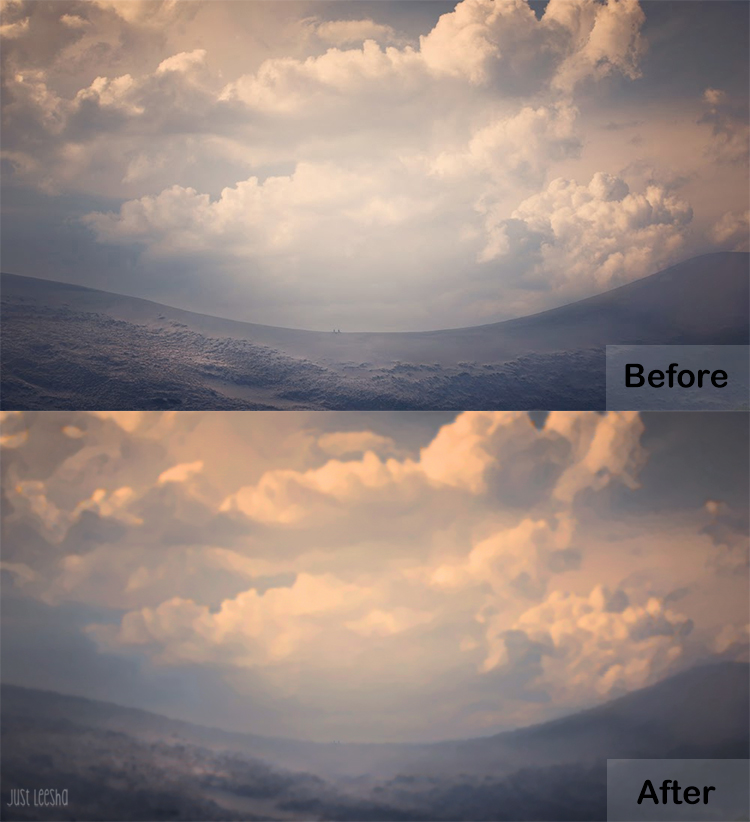
For my finished product, I chose the following:
- Layer 1: Underpainting Filter, Multiple Blending Mode
- Layer 2: Paint Daubs, Luminosity Blending Mode
- Layer 3: Dry Brush Filter, Luminosity Blending Mode
- Layer 4: Blur Filter, Gaussian Blur, Luminosity Blending Mode, 95% opacity (to soften the image more)
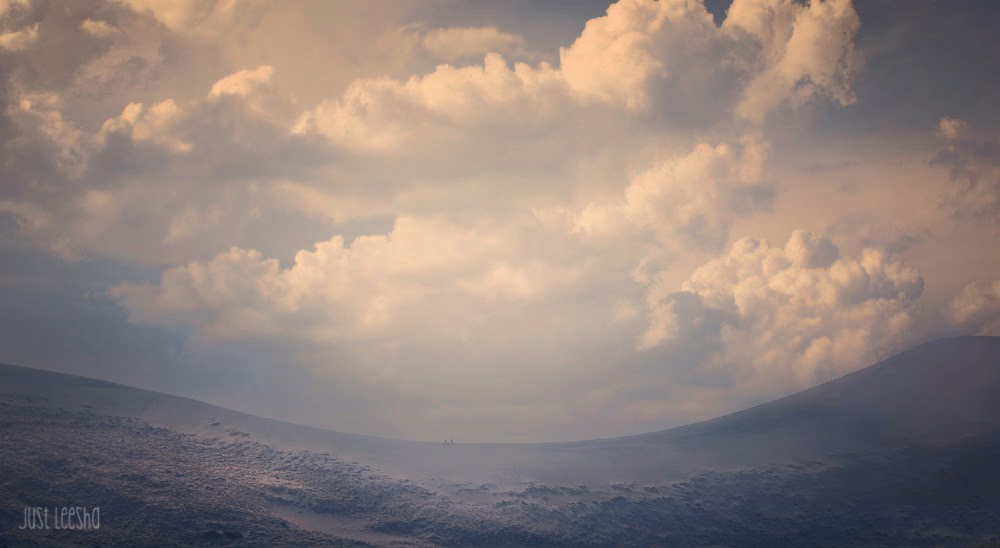
The before and after
 Now I can’t wait to print my newly made digital painting on a large canvas and hang it somewhere in my house. What a great way to add custom artwork, don’t you think?
FREE Guide: Explore Essential Photoshop® Functions
Transform your photos with valuable Photoshop tips and techniques!
Share tips, start a discussion or ask one of our experts or other students a question.
No Responses to “No Paintbrush Needed! Creative Photoshop Techniques to Turn Your Photos into Paintings”