
Charm packs are a great base for a quilt! These coordinated bundles of 5″ squares give you a little taste of an entire line of fabric. Paired with a little bit of yardage, you can quickly stitch these squares together to make a baby-sized quilt that is simple enough for a beginner to make! Follow along for a free charm pack quilt tutorial for a stunning baby quilt!
This baby quilt finishes at about 40″ x 45″, and even if you use the exact same fabrics, each one will look just a little different — no two quilts look the same! You’ll want to try this technique with all your favorite charms!
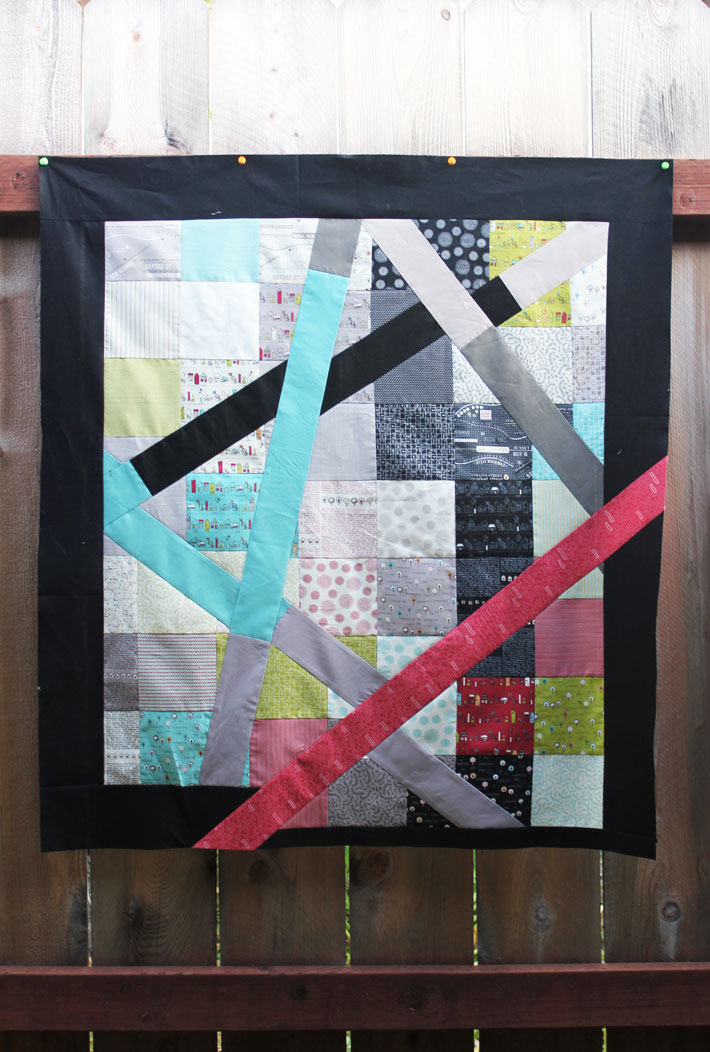
Slashed Charm Pack Quilt Tutorial
The slashed charms are a simple way to stitch charm squares together for a fun, modern-looking quilt. Use your favorite charm pack and pick your favorite coordinating colors and border fabric to make a look that is all your own!
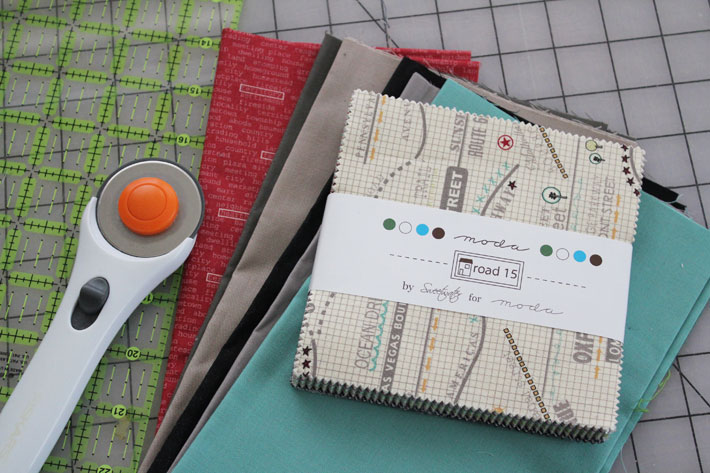
Supplies:
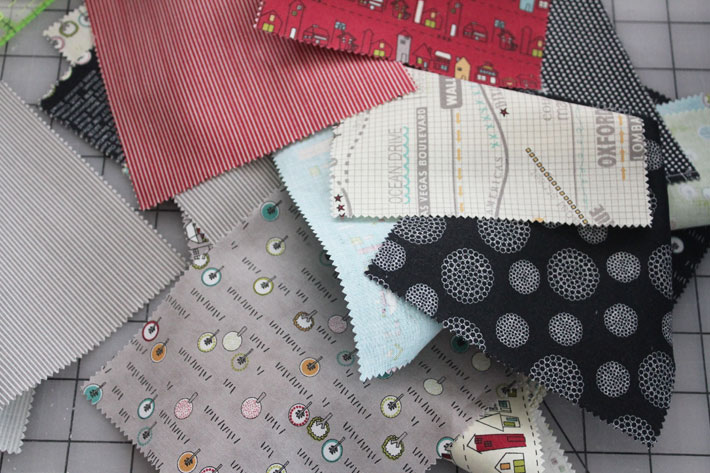
- Charm pack (42 coordinating 5″ squares)
- Three to five fat eighths of coordinating fabrics
- 1 yard border fabric
- 1/8 yard contrasting fabric
- 6″ x 24″ ruler
- Rotary cutter
- Batting, backing and binding to finish your quilt top
Step 1:
Cut each coordinating fat eighths into three 3″ strips. Stitch the strips together to make one long strip.
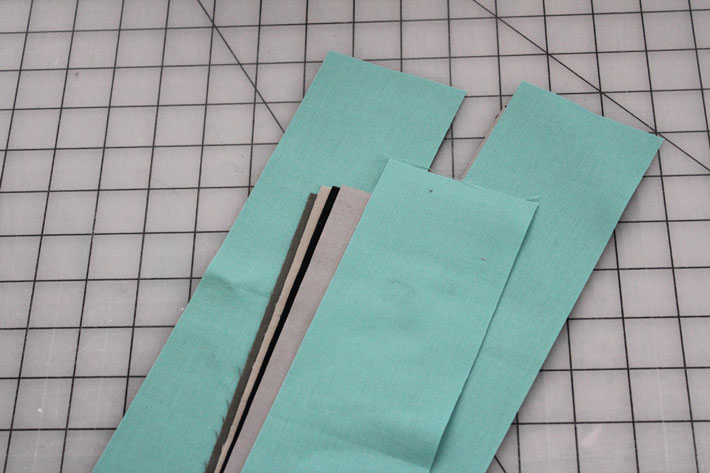
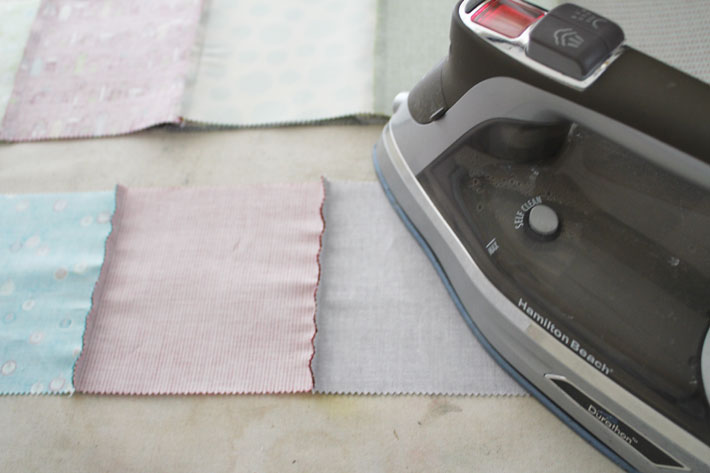
Press seams to the side. Then put these strips aside while stitching the quilt top.
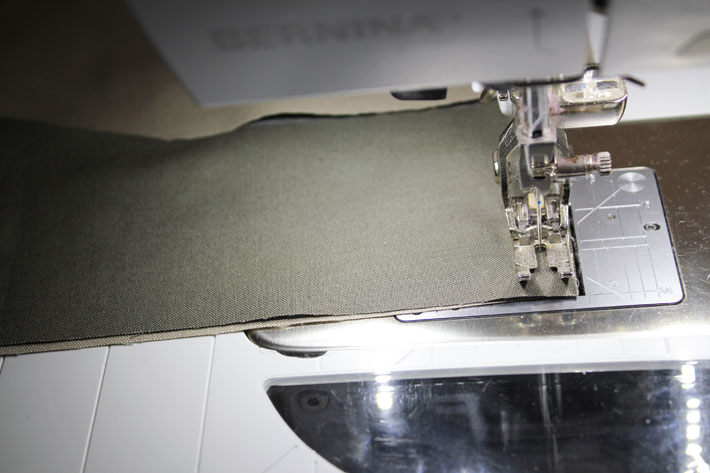
Step 2:
Mix up your charm pack.
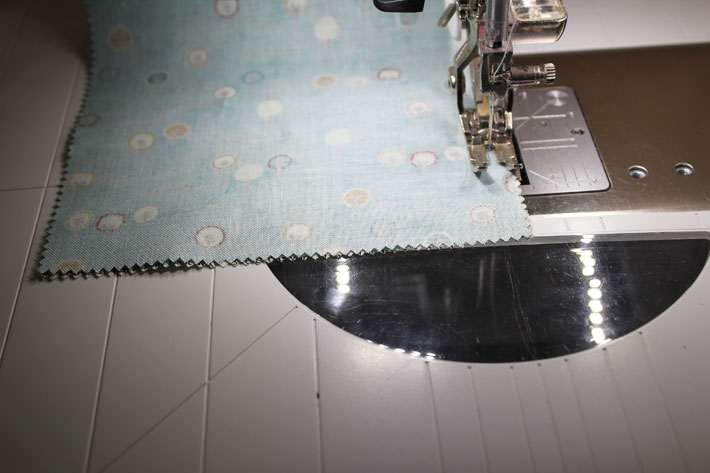
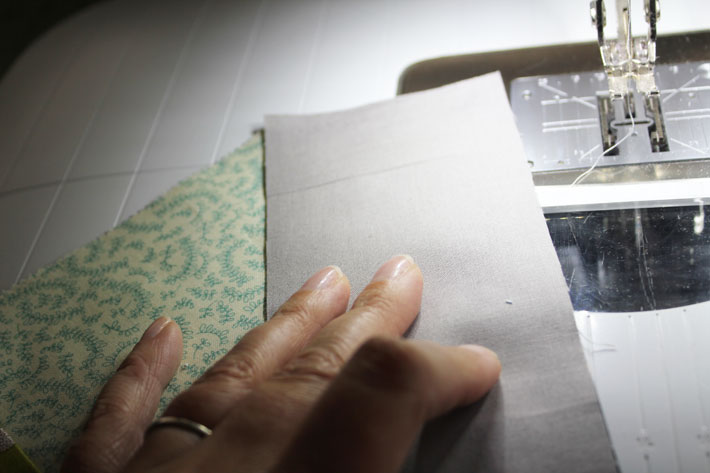
Stitch the squares into pairs. If your fabric is directional, pay attention to the direction of the prints.
Step 3:
Divide your pairs into three piles, each pile with seven pairs.
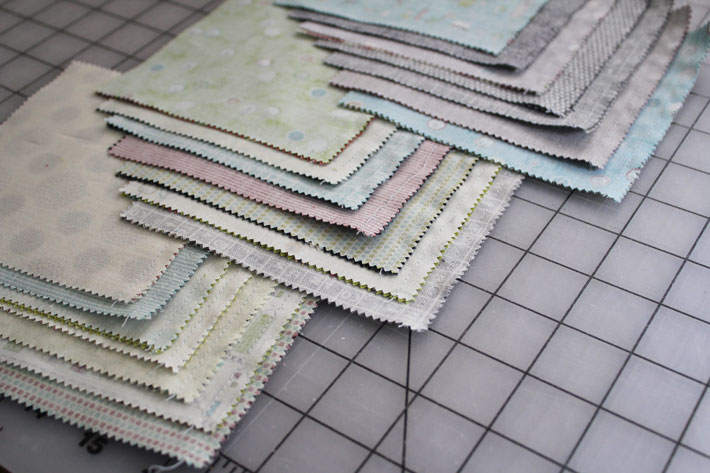
Set one pile aside. Using the other two piles, stitch the pairs together to make seven rows of four squares.
Step 4:
Using the remaining pile of seven pairs, stitch one pair to each of the rows of four, creating seven rows, each with six squares.
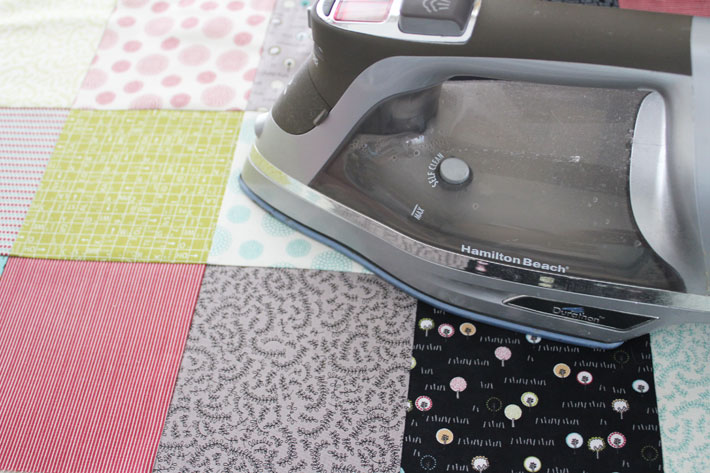
Step 5:
Press the seams to the side. Alternate the direction of the seams on each row. You will have four rows with the seams all pressed to one side, and three with the seams pressed in the opposite direction.
Stitch the rows together, alternating the directions of the seams. This reduces bulk and helps you line up your seams.
Step 6:
Press quilt top flat.
Step 7:
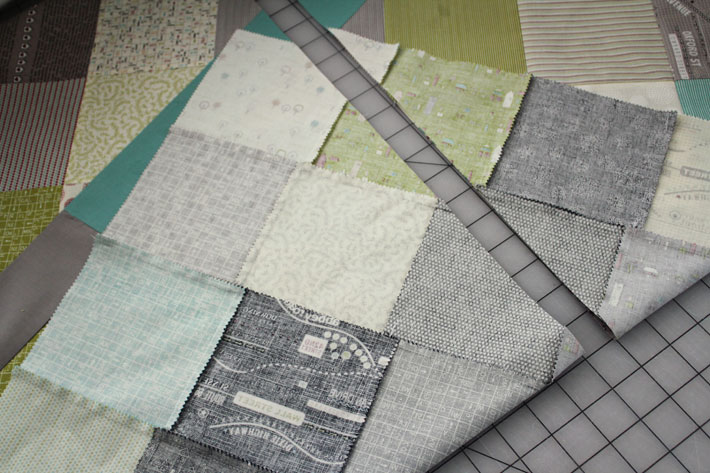
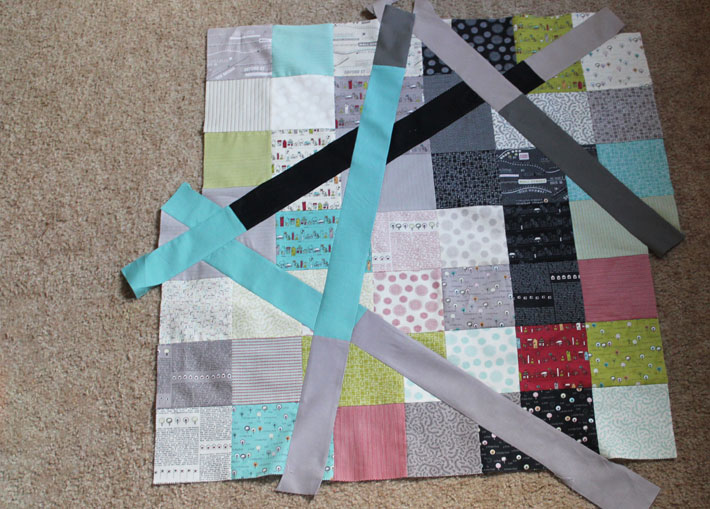
Fold the quilt top at an angle and lay on your cutting mat. Line up the fold with one of the lines on the mat. Line up your ruler so it is perpendicular to the fold. Lining up these two so they are exactly perpendicular will result in a nice, straight cut.
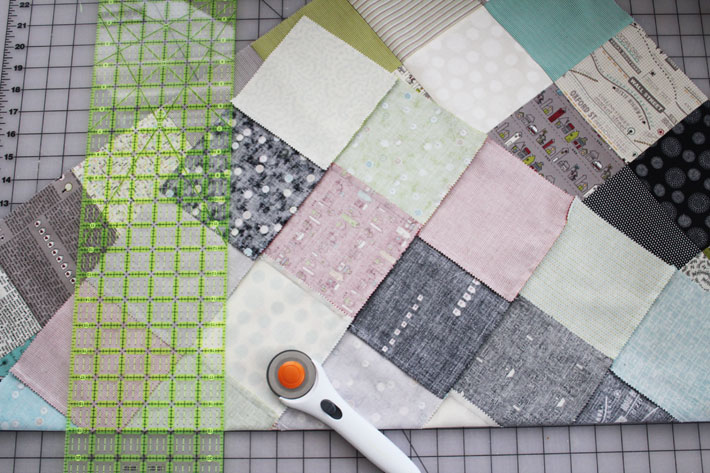
Double-check that everything lines up, then CUT! Right through the quilt top!
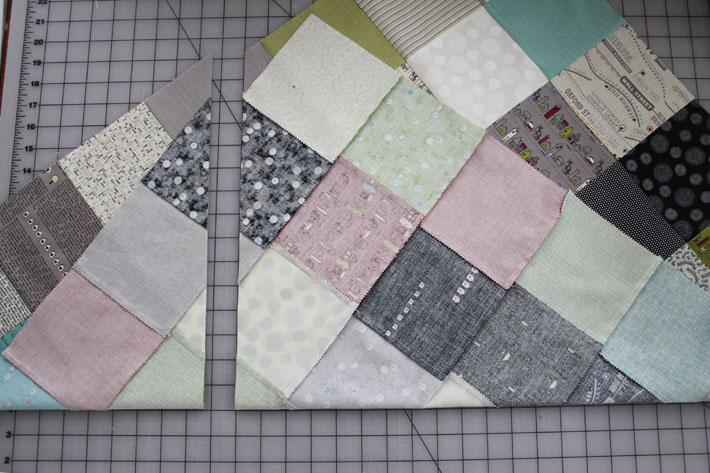
Step 8:
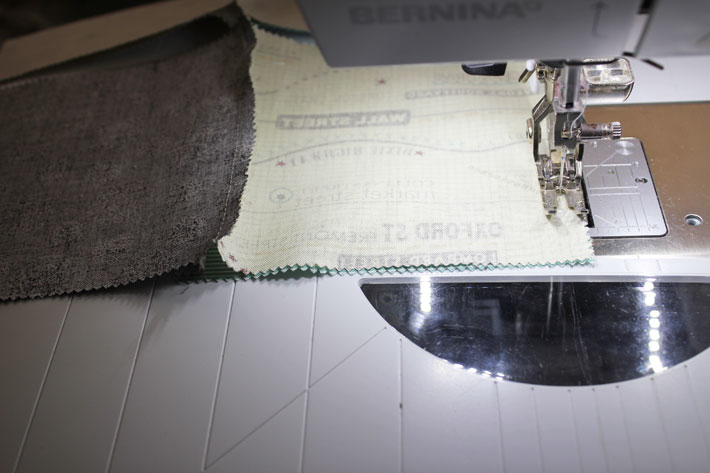
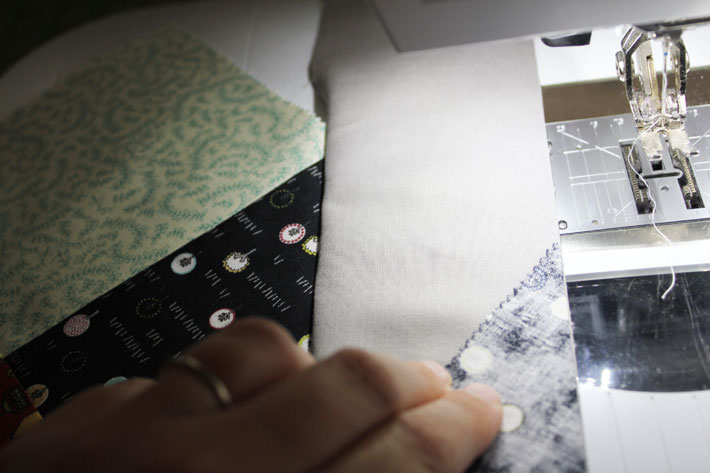
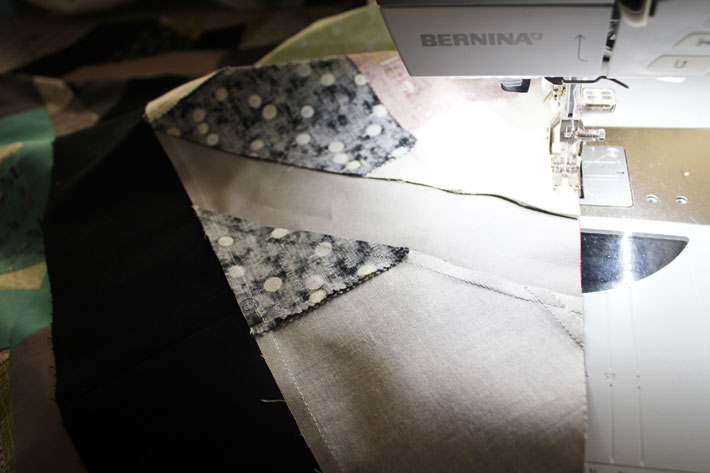
Stitch the 3″ strip you made in Step 1 to one side of the cut quilt. Extend the strip beyond the edge of the quilt to give yourself more room when trimming up the quilt later.
Stitch the other side of the quilt to the opposite edge of the strip. Experiment with how you line up this strip for different results.
Press the seams towards the strip, so the quilt top lays flat.
Step 9:
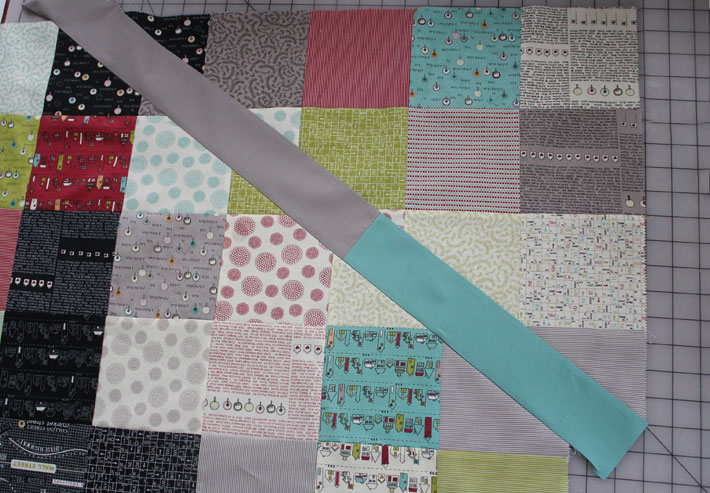
Repeat Steps 7 and 8 until you have three to five slashes in your quilt.
Your quilt will look like a big, wonky mess! Square it up.
Step 10:
Add 4″ strips on all sides for borders. Slash one more time, through the borders, and add a 3″ strip of the contrasting fabric for interest.
Square up the quilt one last time and your quilt top is done!
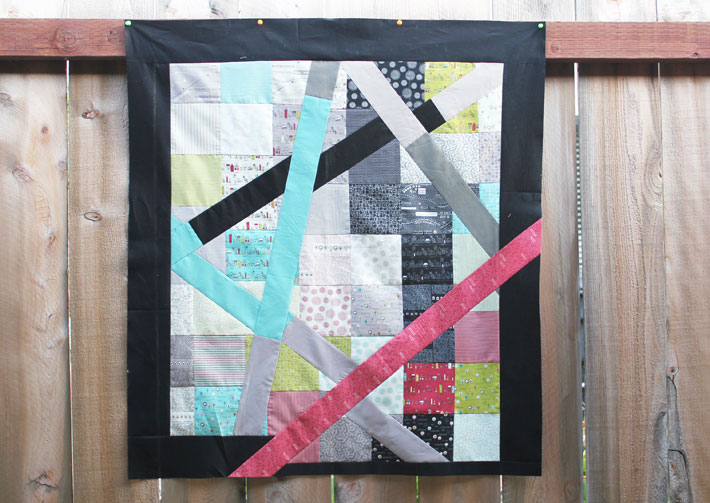
Quilt and bind your quilt top. If you like, you can cut down your leftover 3″ strip to your desired binding size, and use it for a scrappy binding.
Share tips, start a discussion or ask one of our experts or other students a question.
No Responses to “Make a Baby Quilt With a Charm Pack: FREE Tutorial!”