
Hello, crafty friends! I’m Aly Dosdall, paper crafts instructor here at Craftsy, and I’m so excited to share some fun masking techniques with you today. Using some stencils and various mediums, I was able to create three unique and eye-catching backgrounds for these fall cards.
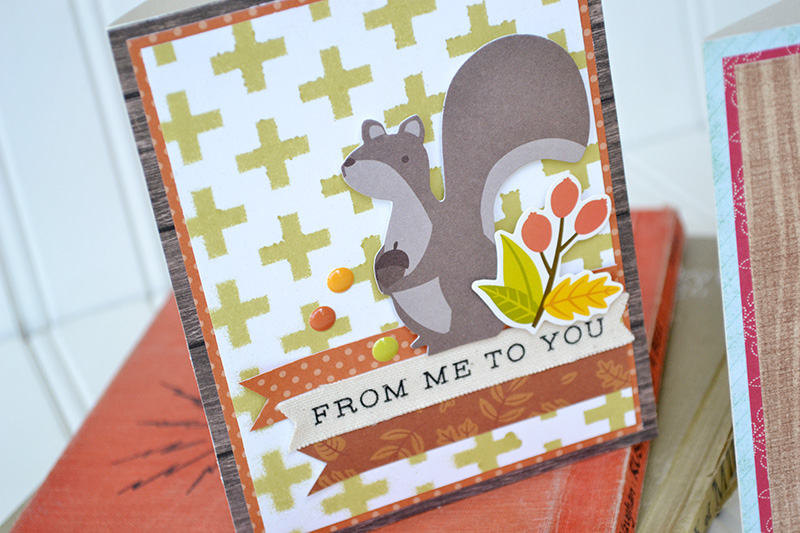
In my class, Celebrating Everyday Moments: Playful Scrapbook Layouts, I share how to use your scraps to create a masked background on a scrapbook layout. Using various die cut and punched shapes as masks, I sprayed ink onto my cardstock to get this engaging background.
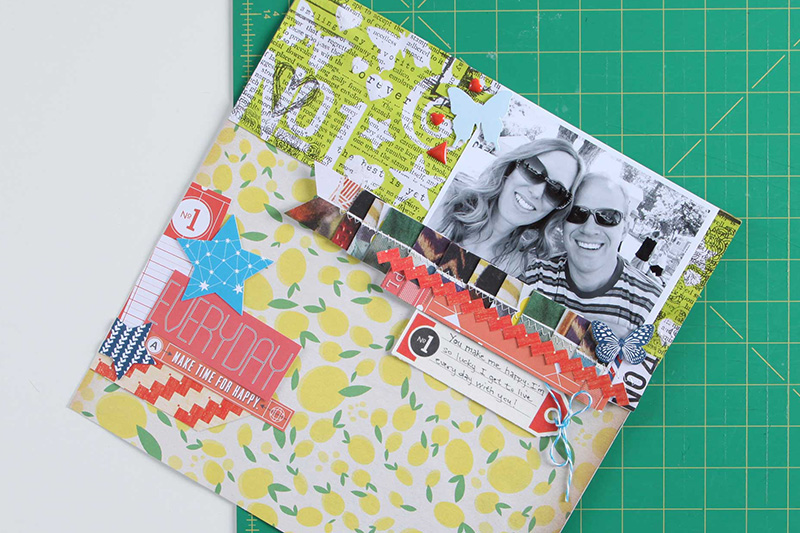
This technique is fun and easy, yet creates a playful look just like all the techniques I share in my class. Be sure to check it out — click the button below to enjoy $10 off if you register now!
Masking is a great way to create visually interesting backgrounds for any paper crafts project. Today, we’ll walk through three easy ways to make card backgrounds using stencils, inks, and other color mediums.
1. Stencil & Versamark Ink
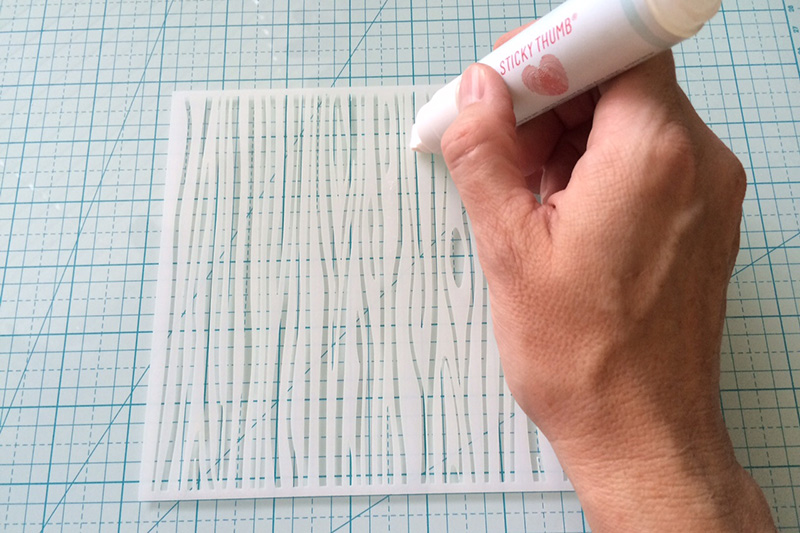
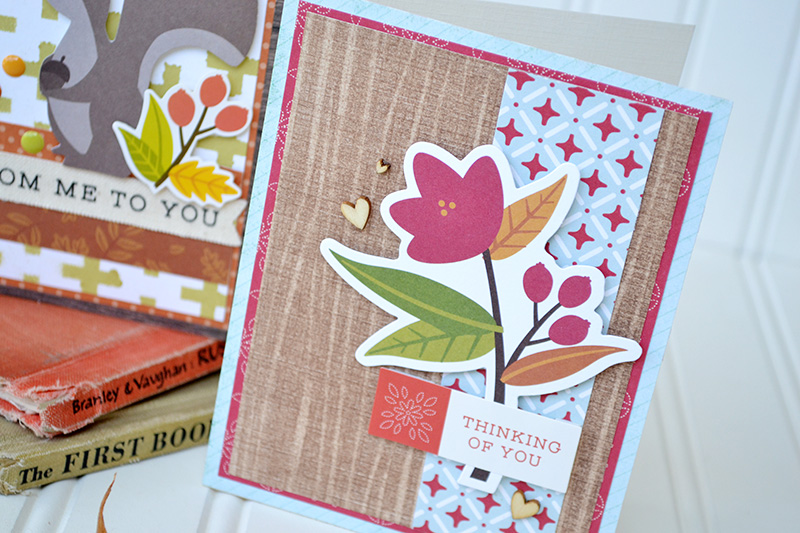
Using a stencil with VersaMark ink and colored ink creates a beautiful two-tone effect on your paper. Start by adding some repositionable adhesive to the back of your stencil. I like to do this whenever I use a stencil because it helps hold it in place so the ink doesn’t bleed and create a messy image.
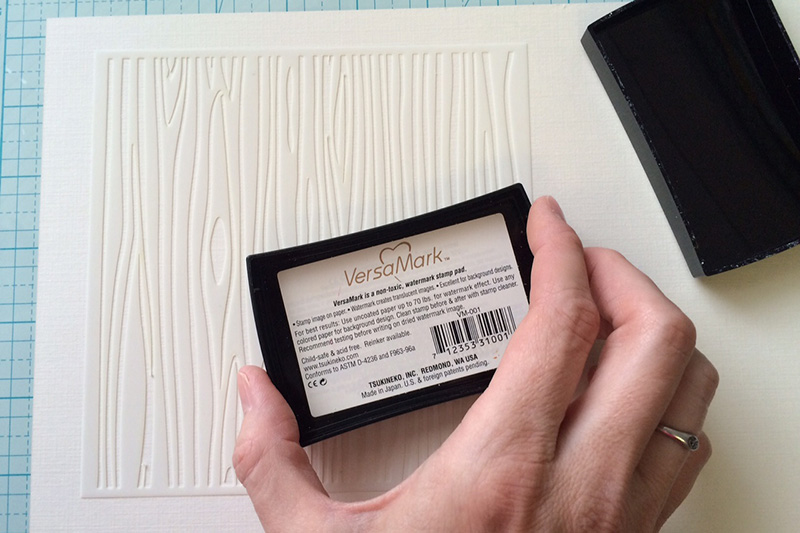
Place your stencil on your paper — I used linen textured card stock to get a cool effect with the wood grain stencil. Add VersaMark (or other watermark ink) on the stencil. Be sure to lay down a good, thick coat of ink on your paper because this will end up being a mask for the colored ink later. Remove the stencil and clean off the VersaMark ink according to the manufacturer’s directions.
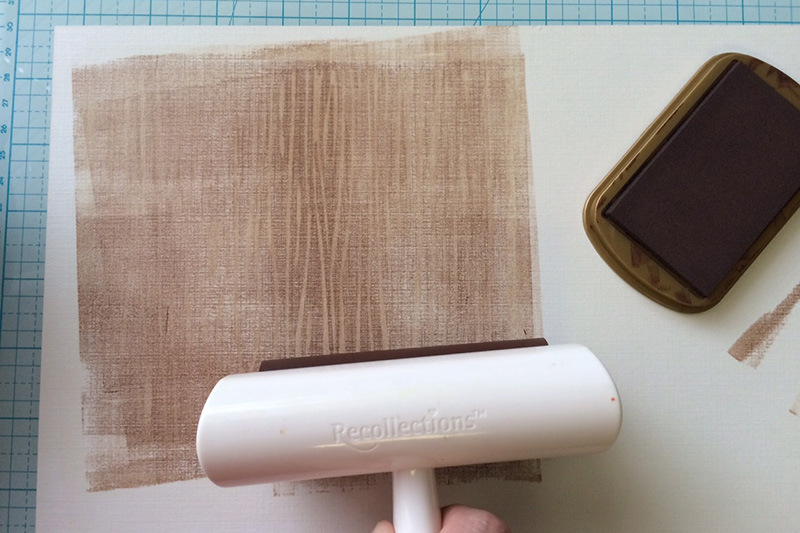
Next, use a brayer to apply an even coat of colored ink over the VersaMark. Roll the brayer several times over your ink pad before each application. You’ll start to see the VersaMark image as it resists the colored ink. Pretty cool, huh?
When you’re through applying ink, wipe the excess with a clean, dry paper towel. Clean your ink brayer and then add this lovely masked background to your card!
2. Stencil and ink mister
Using an ink mister is probably the easiest way to create a masked background with a stencil. To avoid over-spraying, I like to use ink misters in a cardboard box. Place your paper in the box, and then apply your repositionable adhesive to your stencil. Place your stencil on your paper — this time I used a smooth ivory cardstock.
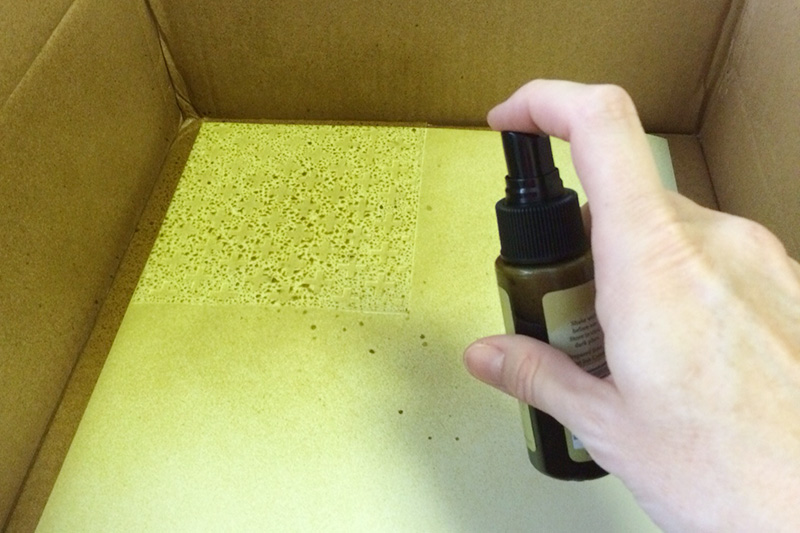
Apply the ink following the directions on your ink mister for full coverage. While the ink is still wet, remove the stencil and clean it following the manufacturer’s instructions. Allow your inked paper to dry completely, and then add it to your card.
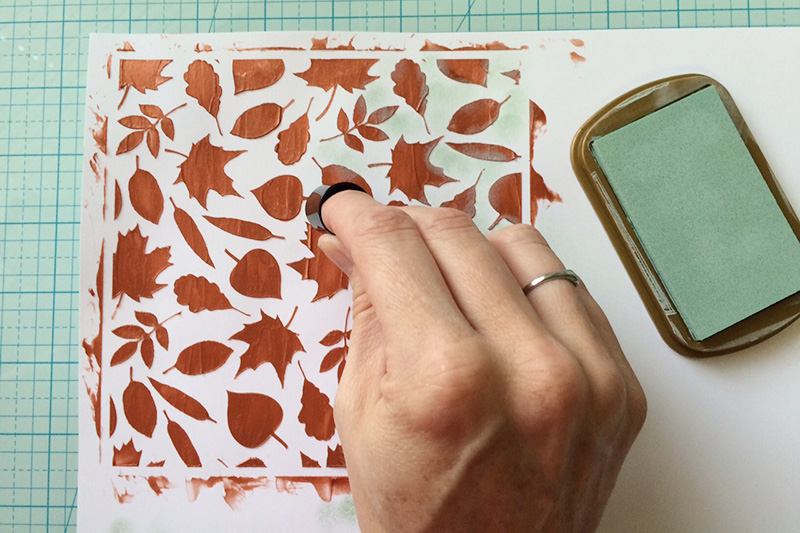
3. Stencil, craft medium and ink pad
The third way to create a background using stencils is a bit more time-consuming but still easy and a lot of fun! Start by adhering the stencil to your paper using a repositionable adhesive. Using a palette knife, apply a thin but complete coat of craft medium over the stencil. While the medium is still wet, carefully remove and clean the stencil. Allow the medium to dry completely (this may take several hours depending on your medium).
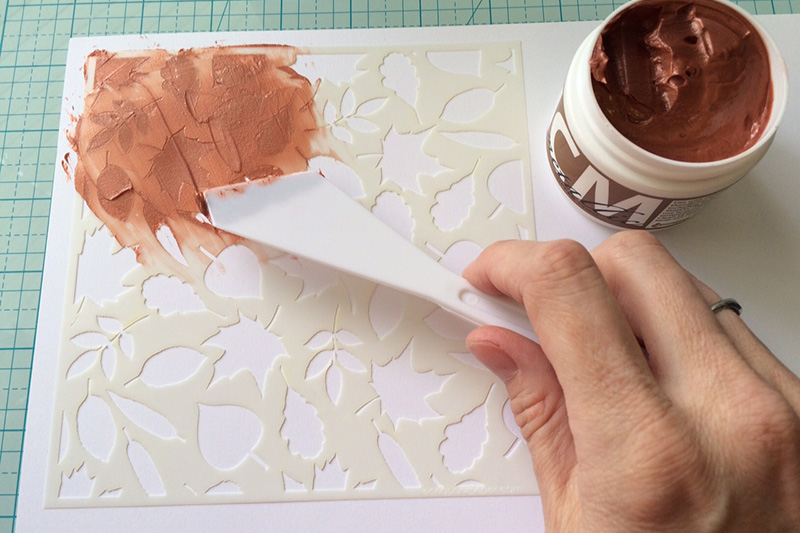
Using an ink dauber, apply a contrasting color of ink in between and around the dried medium. Don’t worry about full coverage with this — you’re going for a more distressed look. I like to apply the ink after the medium to get this look, but you could reverse the steps: Applying the ink with a brayer first and then applying the medium will give you a cleaner look.
Once you finish inking your design, trim it to size and include it on your card background.
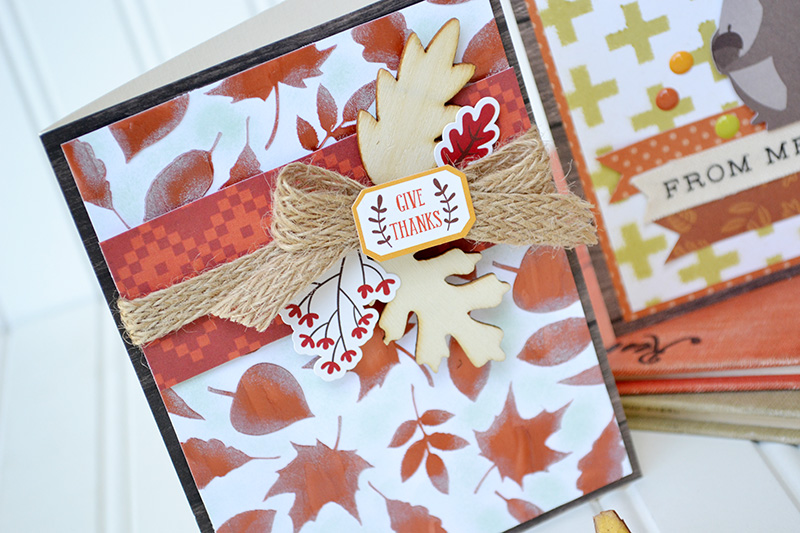
While I used these techniques on a card, you can use them on a scrapbook page, canvas, tag, gift packaging or any other paper craft project. If you liked these techniques, you’ll love the fun tips and tricks I share in my
Thanks for letting me share my cards with you today, and I hope you enjoy trying these techniques on your next project.
About the author
Aly Dosdall has been designing and teaching in the paper crafting industry now for nearly 17 years. Her work has been featured in a variety of publications, as well as on the Home Shopping Network and QVC UK. Additionally, she shares her paper crafts expertise on her blog, It Happened Like This and as a contributor to We R Memory Keepers.
Share tips, start a discussion or ask one of our experts or other students a question.
No Responses to “3 Easy Ways to Create Playful Card Backgrounds With Stencils”