
Turning a bowl can be a challenge no matter what your level of expertise, but as long as you set reasonable goals, you will gain skills and achieve that sense of satisfaction your are seeking rather than a great sense of frustration. Let’s look at some ways of keeping your goals reasonable but still challenging so that your skills improve each time you step up to the lathe.
Design impacts difficulty
After many years in two guilds, I have watched a lot of new turners start out on their journey. It’s safe to say that to a person, their first design is usually the hardest you can imagine: flat bottom, large base and straight sides, just like the turning blank they started with. This shape appears very heavy but worst of all, the sharp turn at the bottom and the flat bottom spell disaster right away. The shank of the tool binds on the rim when turning the tight corner at the bottom, causing the bevel to come off the work and catch. And flat bottoms are just pain hard to do. Instead of maximizing the volume, you will gradually learn to maximize the form within, as in the simple yet elegant bowl below.
When teaching, I always start students off with smaller bowls with a shallow arc, not much deeper than a platter. The curve is easier to turn than a flat bottom and by its nature, has a light, satisfying appearance. As you gain tool control and confidence, make your bowls gradually deeper and deeper.
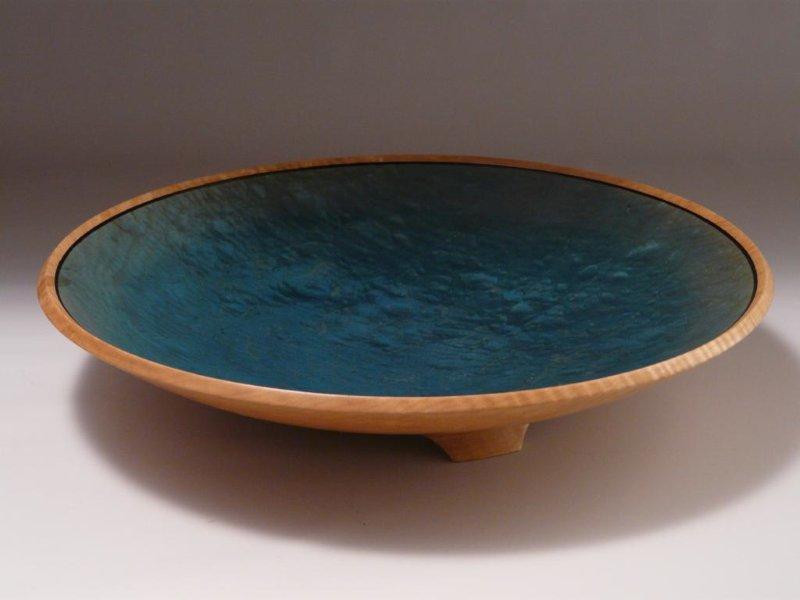
It’s a personal choice, but bowls with re-curved sides are the most pleasing to me. The rim casts a shadow on the inside, giving it a deeper appearance and also prompting the viewer to look inside the bowl. It’s also a bear to turn without a very steep angle on the gouge to facilitate the turn from side to bottom. Your confidence level will tell you know when it’s time to tackle something like this.
A tips on bowl turning to help you on your way:
- Start by considering the foot to be about 1/3 of the overall diameter — that gives it a light look but if you need a bit more for stability, go for a bit wider foot, remembering that at some point it will look “clunky.”
- The curve of the bowl should appear to converge above or just below the table surface to make it appear light. Steeper sides that appear to converge well below the table give the bowl a very heavy look. They’re also hard top pick up.
- The rim can take any form, but if undecided, a flattish rim often looks nice if it is about 90 degrees to the inside curve at the rim.
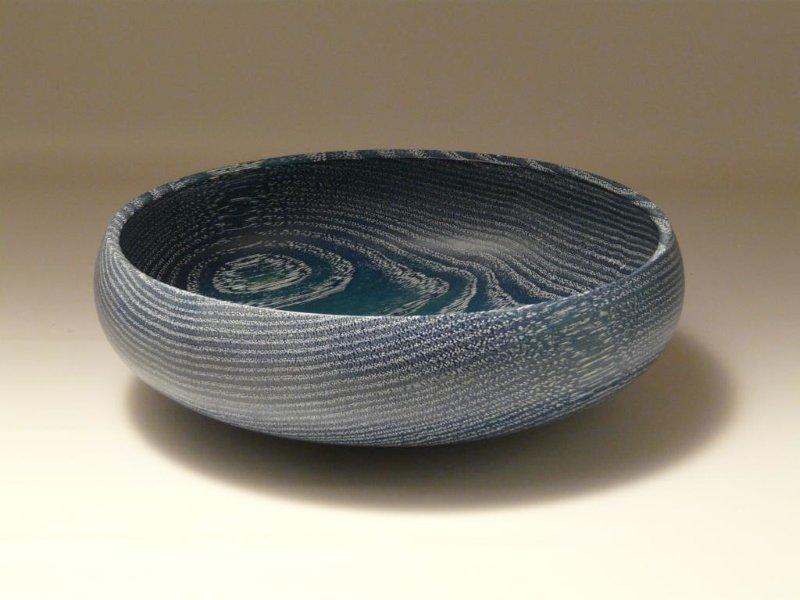
- Less is usually more. Use the K.I.S.S approach when considering decoration. Features like lines or beads look nice with one or two only. If more, stick to odd numbers.
- A thicker wall near the bottom adds stability and heft in the right place. There is no rule that says the wall thickness has to be exactly the same all the way, nor does it have to be whisper thin. Other woodturners are the only ones who might be impressed by that. A bowl should feel “right.” Too light can make it feel too fragile.
A few tips and tricks to make things easier
- ALWAYS uses sharp tools and tools adequate for the job. A 1/2″ gouge is too small for the reach needed for deep bowls. Bigger bowls need bigger gouges.
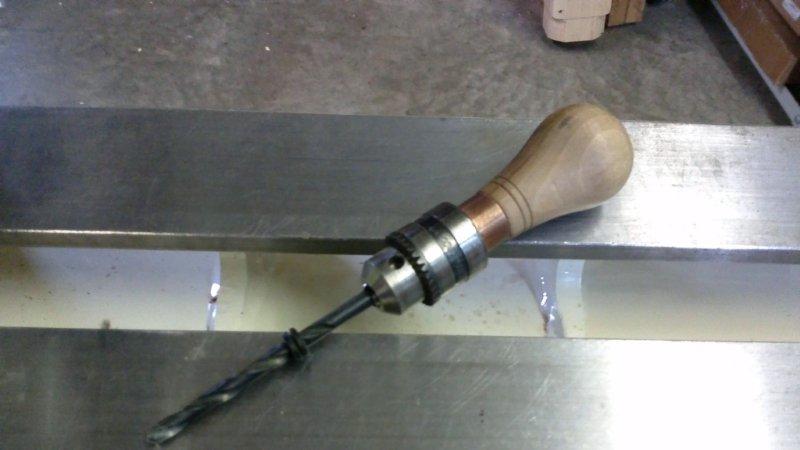
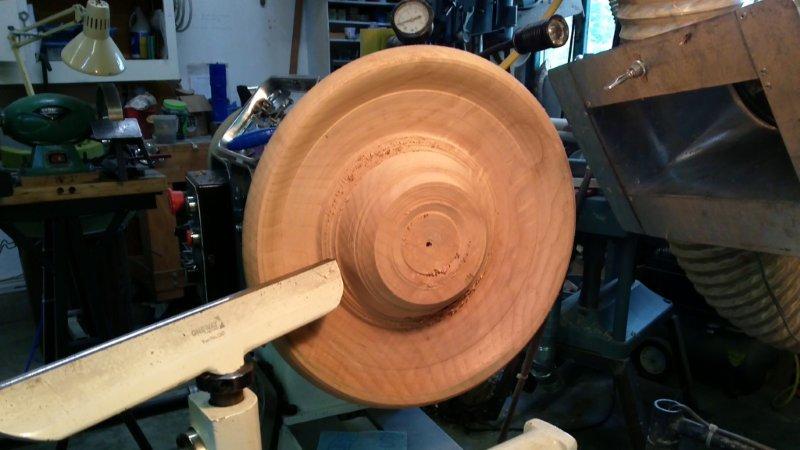
- Drill a 1/4″ hole to the finished depth before starting the inside. This is your “bottom indicator” and also removes the wood in the very center, which is difficult to turn.
- When turning the inside of a larger bowl, it’s a good idea to turn it in stages for stability (usually 2 or 3). Rather than hollowing the whole bowl, do the top half or third, leaving wood in the center to support the bowl. Once finished that portion, move on to the rest. Do not go back once you’ve moved on because the bowl will no longer be round in the first section. Clean up any “steps” with a light shear scrape.
- Always sharpen or hone your gouge before you make your finish cut. Make that a slow, fine cut to avoid tear out.
- The path of your gouge does not have to go from rim to center in a straight line. Often by sweeping the gouge up above center then tracking it back down to end at the center you can get around a tough transition from side to bottom if you don’t have a second gouge with a steeper grind.
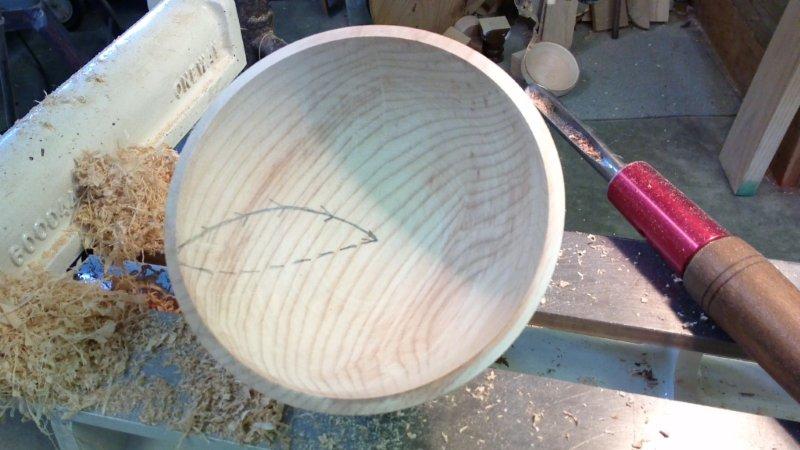
- This is possibly the most valuable tip: When starting your hollowing cuts, the flute of the gouge must face the center of the bowl. If the cutting edge at the tip of the gouge is not perpendicular, it will run in the direction of the angle of the cutting edge — typically toward the outside, ruining the rim. Once it has entered the cut, you can rotate it to the ideal cutting angle.
Share tips, start a discussion or ask one of our experts or other students a question.
No Responses to “Bowl Turning Tips & Tricks”