
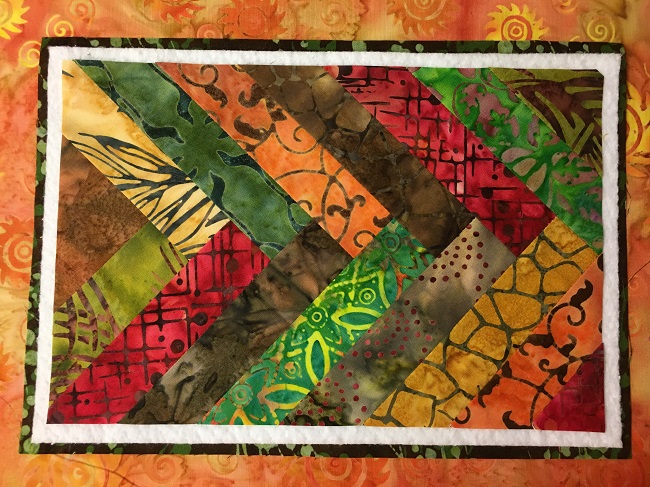
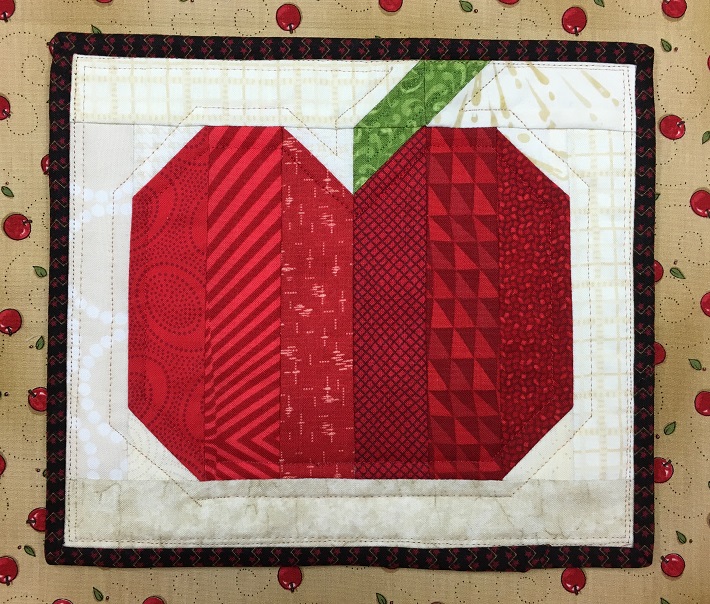
Have you always wondered how to sew a braid from strips? Do you have a charm pack that you want to use? Want to try making a fun little mug rug for a friend or yourself? Our Mug Rug of the Month for November is just the pattern to get you started!
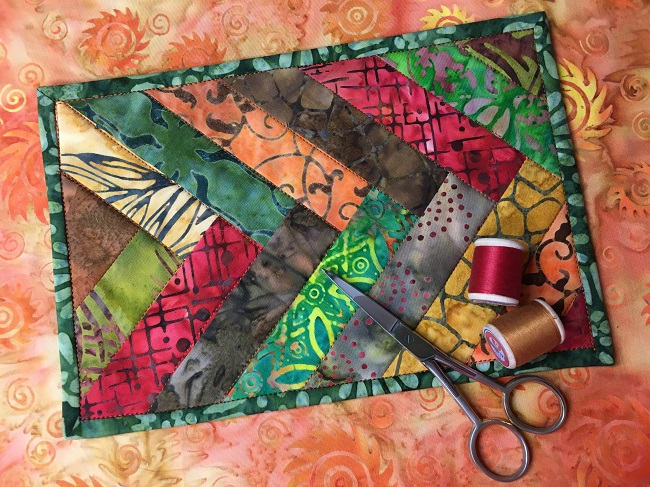
This batik braided mug rug is super simple and will sew together in a snap! You’ll get impressive results for very little time and effort. Let’s get started.
What you need
- 15 strips cut 1½” x 5″
- One 3″ square, cut on the diagonal (only need one triangle)
- One piece of fabric 7″ x 10″ for the backing
- One strip of binding, 30″ long
- One scrap of batting, at least 6½” x 9½”
Step-by-step directions
Step 1: Sewing the strips
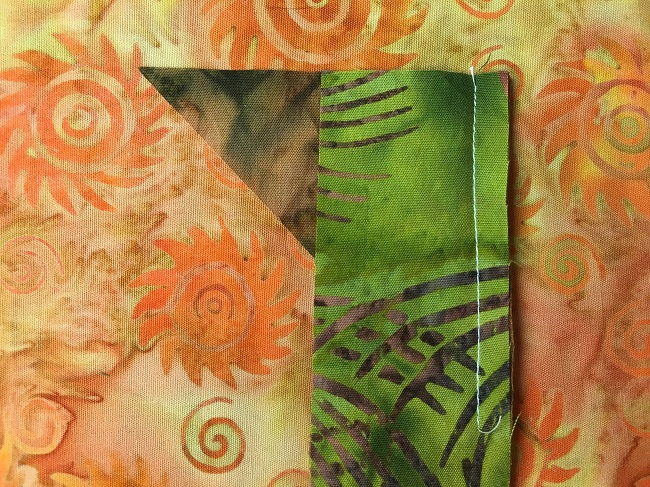
Begin by layering the first strip on the triangle as shown, with the end of the strip and the corner lined up evenly at the top. Sew a ¼” seam along the edge of the triangle.
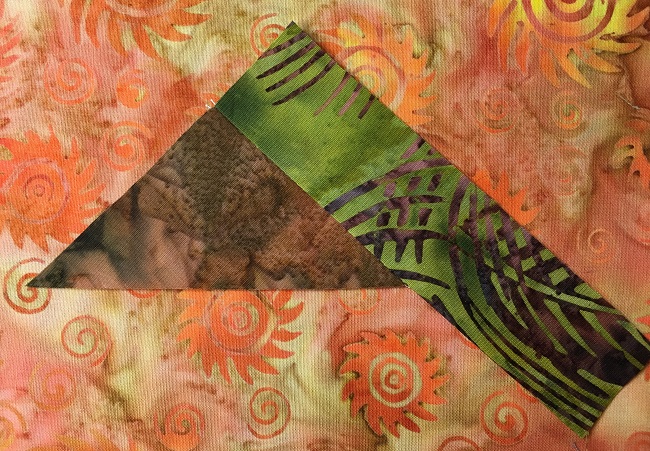
Press the strip away from the triangle. No trimming needed until the all the strips have been added.
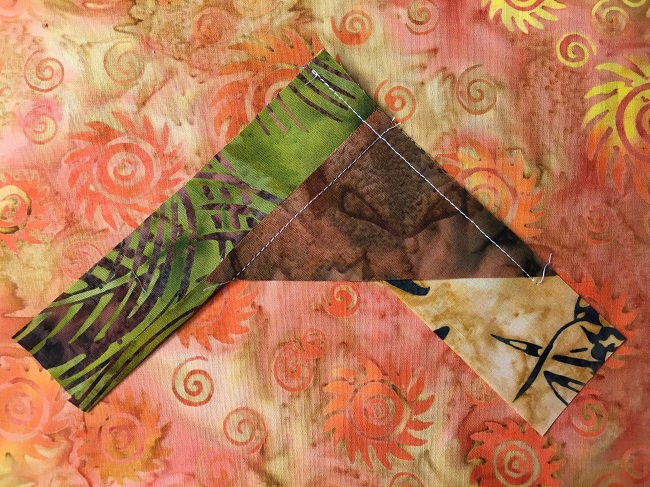
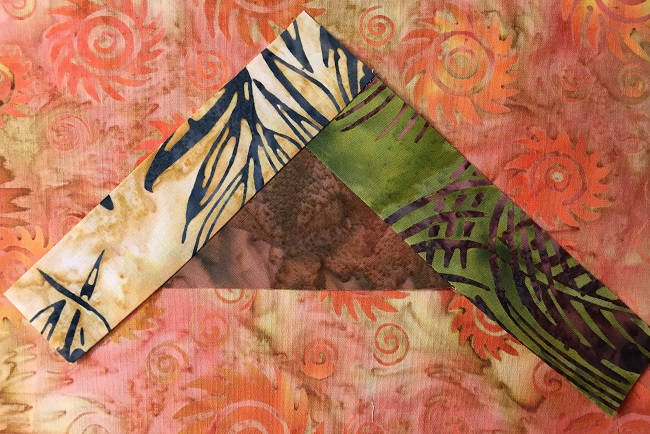
Sew the second strip to the other side of the triangle. This time place the end of the strip evenly with the end of the first strip.
Always press the seams toward the strip that has just been added.
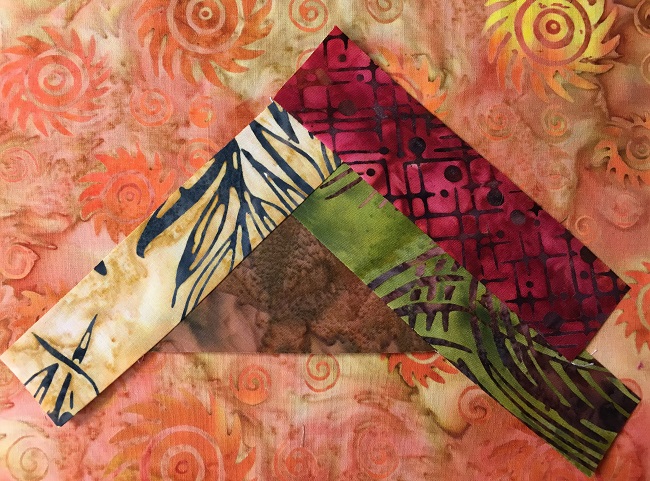
Continue with each strip, alternating sides each time, until all 15 strips have been added and pressed.
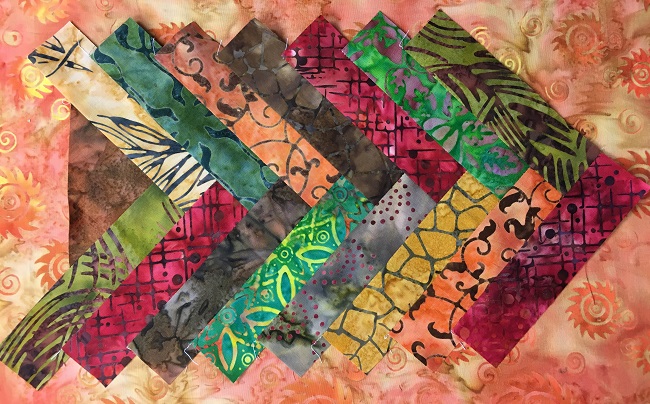
The finished unit will look like this.
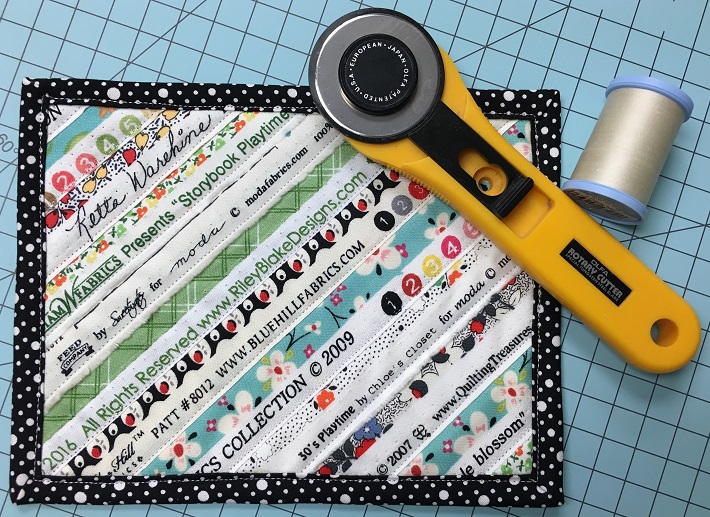
Step 2: Trimming the braid
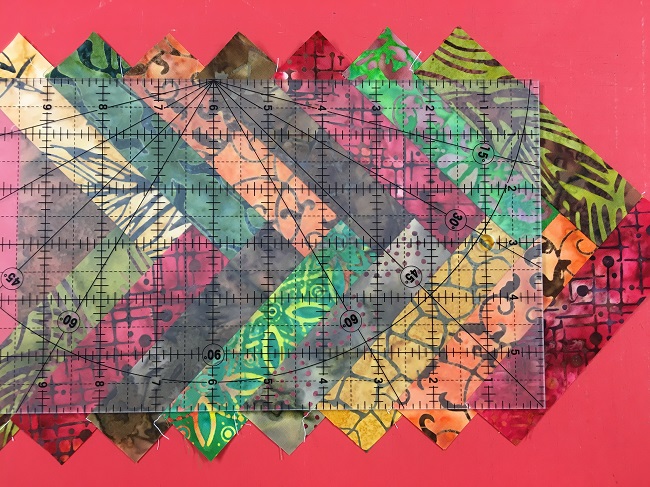
Position a ruler on top of the pieced unit. Trim the braid unit to 6″ x 9″, taking care to keep the ruler positioned on the braid evenly.
Step 3: Finishing the Mug Rug
Layer the braid on top of the batting and the backing. Use pins to secure the layers if needed.
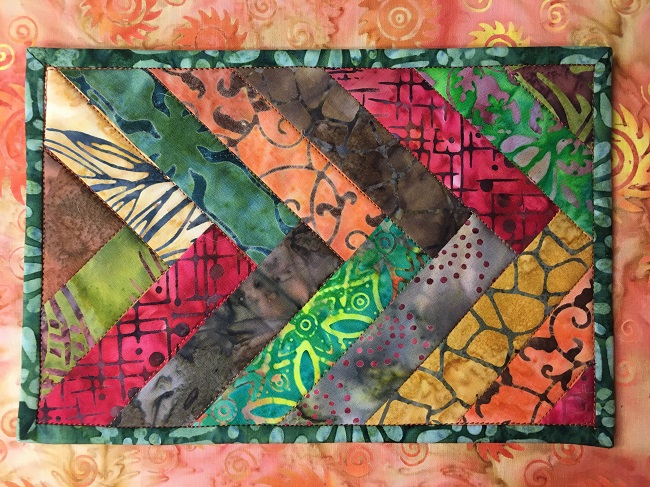
Quilt the mug rug “in the ditch” with a coordinating thread. Trim away the extra batting and backing and bind the mug rug. Enjoy your braided mug rug!
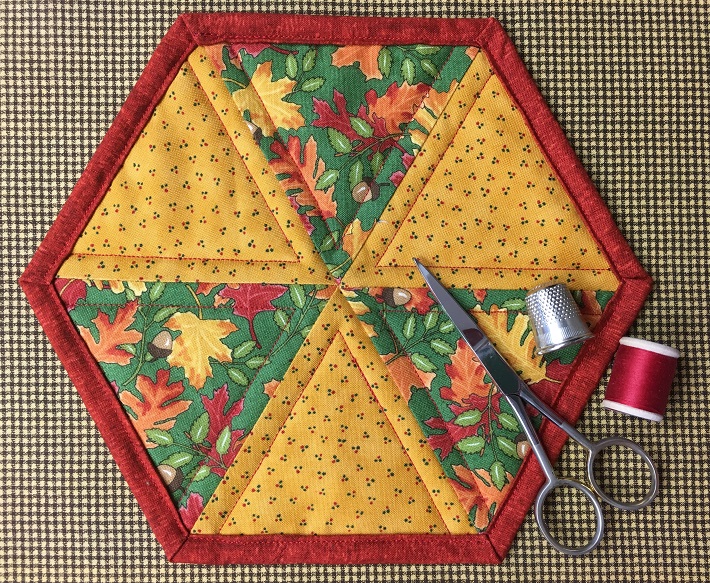
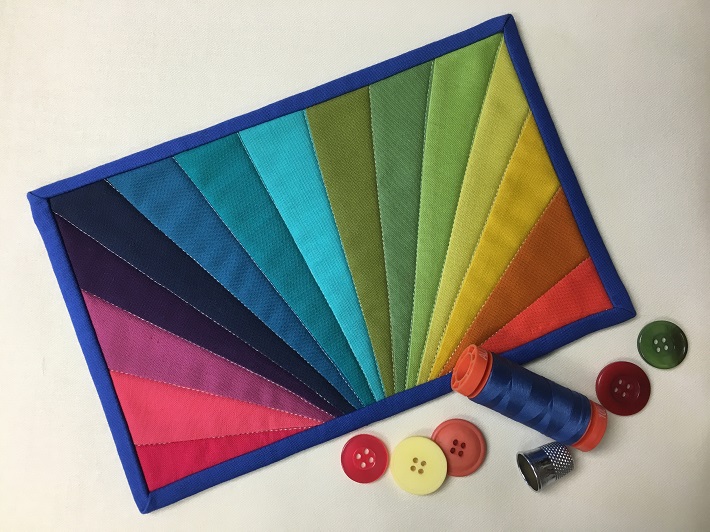
Looking for more mug rugs? Check out the other free tutorials from this series
Share tips, start a discussion or ask one of our experts or other students a question.
Already a member? Sign in
13 Responses to “Let Batiks Shine With Our FREE Mug Rug Pattern!”
Premium Membership
Unlock exclusive member content from our industry experts.
- 24/7 Access to Over 2,000 Premium Classes and Hundreds of Instructional Videos Across 20+ Categories
- Extensive Library of Downloadable Patterns and Recipes
- Stream and Download Classes Anywhere with the Craftsy App
- Share Your Membership with up to 3 Friends or Family Members
- Access to Ask the Expert Program
- Admission to Exclusive LIVE Streaming Virtual Events
Unlock exclusive member content from our industry experts.
- 24/7 Access to Over 2,000 Premium Classes and Hundreds of Instructional Videos Across 20+ Categories
- Extensive Library of Downloadable Patterns and Recipes
- Stream and Download Classes Anywhere with the Craftsy App
- Share Your Membership with up to 3 Friends or Family Members
- 2 Full-Length Classes to Keep in Your Account for Life
- Access to Ask the Expert Program
- Admission to Exclusive LIVE Streaming Virtual Events
Gold Membership
$449 Value
Get everything included in Premium plus exclusive Gold Membership benefits.
- 24/7 Access to Over 2,000 Premium Classes and Hundreds of Instructional Videos Across 20+ Categories
- Extensive Library of Downloadable Patterns and Recipes
- Stream and Download Classes Anywhere with the Craftsy App
- Share your Membership with up to 3 friends or family members
- 8 Full-Length Classes of Your Choice to Keep in Your Account for Life
- 10 Patterns, Guides, or Recipes of Your choice to Download to Your Devices
- 20% off Purchase-to-Own Classes in the Craftsy Shop (Select Classes Only)
- Access to Ask the Expert Program
- Exclusive GOLD LIVE Virtual Events
Love your ideals
<strong>Ticket 44785</strong> How wide is the binding strip?
Love these patterns. The instructions are easy to follow. Looking forward to more patterns for table runners and napkins.
Thanks they are beautiful.
Patterns are adorable. Thanks
I love this pattern.
I love batiks
i just love your free patterns. thanks so much for sharing.
All of these are cute and easy to make. Thanks! I'll make all seven - especially the batik.
Love batiks!