
Appliqué can add something truly special to a pieced quilt — special texture, dimension and interest. One of the joys of appliqué sewing on quilts is that there’s more than just one way to go about it! Here, we’ll share three unique appliqué methods and pose the question: Which is the right method for you?
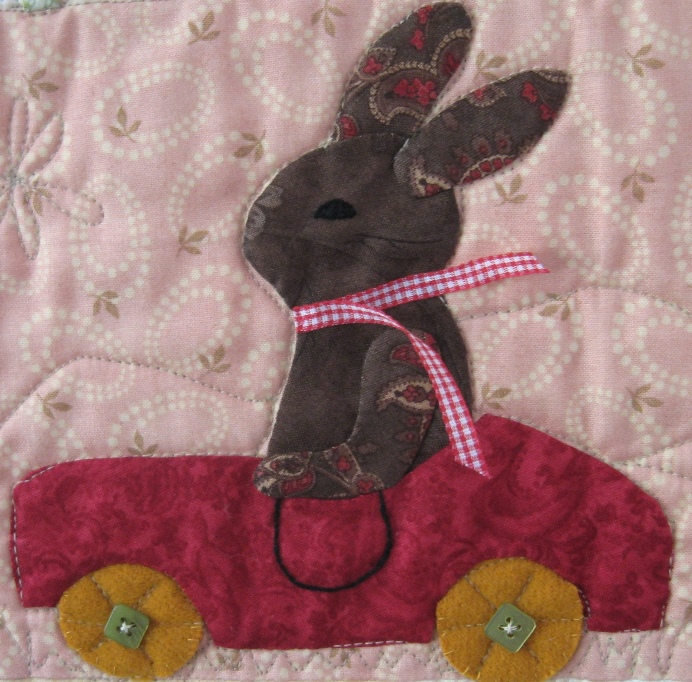
Photo via Karen Walker. Pattern is Rabbits Prefer Chocolate
The first and easiest method is fusible appliqué.
Fusible appliqué is simply tracing appliqué line drawings directly onto a fusible web, then adhering those drawings onto the desired fabrics with an iron.

All Fusible Applique Photos: compliments of Bev Bryon via Blossom and Bev
Once adhered to the desired fabrics, the images are cut along the drawn lines, positioned onto a background fabric and fused into place.
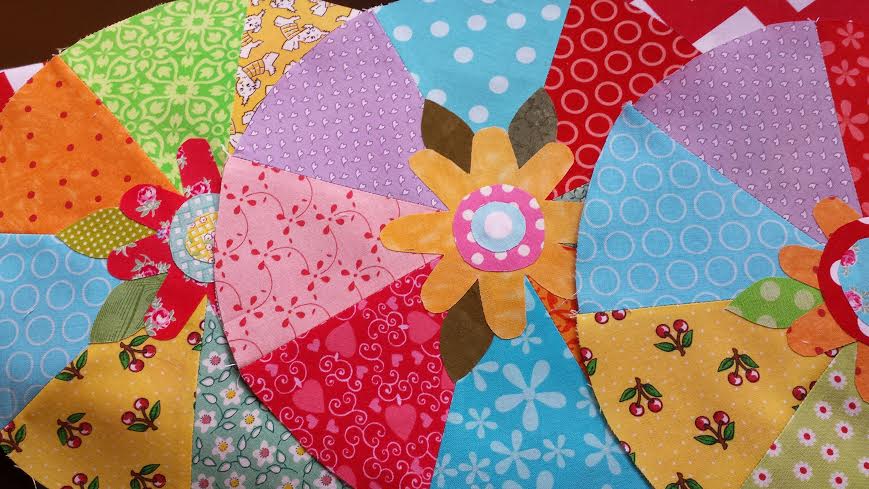
Fun fusible flowers are beautiful on plain white fabric backgrounds shown above or ironed onto these Happy Garden Wheels below.
Some quilters choose to leave the fusible appliqué “as is,” and others choose to finish the raw edge with a decorative stitch. The blanket stitch is preferable, giving the piece a nice finished look.
Learn more about fusible appliqué in Fun With Fusible Appliqué.
The second appliqué method uses freezer paper.
Freezer paper is a thick paper with a shiny, waxy coating on one side. Typically used for wrapping freezer goods, quilters love it for appliqué and other sewing projects.
All remaining photos via Karen Walker
To begin the freezer appliqué method:
1. Trace the appliqué image onto the dull side of the freezer paper.
2. Cut out the image along the drawn line.
3. Press the freezer paper image (shiny side down) onto the wrong side of the fabric bias. The fabric bias makes it easier to manipulate seam allowances around and under curves.
Keep in mind that when pressing onto the wrong side of the fabric, the image will be reversed when viewed from the right side of the fabric.
4. Cut away the fabric, leaving an approximate 3/16″ seam allowance.
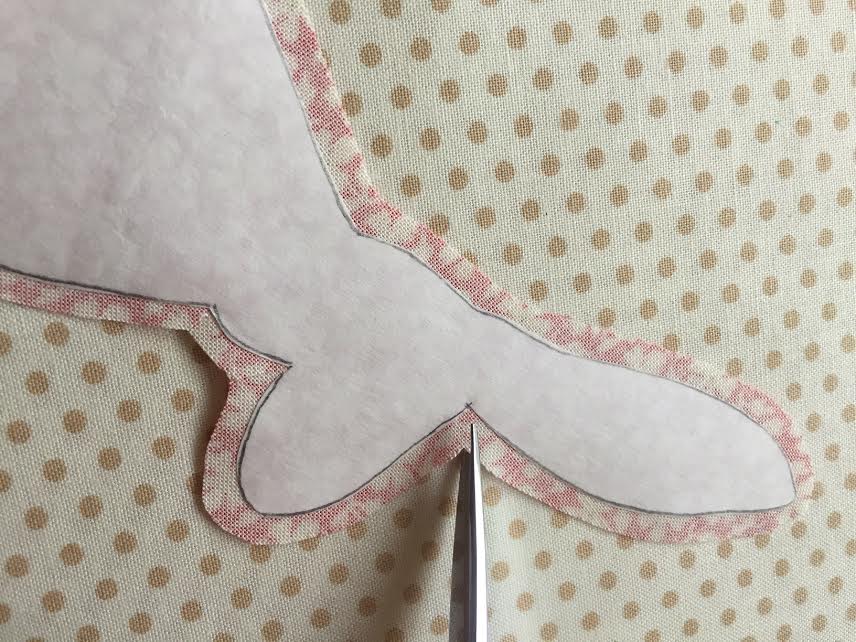
5. Clip all inverted or inside curves. Clip up to but not through the seam allowance. You may want to clip tiny notches on the outer curves to distribute the bulk. In the case of this bunny, I did not find that necessary.
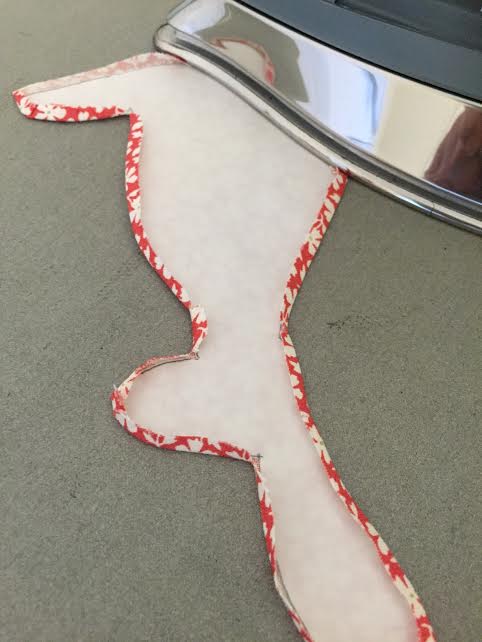
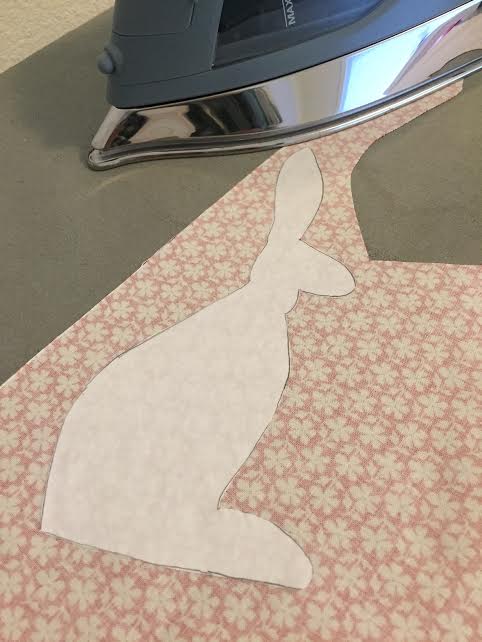
6. Using an iron, press the seam allowance over the the freezer paper.
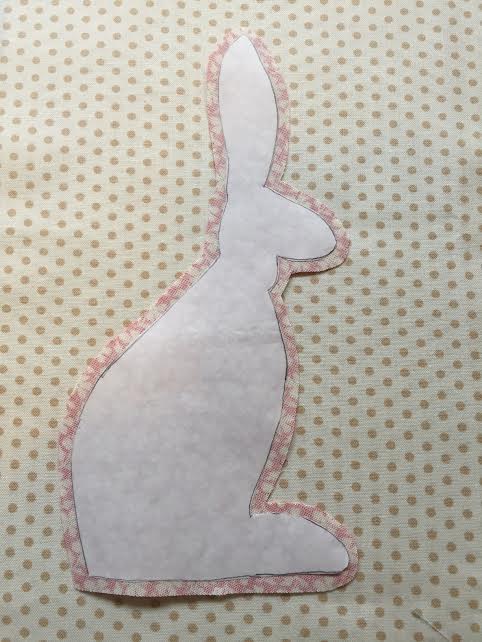
7. Carefully peel away the freezer paper and position the appliqué piece onto the background fabric.
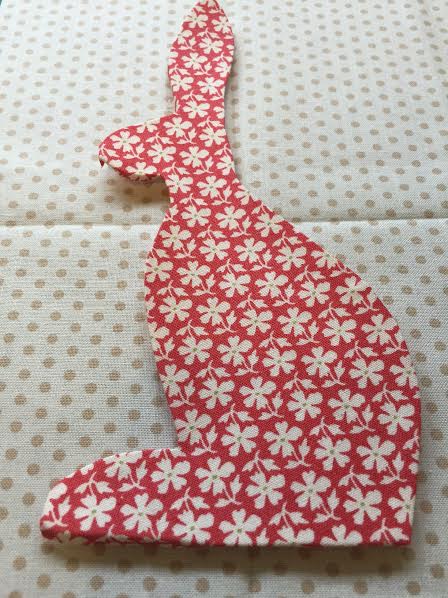
8. Secure the piece with tiny dots of glue (like Roxanne Glue Baste It, my favorite appliqué glue), keeping the glue away from the edge of the appliqué. Only a few dots zigzagging down the middle, and in this case, a dot underneath the bunny’s nose and foot, will do.

10. Hand stitch your cute appliqué piece into place, turning the pressed edges under along the way.
Learn to hand appliqué and more freezer paper techniques, join us in the Craftsy class Hand Appliqué Made Easy.
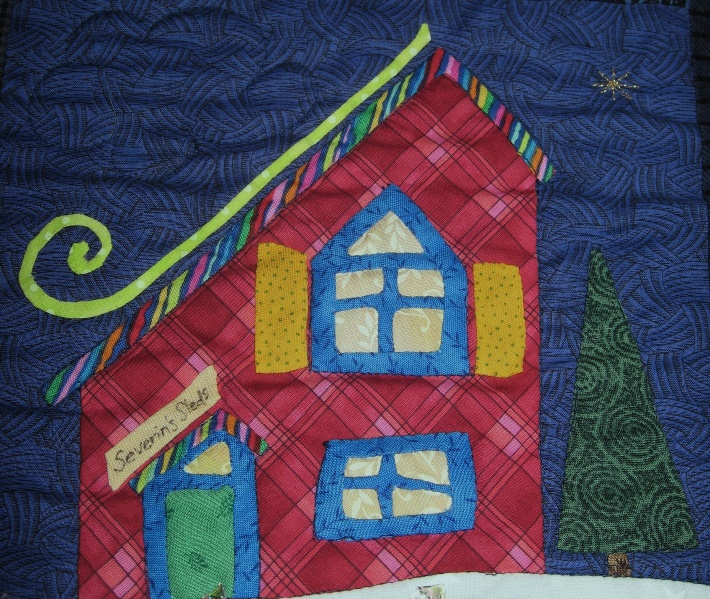
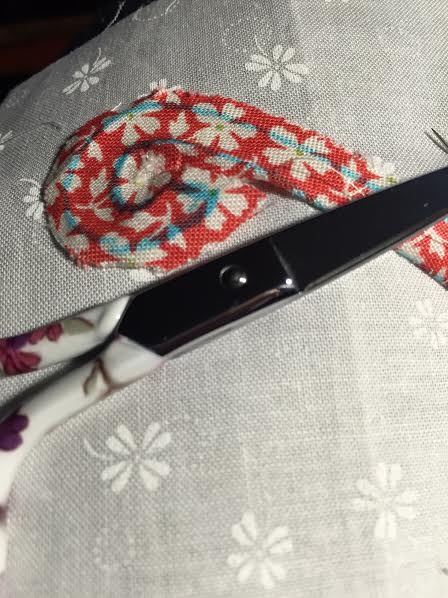
The third and final appliqué method is needle turn appliqué.
This technique is much more intricate and takes a bit of developed skill.
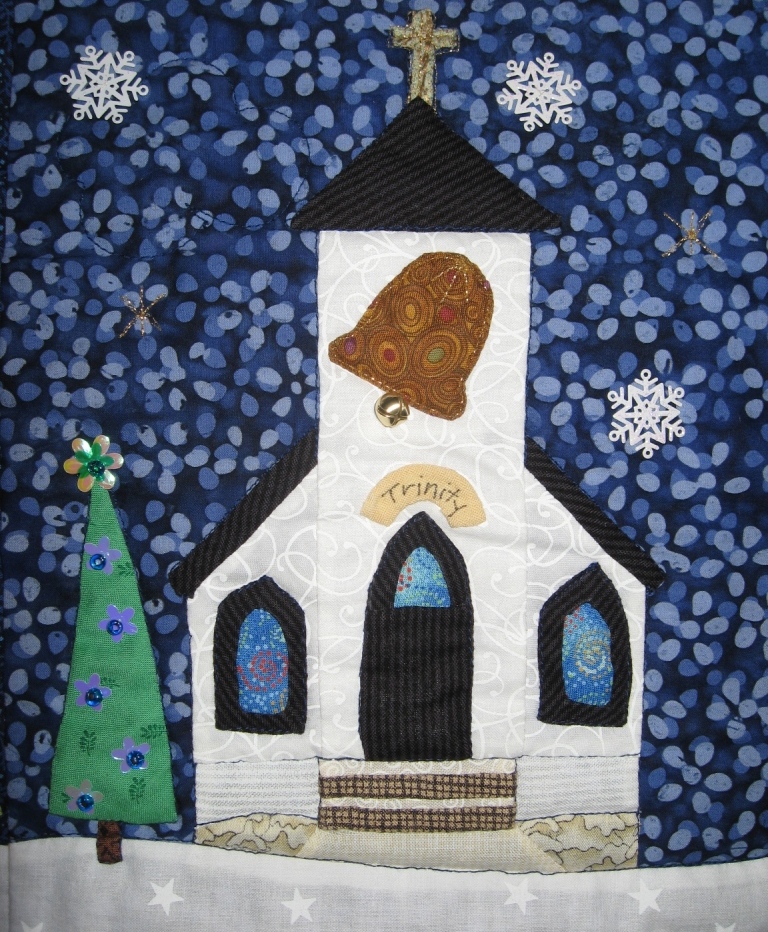
In the block above, the church windows require needle turn appliqué, as do the house windows and skinny roof curl below.
Freezer paper can also assist with needle turn appliqué!
1. Trace appliqué image onto the dull side of the freezer paper.

2. Iron the shiny side of the freezer paper onto the right side of the fabric.
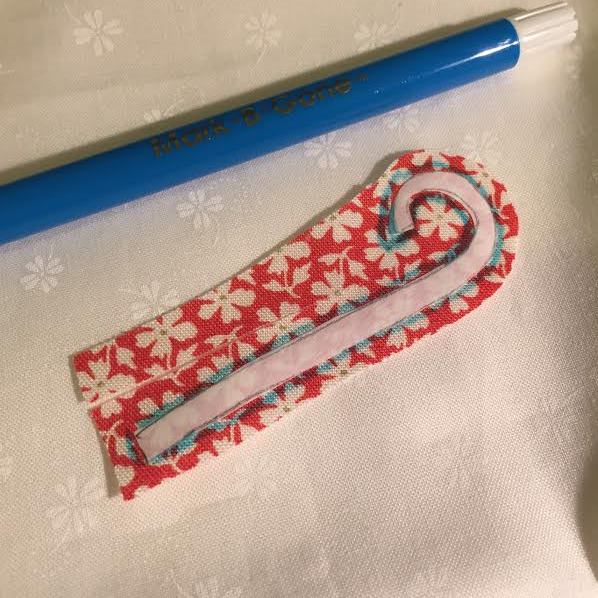
3. With a water-soluble or air-erase marking pen, draw an outline around the freezer paper directly on the fabric. This line becomes the edge of your fold.
4. Finger press the fabric along the blue mark. Finger pressing creates a memory in the fabric and will assist when stitching the seam allowance under.
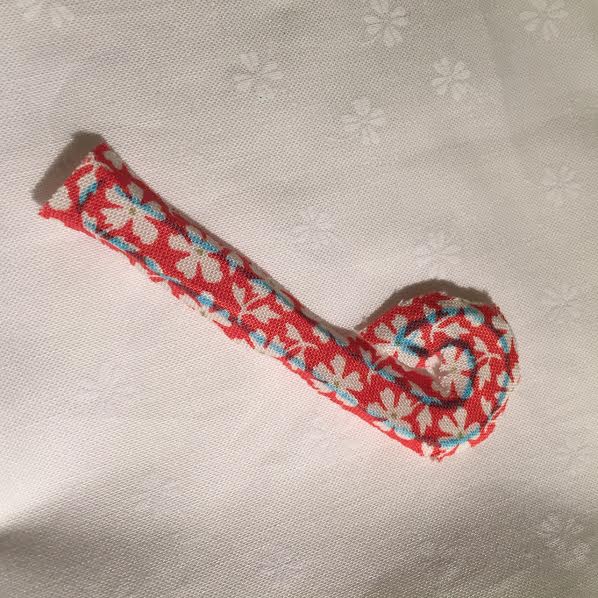
5. Start to stitch the appliqué into place.
6. Do not clip curves until you are an inch or two away from stitching them under. Fabric can fray easily. Clipping earlier will cause more fray and frustration.

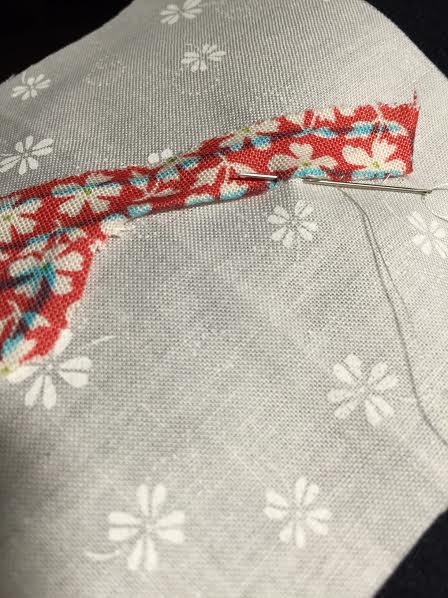
7. Continue stitching the seam allowance under your appliqué until the piece is finished.
8. Remove the drawn line according to your marker instructions.
Learn more about needle turn appliqué in Start Appliqué on Craftsy!
Some quilters prefer needle turn appliqué exclusively. I prefer the freezer paper appliqué method unless the pieces are too tiny. Then I resort to finger pressing with needle turn appliqué. I have no desire to burn my fingers!
excellent explanation