
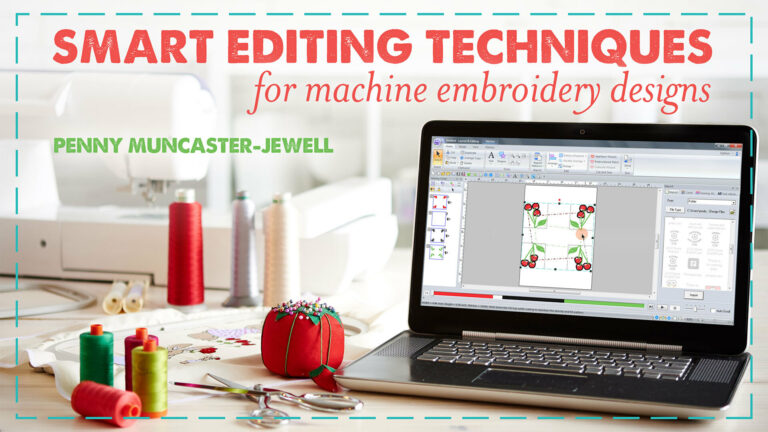
Editing Essentials: Splitting & Aligning Designs
Penny Muncaster-Jewell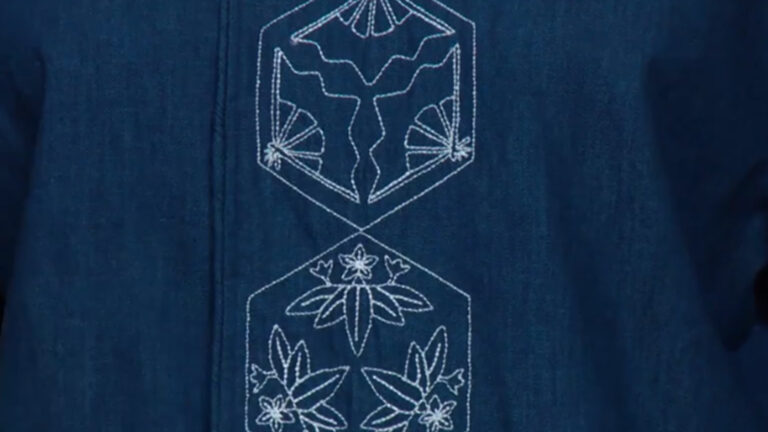
Class Preview
3:04:47
- In-depth Instruction; over 185 mins
- On-demand video access anytime
- Bonus downloadable PDF resources
- Access to class Q&A
- Available for purchase: $39.99
Understanding Split Designs
30:10
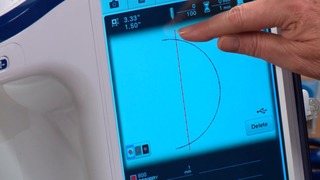
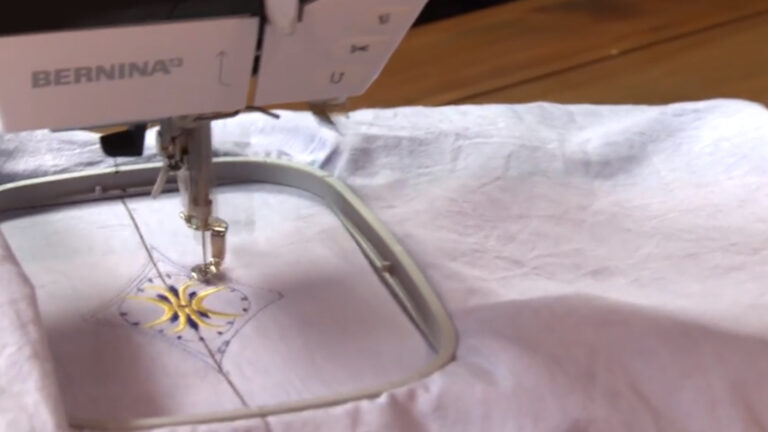
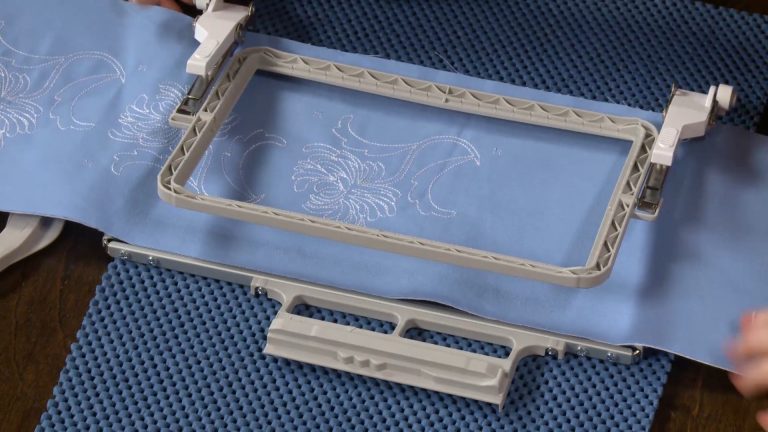
Join Penny Muncaster-Jewell for an overview of split designs. Penny walks you through the steps to create your first two-part design - a basic circle - including machine setup, hooping tips, Penny's "moon landing" secret and stitching the two halves using an alignment line to center them.
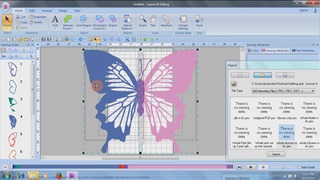
Creating Split Designs
21:33
Explore the principles of splitting an existing design and using an alignment line to center it, modifying the stitch type and length as you work. Penny shows you how to import and select the area of the image that you want to work with, separating one part from the rest.
Alignment Lines
23:29
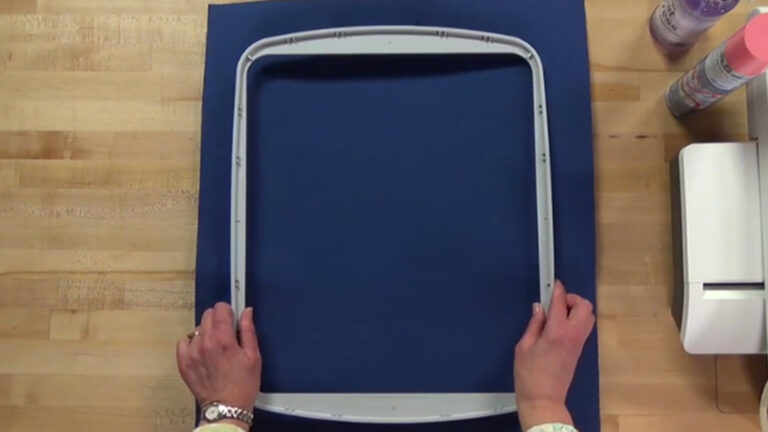
Increase your knowledge of how alignment lines work as Penny shares more about their purpose and ideal placements. You'll also learn how to add basting boxes to prevent unwanted shifting when you stitch, and create individual split pieces that are unified by an alignment line.
Where to Split Designs
28:43
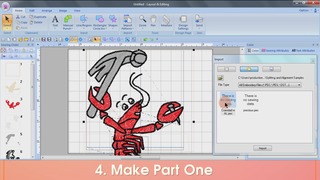
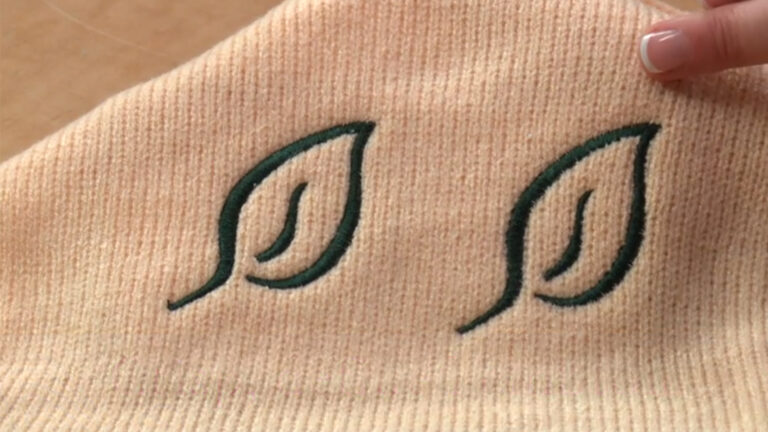
Take your new skills a step further as you learn how to split designs without creating noticeable scars in the stitching, using Penny's pro tips on stitch direction and split placement. Next, learn how to create large designs from scratch that you might not have had the courage to tackle before!
Splitting Existing Designs
28:13
Discover ways to use the auto-split tool, divide by color and manually split designs as you gain more mastery over breaking a design into usable sections. Penny also shows you when and how to remove alignment lines from your work, as well as a bevy of technical tips such as grouping and saving.
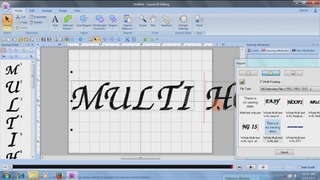
Multi-Hooped Texts
28:42
Change your focus from designs to text in this helpful overview. Learn how to create text that's the exact size you want, practice splitting characters neatly, and discover how to position your text properly as you align it using Penny's helpful thumbtack method.
Working With Borders
23:57
Wrap up your split design class with a helpful tutorial on working with borders. Penny shows you how to create split-design borders for virtually any space, and shares her techniques for creating different elements within the same border. Next, learn how to embroider seamless continuous borders.
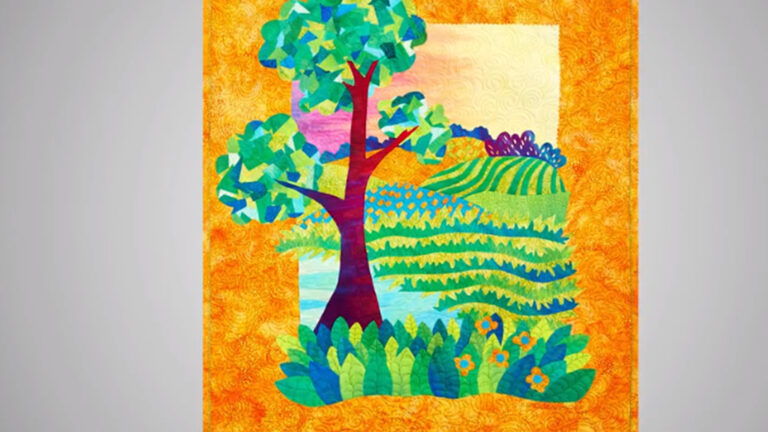
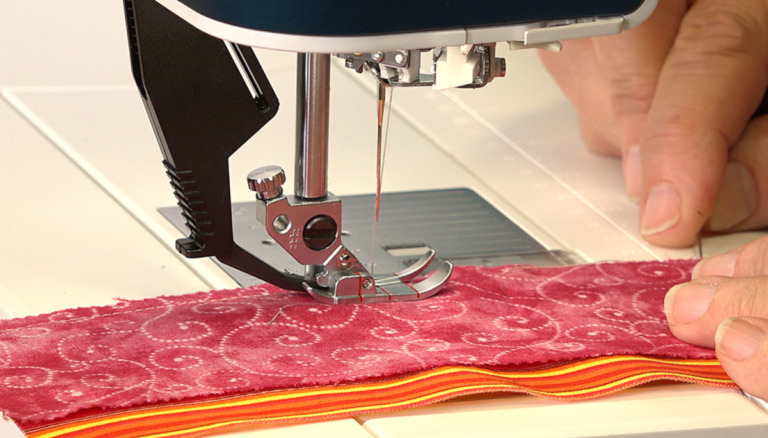
Is the size of your hoop keeping you from creating bigger embroidery designs? Start thinking outside the hoop as you learn how to split embroidery designs step by step with beloved instructor Penny Muncaster-Jewell. During class, Penny will demonstrate how to split designs without leaving scars or overlaps. Then, you’ll discover how to create multi-hooped text, split-design borders, seamless continuous borders and more. Wondering how to create your own large designs? You’ll learn to stitch any design you dream up from scratch. Along the way, you’ll see how to easily add and remove alignment lines and create intentionally split designs with confidence!
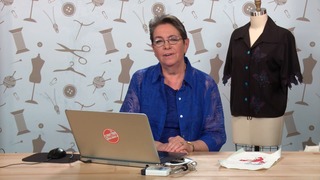
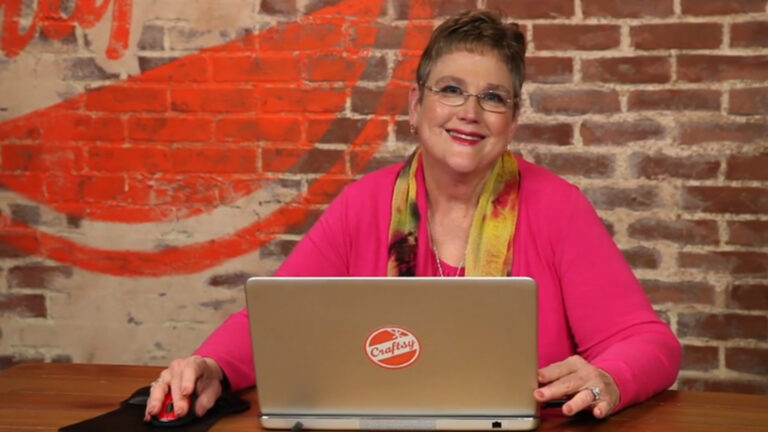
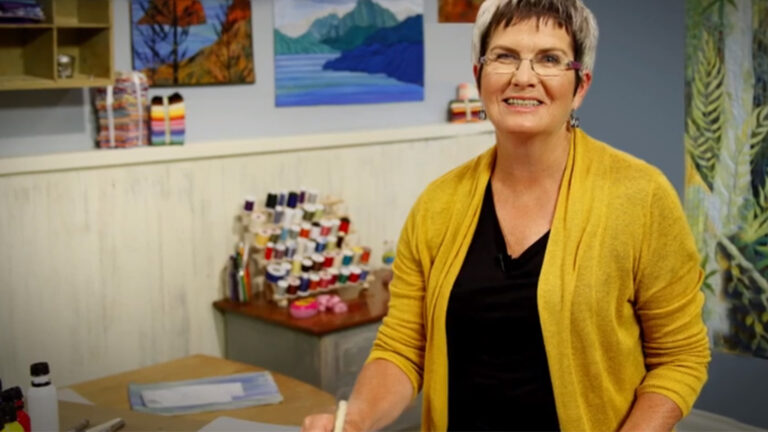
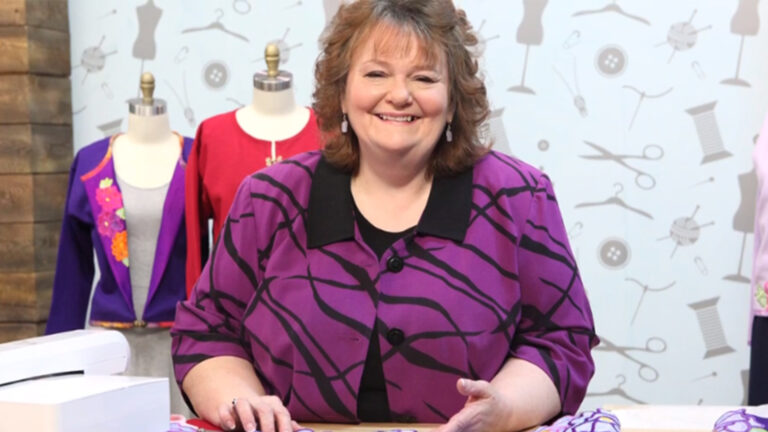
Penny Muncaster-Jewell
Penny Muncaster-Jewell has lived a dual life as a wearable arts enthusiast and computer nerd since the age of eight. But it wasnt until after she retired from NASA that she committed fully to stitching and sharing her bountiful knowledge. Now shes a teacher, author and award-winning fiber artist who travels the world spreading the incredible art of embroidery in lively fashion. After all, who better than a former NASA employee to teach you embroidery techniques that are out of this world?
Bonus materials available after purchase
What is the “Purchase” option all about?
If I’m a paid Premium or Gold Member of Craftsy, do I need to purchase the Class to have access?
How do I know what the Class covers?
Do I have to be a Member of Craftsy to purchase a Class?
How do I “Purchase-to-Own” a Class?
How do I access/view my Class?
Is there a limit on the times I can view my Class?
Can I view a Class on my tablet device or mobile phone?
How do I get access to the Bonus Materials for the Class?
How does the Class Discussion benefit work?
Can I print out Class Bonus Materials?
Are there any system requirements to view the Class video content?
Can I get a refund if I don’t like the Class?
Explore classes by Penny Muncaster-Jewell
You may be interested in

Premium Membership
Unlock exclusive member content from our industry experts.
- 24/7 Access to Over 2,000 Premium Classes and Hundreds of Instructional Videos Across 20+ Categories
- Extensive Library of Downloadable Patterns and Recipes
- Stream and Download Classes Anywhere with the Craftsy App
- Share Your Membership with up to 3 Friends or Family Members
- Access to Ask the Expert Program
- Admission to Exclusive LIVE Streaming Virtual Events
Unlock exclusive member content from our industry experts.
- 24/7 Access to Over 2,000 Premium Classes and Hundreds of Instructional Videos Across 20+ Categories
- Extensive Library of Downloadable Patterns and Recipes
- Stream and Download Classes Anywhere with the Craftsy App
- Share Your Membership with up to 3 Friends or Family Members
- 2 Full-Length Classes to Keep in Your Account for Life
- Access to Ask the Expert Program
- Admission to Exclusive LIVE Streaming Virtual Events
Gold Membership
$449 Value
Get everything included in Premium plus exclusive Gold Membership benefits.
- 24/7 Access to Over 2,000 Premium Classes and Hundreds of Instructional Videos Across 20+ Categories
- Extensive Library of Downloadable Patterns and Recipes
- Stream and Download Classes Anywhere with the Craftsy App
- Share your Membership with up to 3 friends or family members
- 8 Full-Length Classes of Your Choice to Keep in Your Account for Life
- 10 Patterns, Guides, or Recipes of Your choice to Download to Your Devices
- 20% off Purchase-to-Own Classes in the Craftsy Shop (Select Classes Only)
- Access to Ask the Expert Program
- Exclusive GOLD LIVE Virtual Events
Purchase Class
Purchase class and add to your personal library with on-demand video access.
- Enjoy on-demand video access to this content anytime, anywhere for the one-time cost below.
- You won’t lose access, with or without an active current Membership
Editing Essentials: Splitting & Aligning Designs
with Penny Muncaster-Jewell